THEMIS USER MANUAL
User manuel for THEMIS

KPrimeSoft Support
Last Update il y a 3 ans
INTRODUCTION
The THEMIS module encompasses several functionalities, each tailored to specific objectives. These features include: Dashboard, Actors, Building, Court Records, Real Estate Records, Notifications, Templates and Settings.
I - DASHBOARD
This section provides information about your profile, a general message intended for the company's staff, an overview of the company, and the address of KPrimeSoft Technologies for your technical support needs.
II - VISITORS
This feature enables you to manage your business visitors. When you select the “Visitors” feature, you'll be directed to a new page displaying all the visitors you have previously registered. In the “Action” section, you have the option to view visitor details, create a new entry, edit existing information, or delete a visitor.
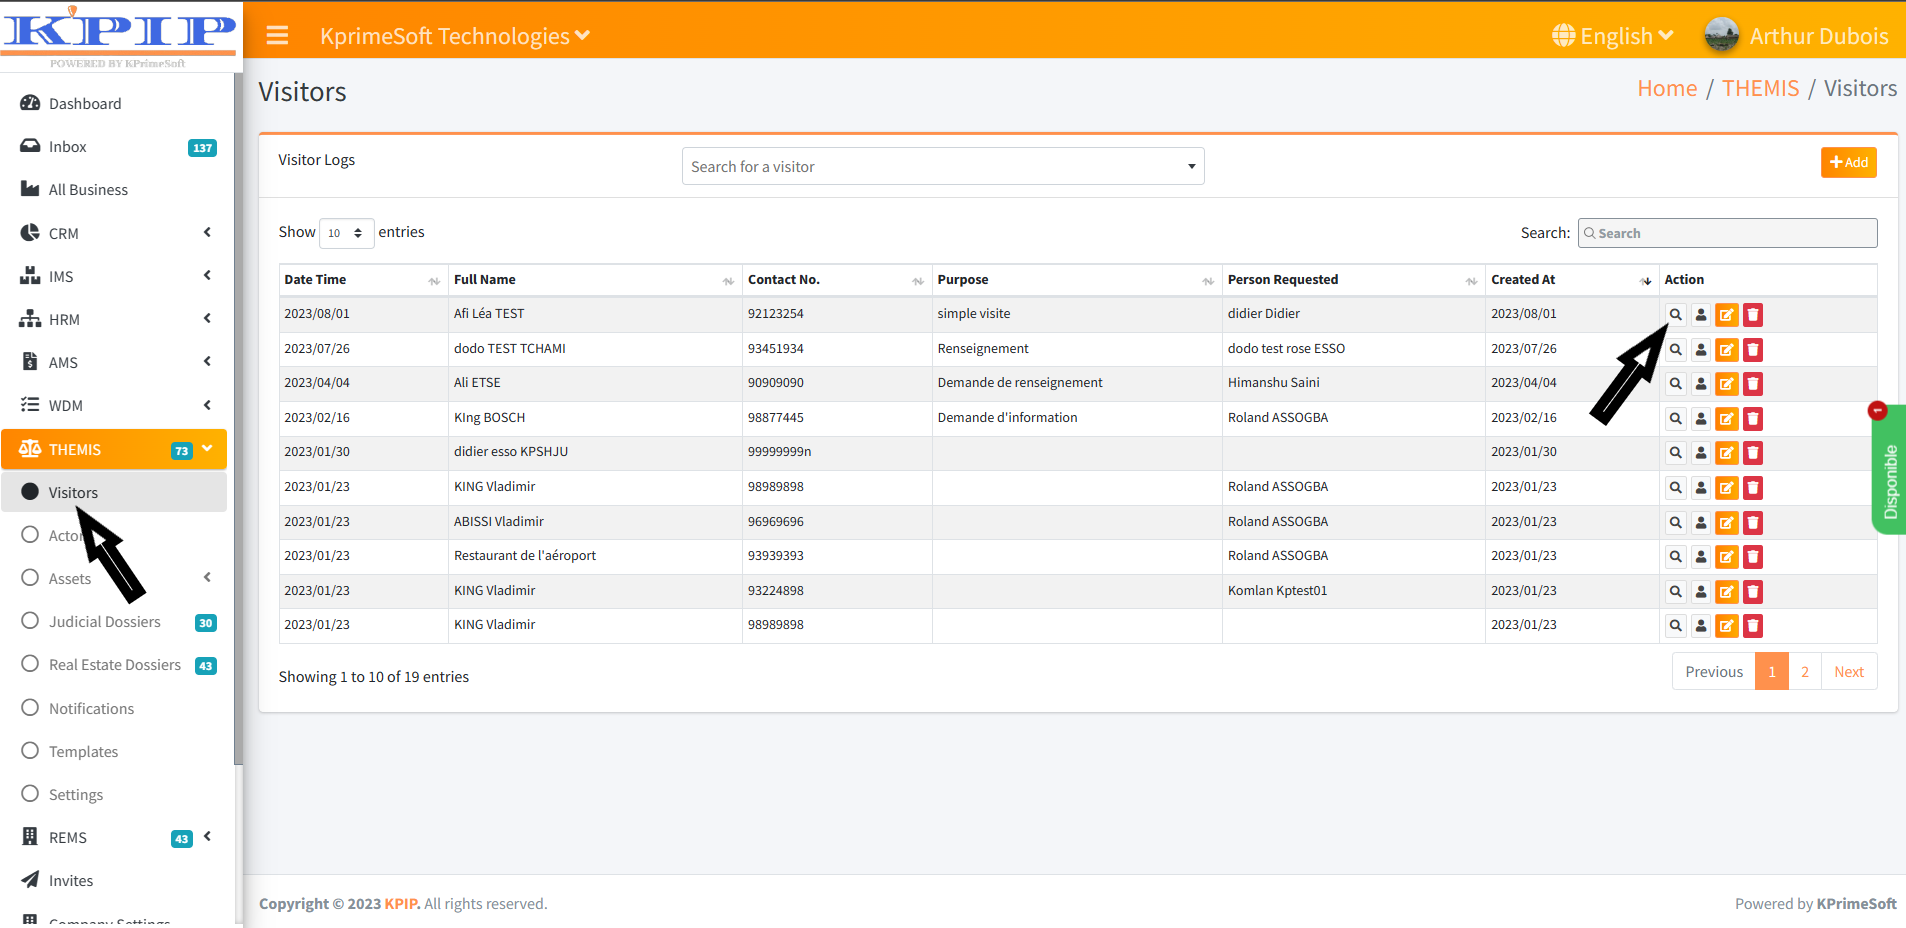
To add a new visitor, click on the “Add” button. On the subsequent page, complete the registration form and then click the “Save” button to confirm.
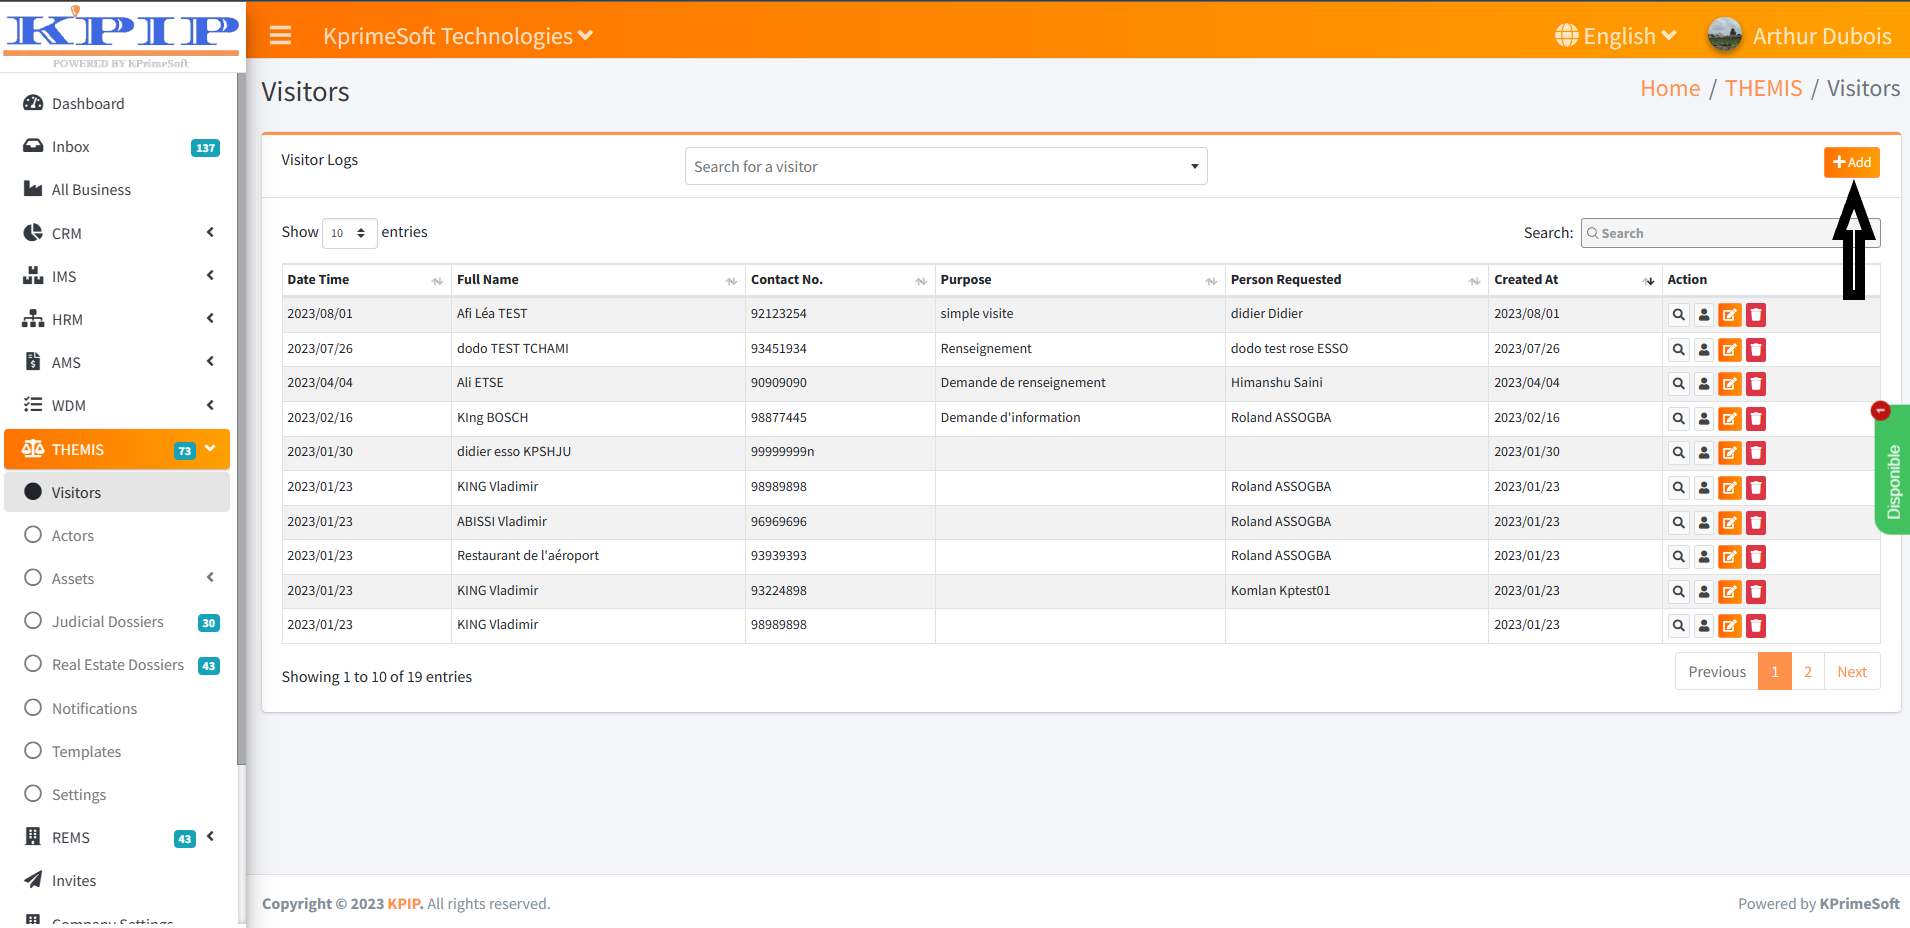
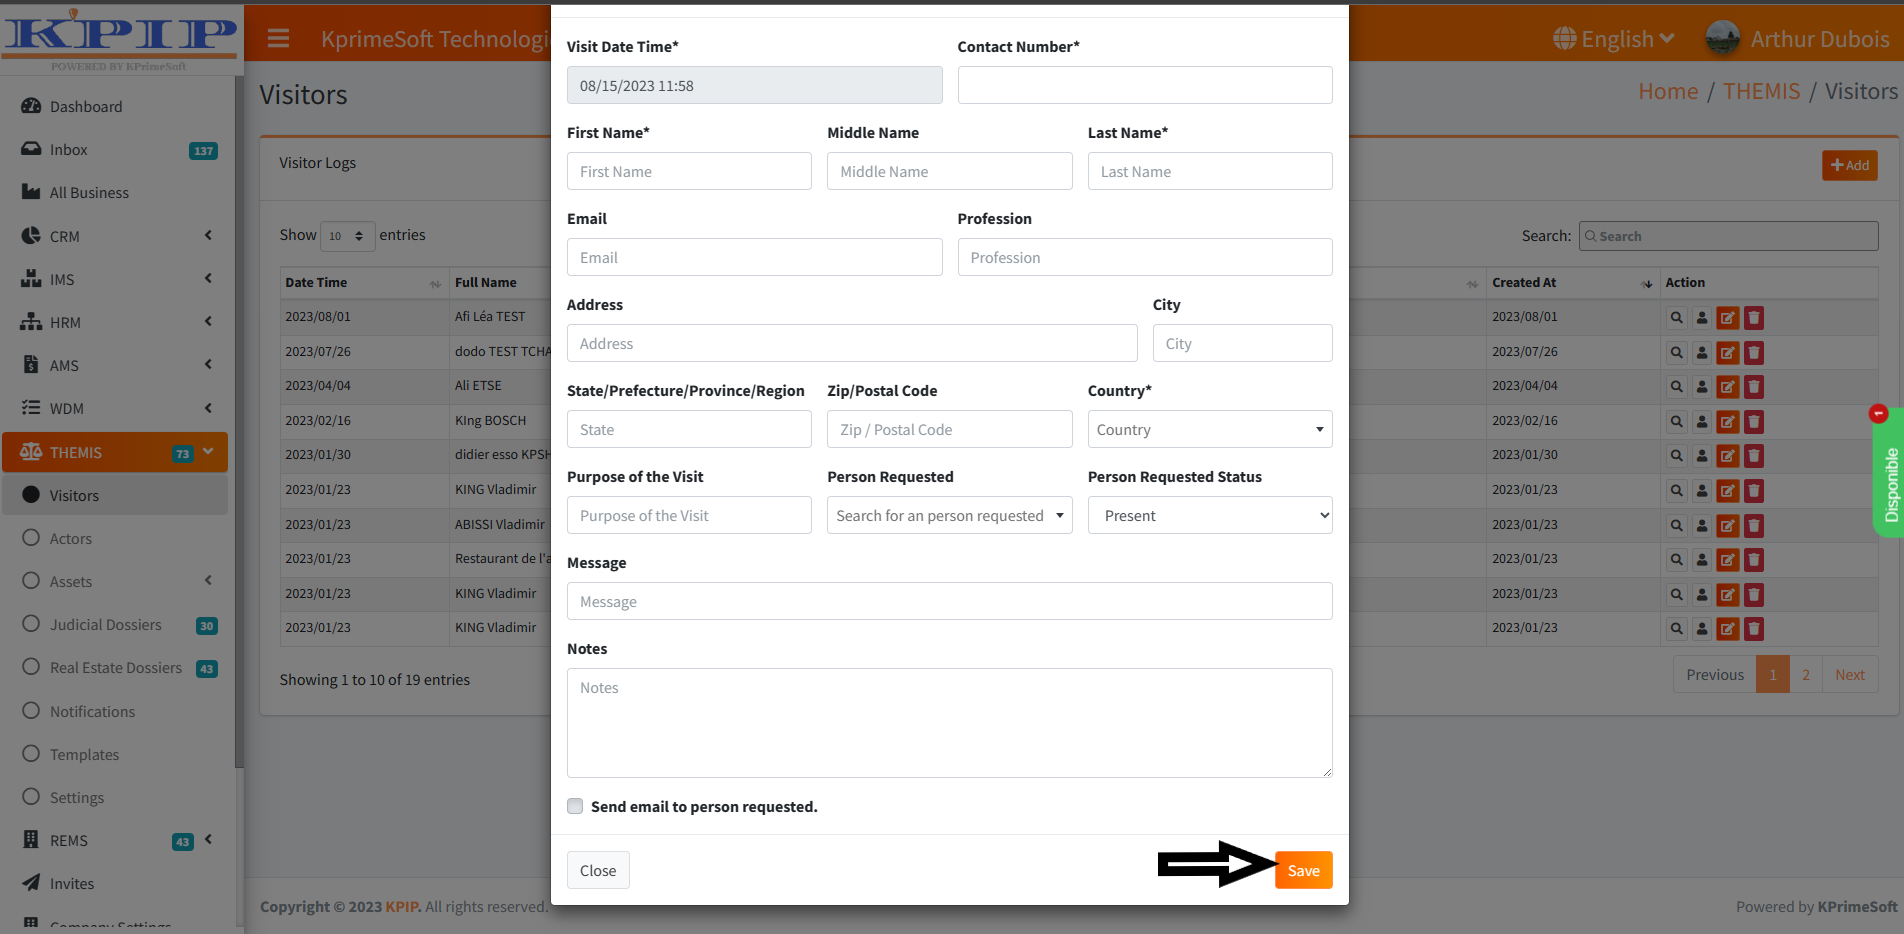
The “Show Entries” feature allows you to specify the number of visitors displayed per page.
Additionally, the “Search for a visitor” tool allows you to swiftly locate a specific visitor by entering their name.
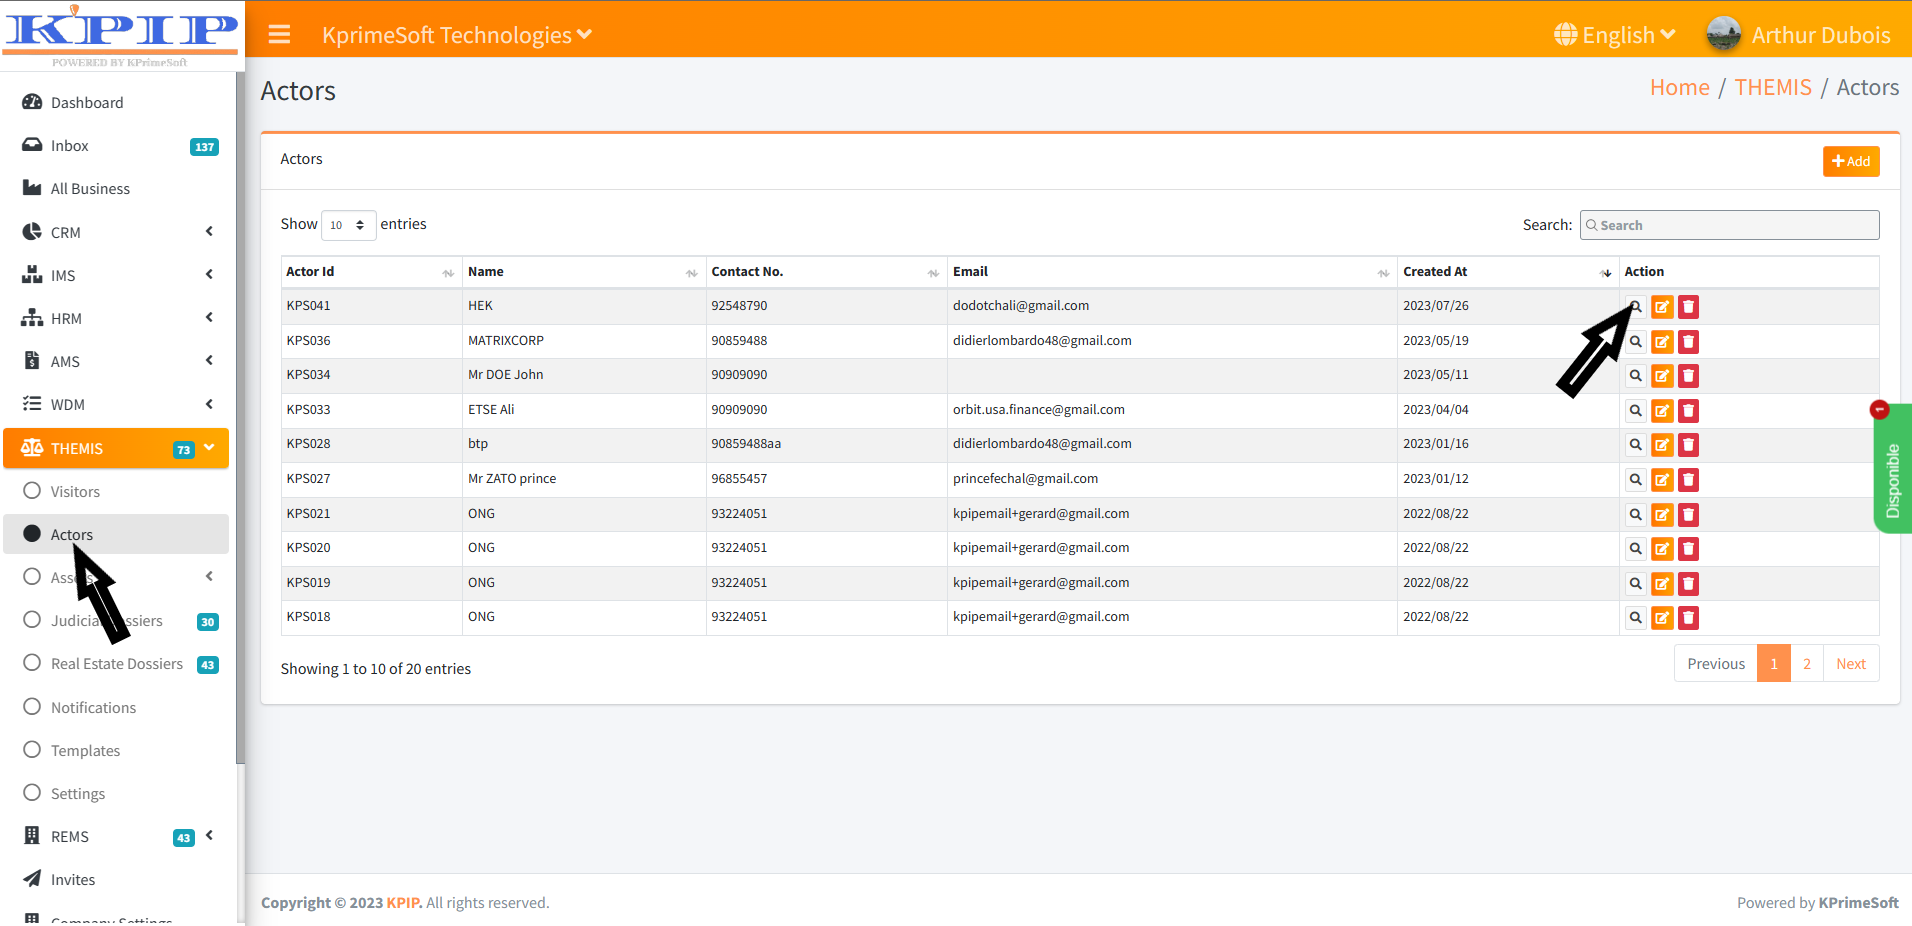
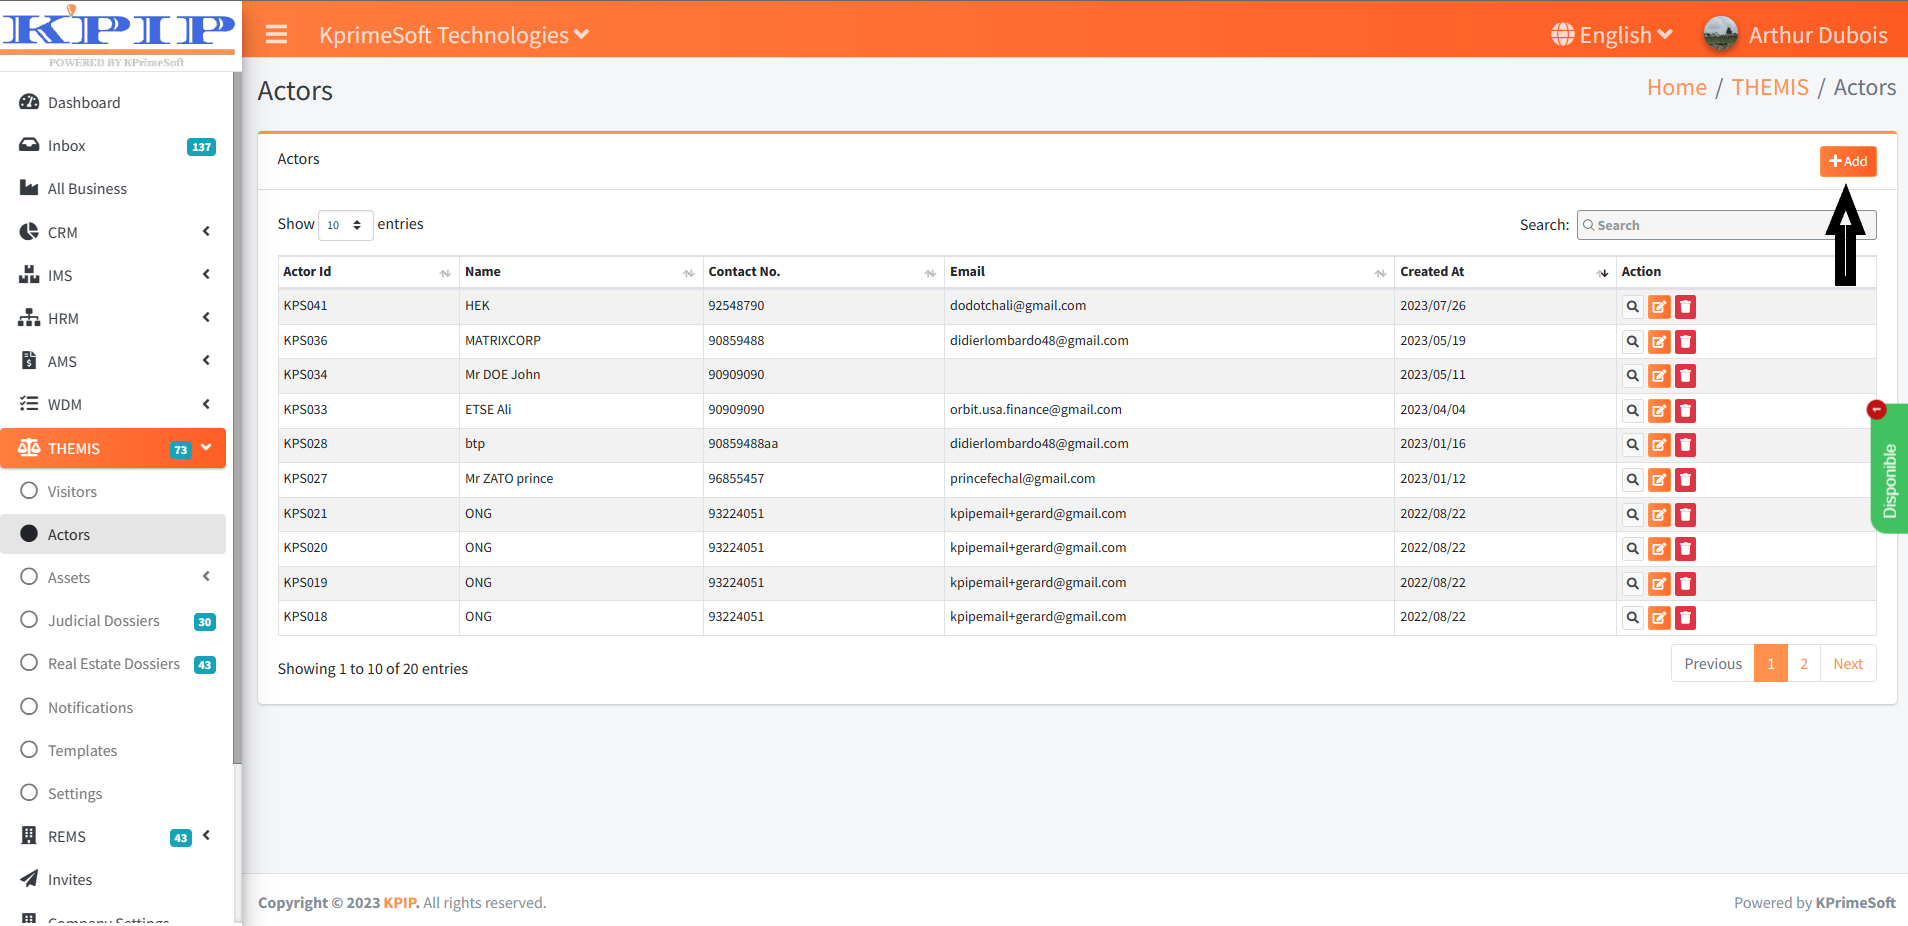
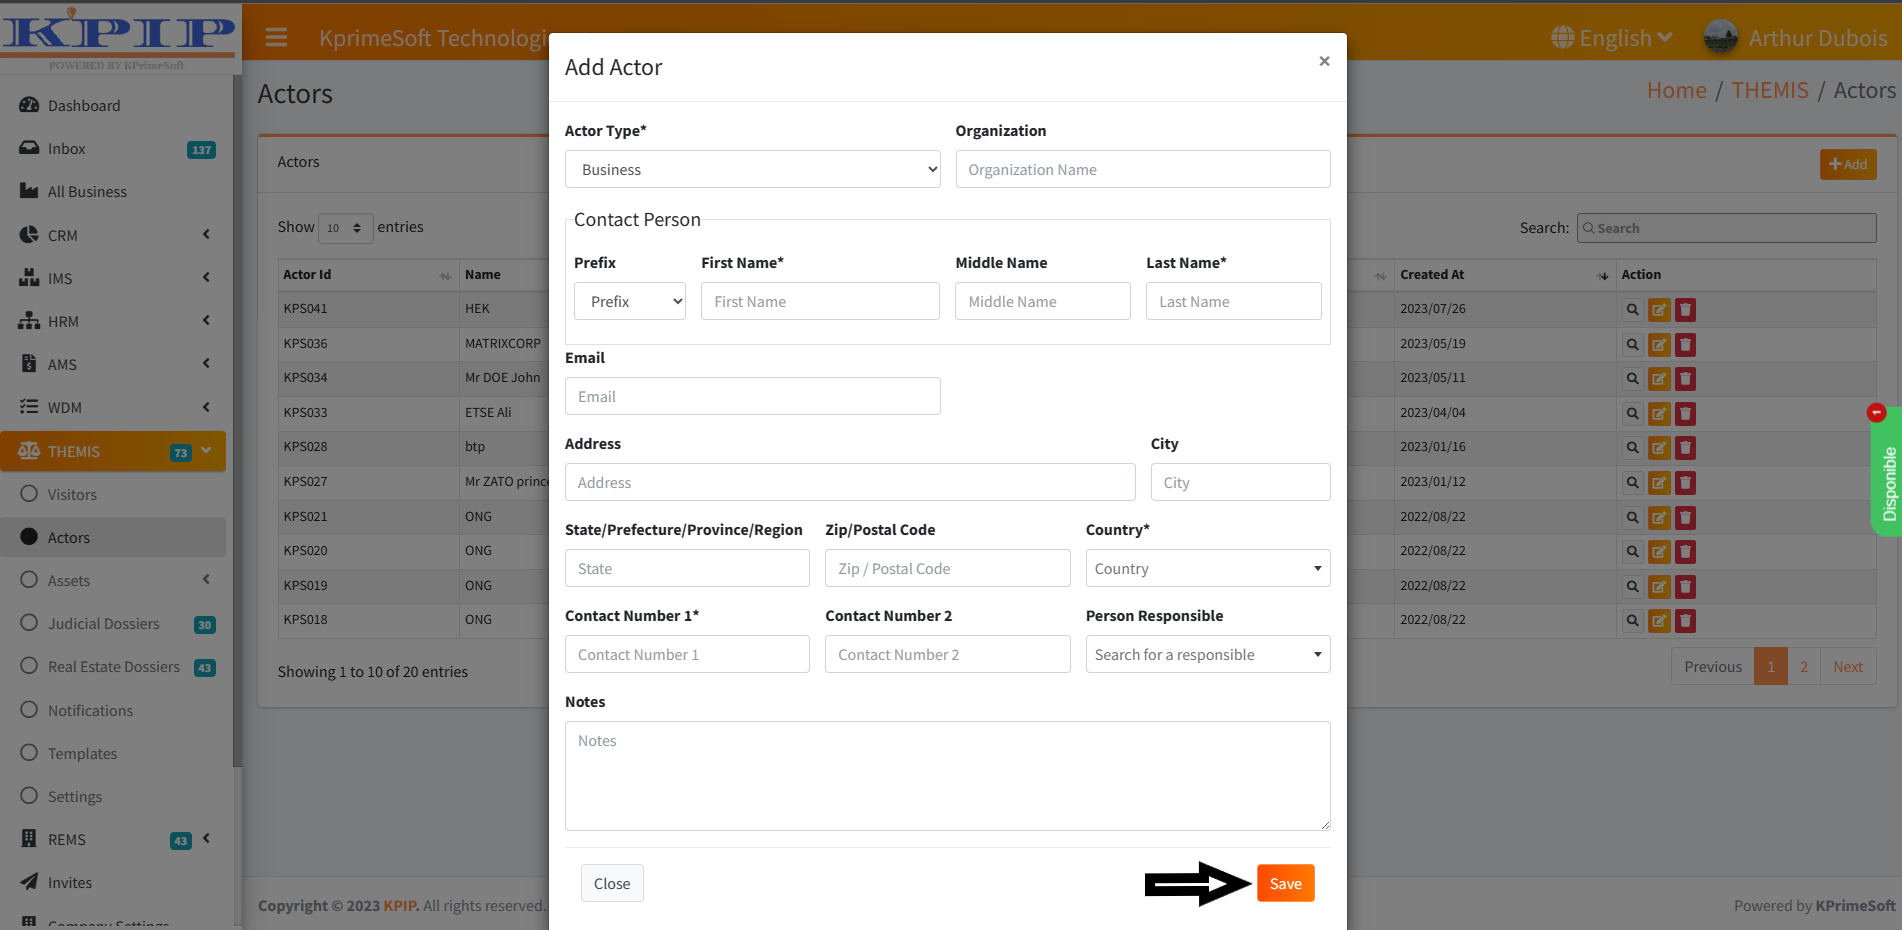
III - ACTORS
Similarly, this feature allows you to manage actors (requestor, requestee, and third party) associated with a legal case. When you access the “Actors” feature, a new page will showcase all the actors you've registered. In the “Action” section, you have the option to view actor details, make edits, or delete an actor.
To include a new actor, click on the “Add” button. On the ensuing page, fill out the registration form and then click the “Save” button to confirm.
The “Show Entries” option grants you the ability to define the number of actors displayed per page.
Likewise, the “Search for an actor” function permits you to swiftly locate a specific actor by entering their name.
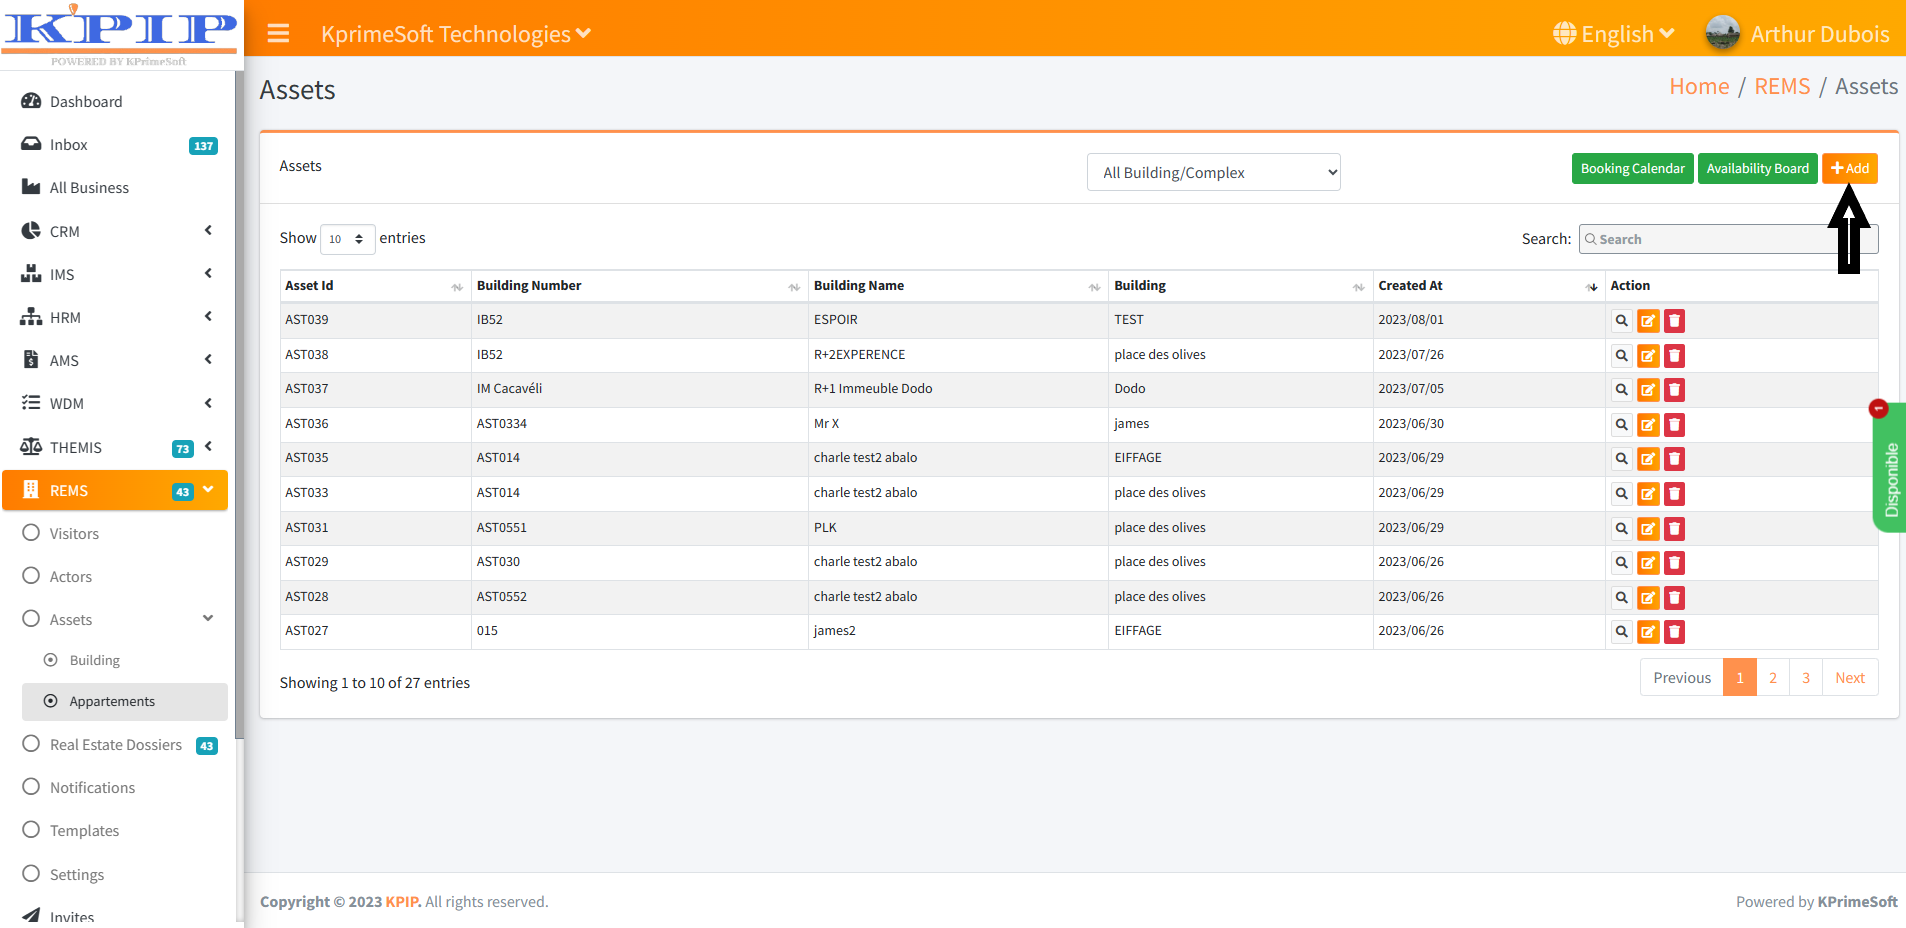
IV - ASSETS
1- Building
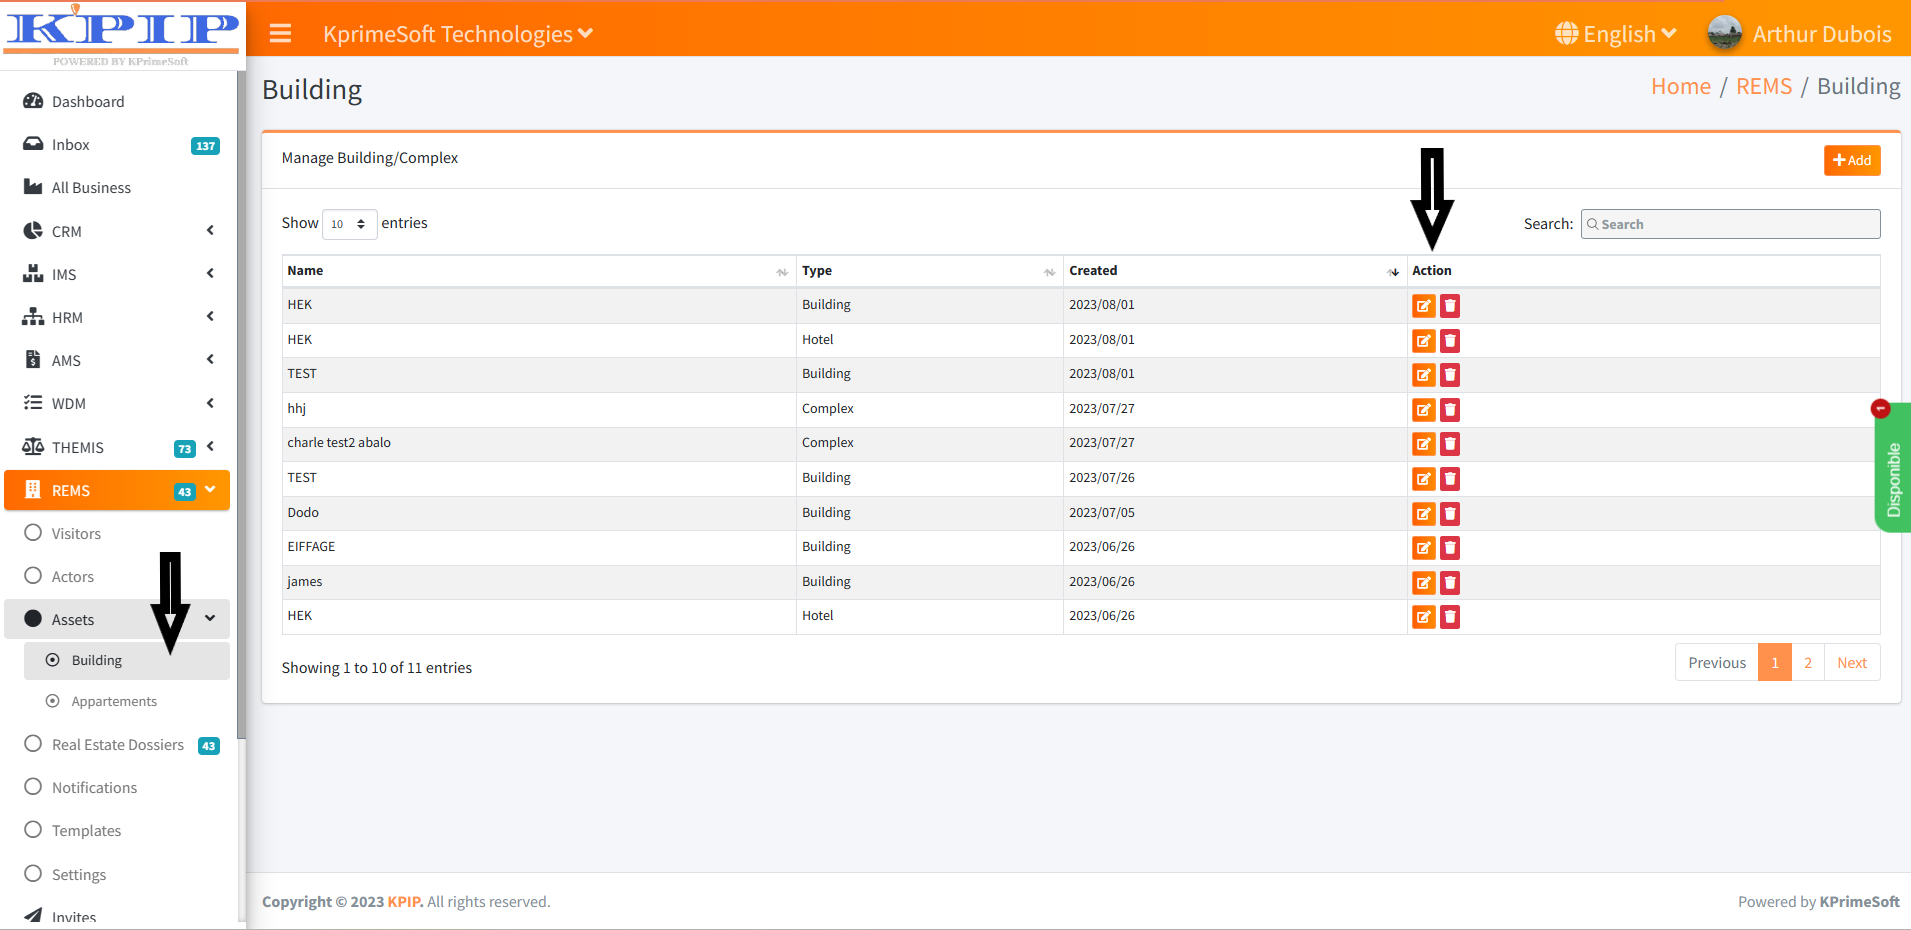
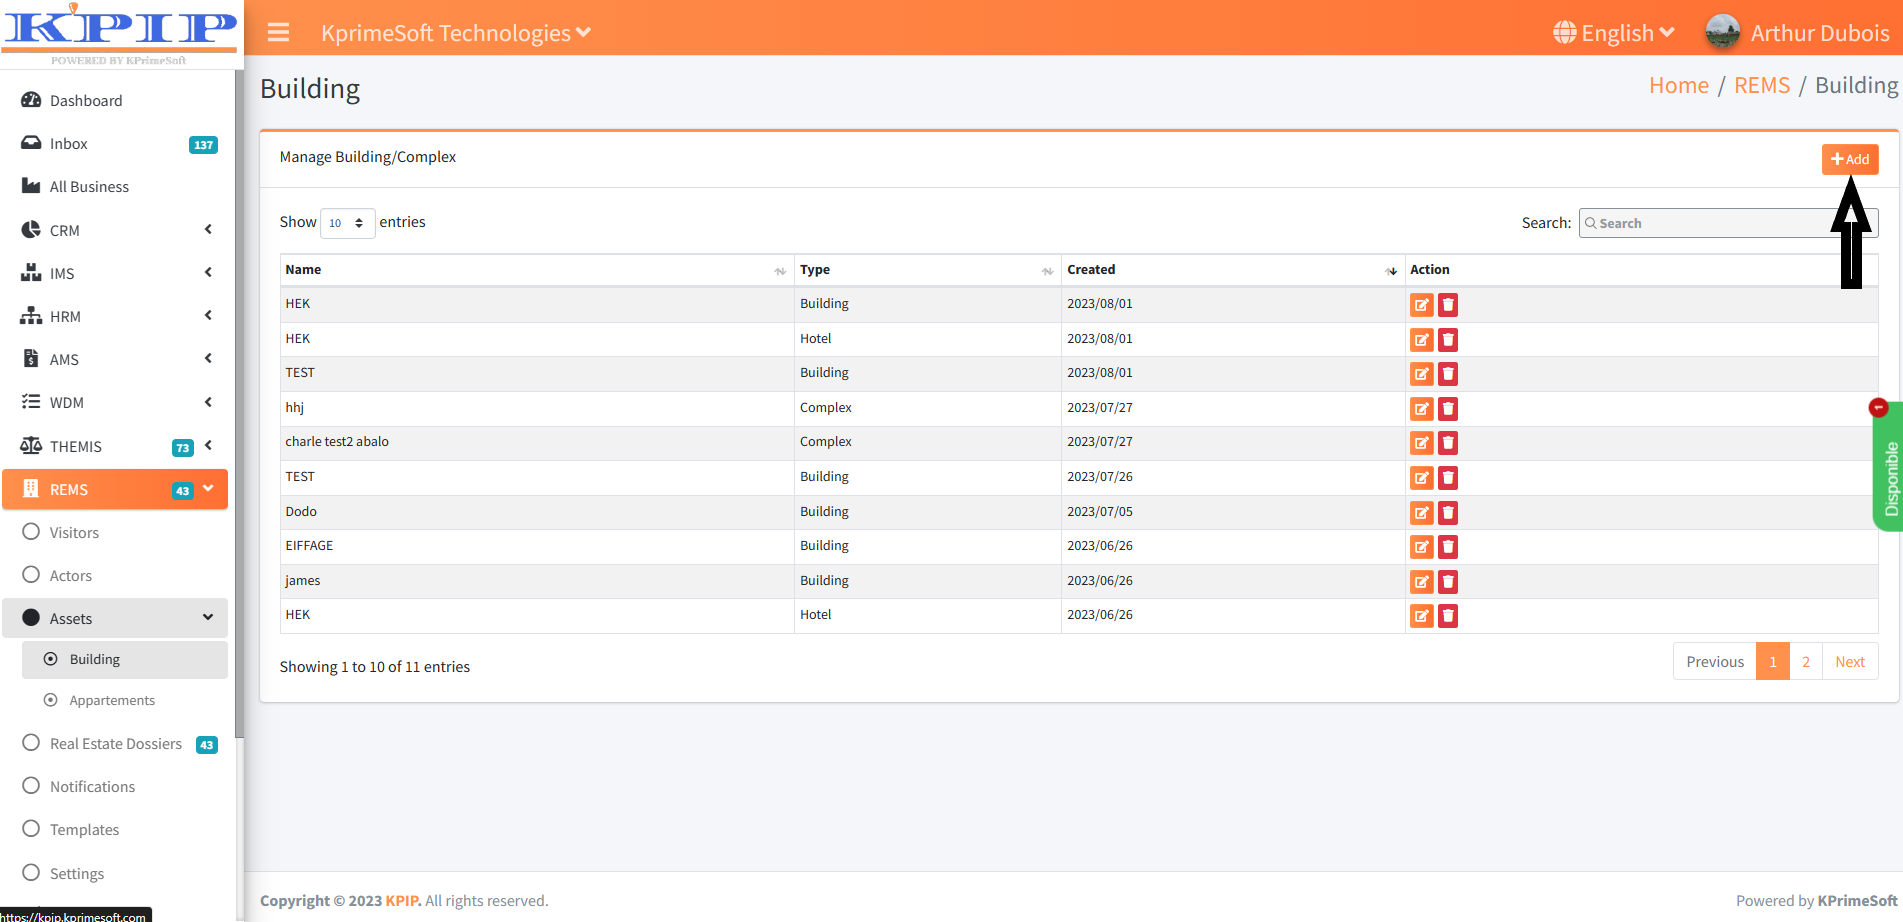
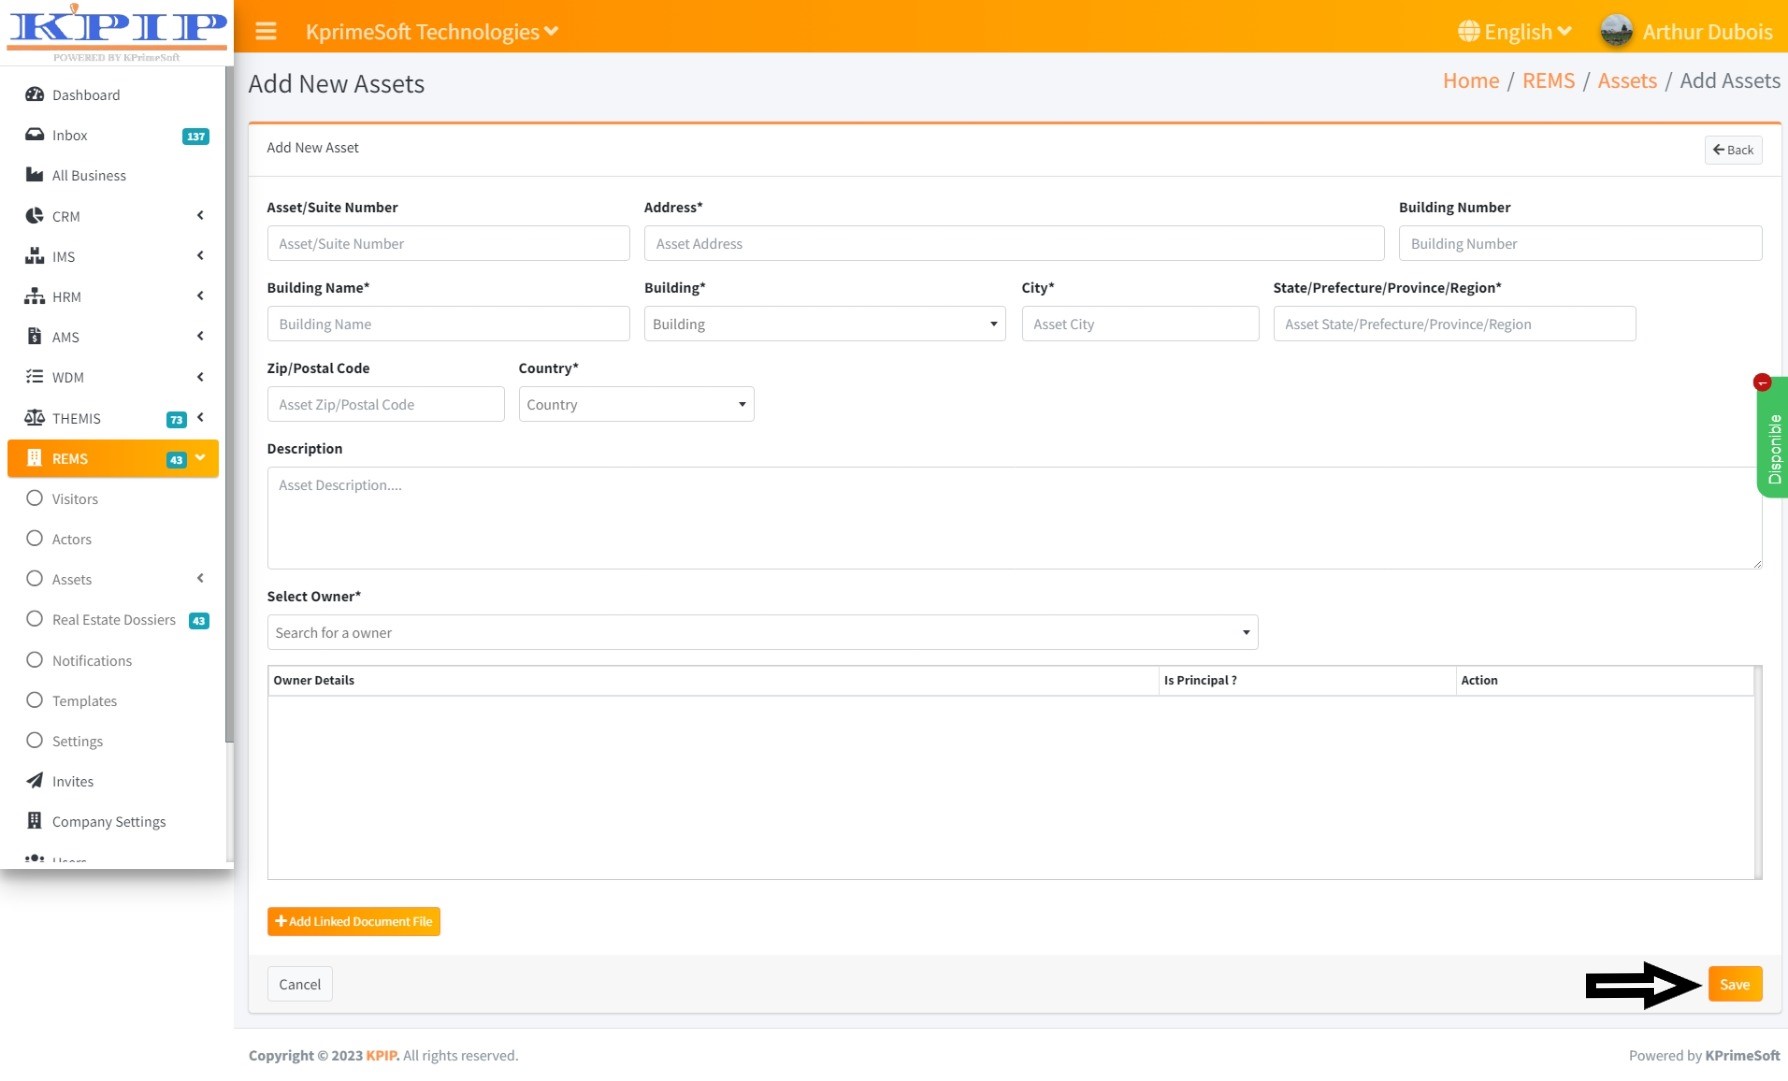
This feature enables you to include a building as part of the real estate file's constitution. Upon selecting the "Assets" and then the "Building" feature, all the buildings that you have previously registered will be displayed on a new page. In the "Action" section, you have the option to view the detailed information of an asset, edit it, or delete it.
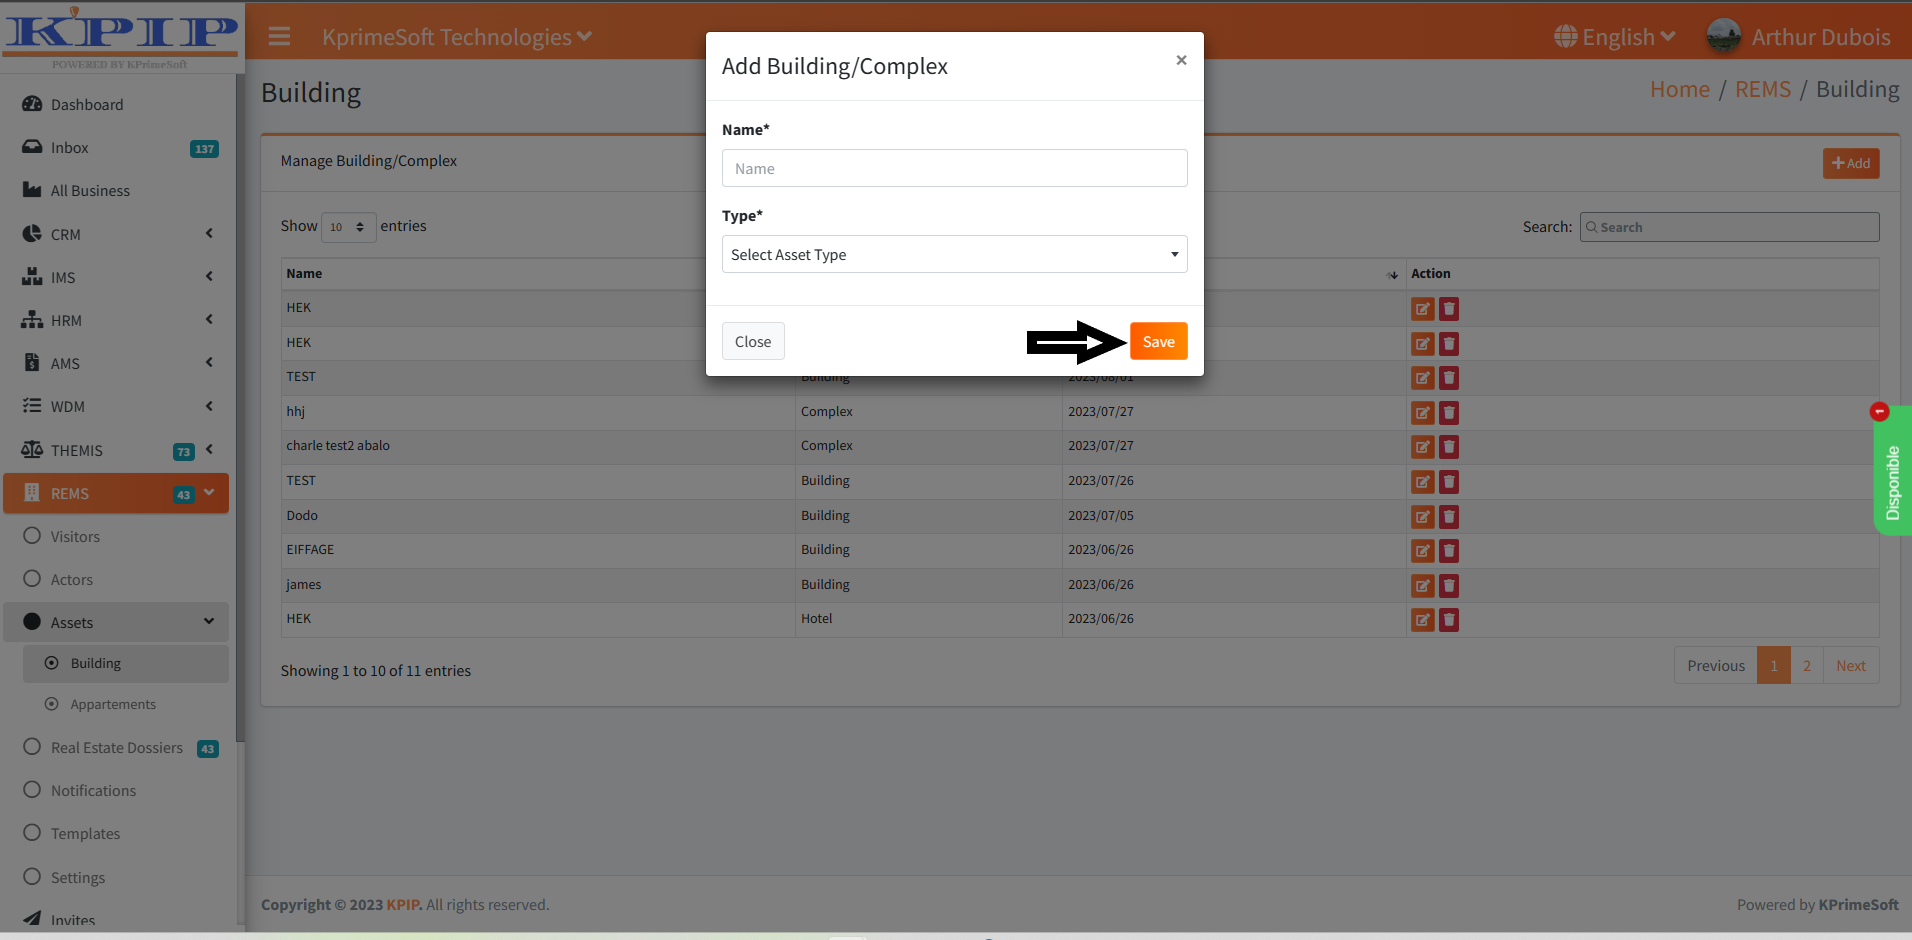
To add a building, click on the "Add" button. On the ensuing page, complete the registration form and then click the "Save" button to save the information.
The "Show entries" option empowers you to specify the number of buildings you wish to appear per page.
The "Search" option facilitates a swift search for a building by entering its name.
2- Appartements
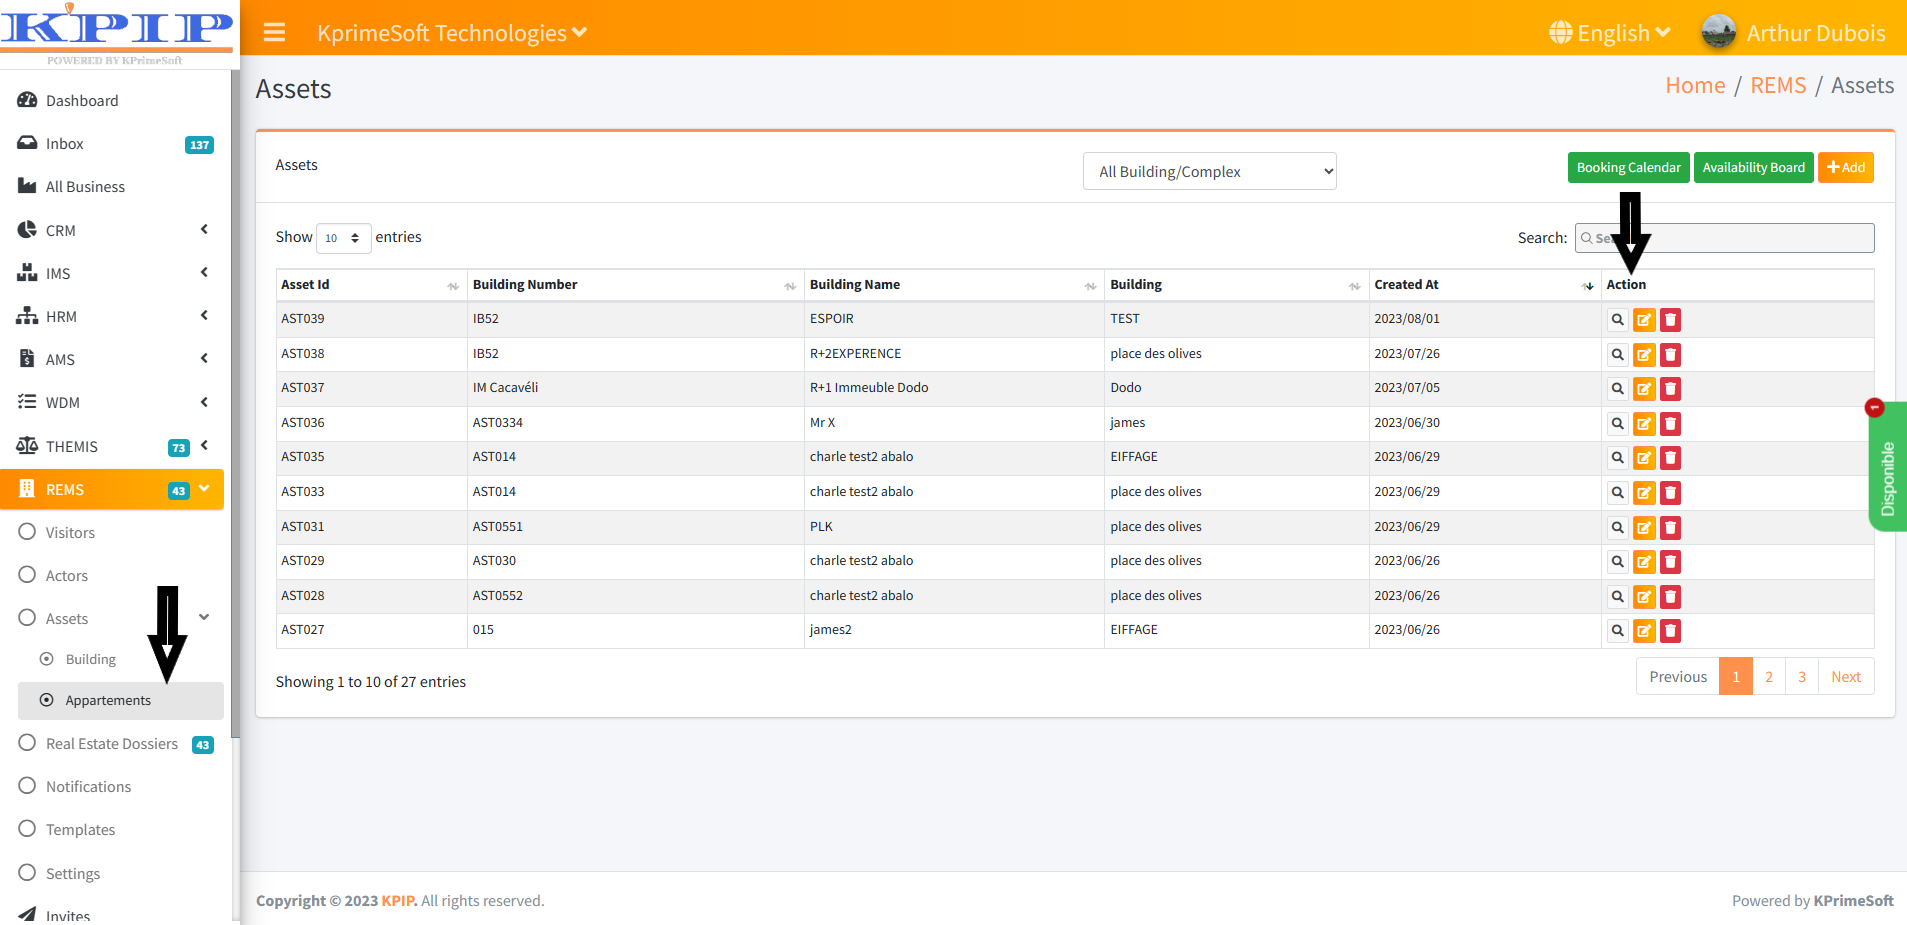
Similarly, this feature permits you to include apartments as part of the real estate file's constitution. Upon selecting the "Assets" and then the "Apartments" feature, all the apartments that you have previously registered will be displayed on a new page. In the "Action" section, you have the option to view the detailed information of an asset, edit it, or delete it.
To add an apartment, click on the "Add" button. On the ensuing page, complete the registration form and then click the "Save" button to preserve the information.
The "Show entries" option also enables you to determine the number of apartments you desire to be shown per page.
The "Search" option allows you to swiftly search for an apartment by entering its name.
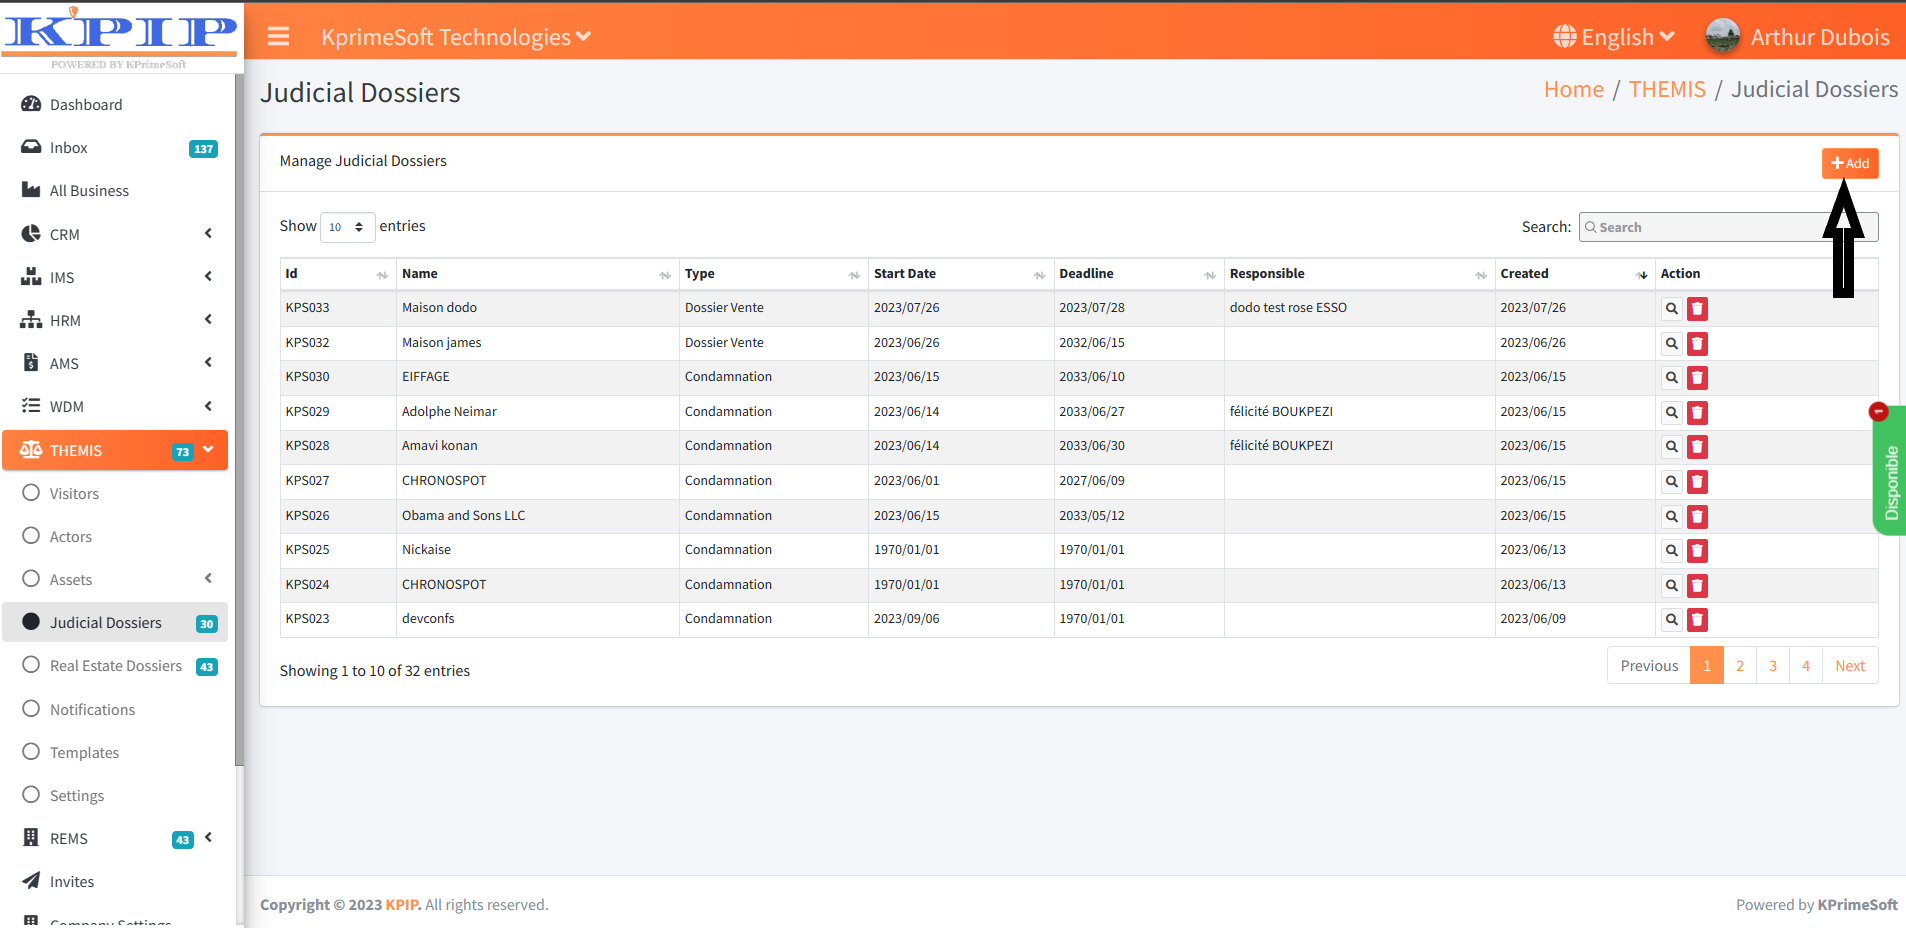
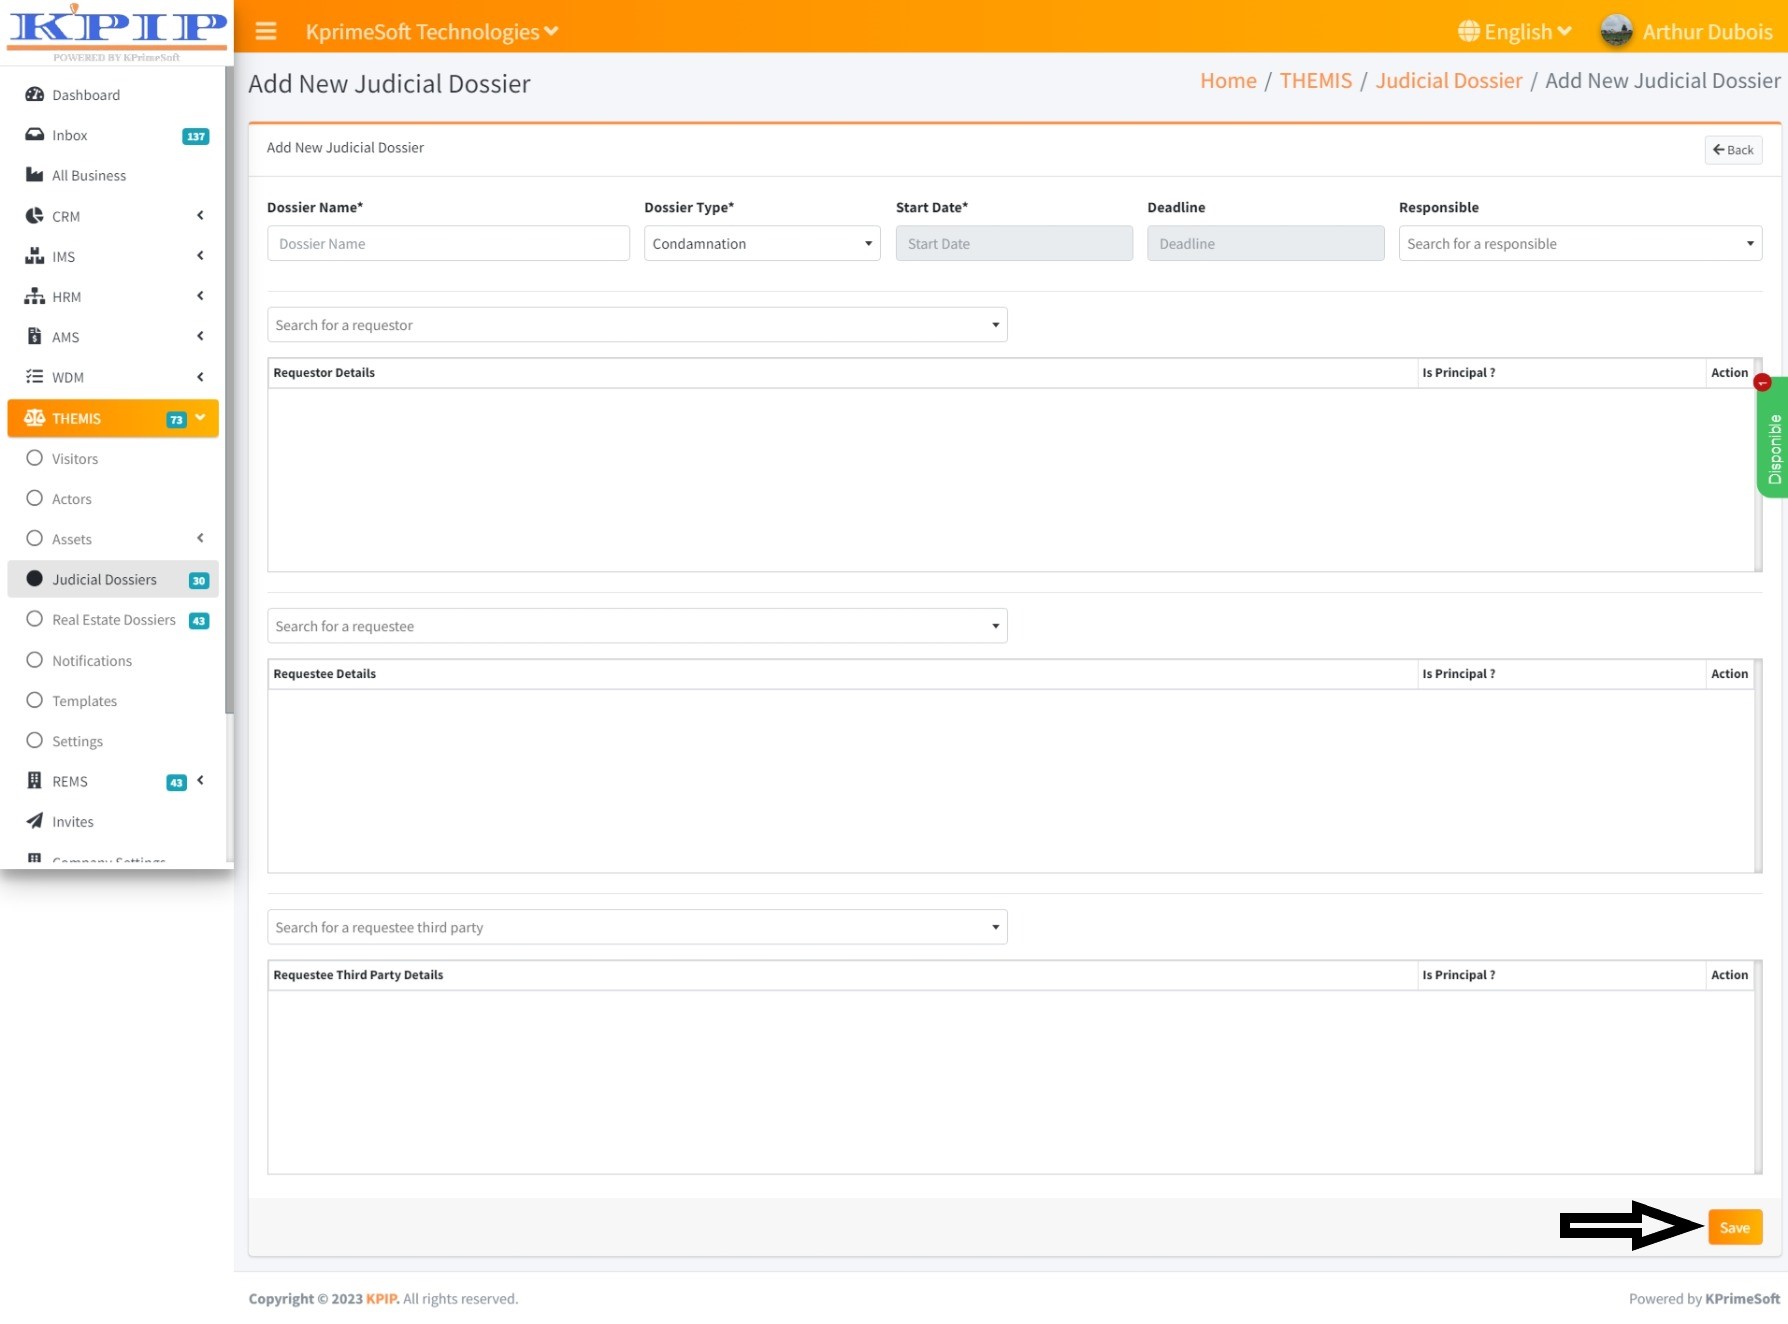
V - JUDICIAL DOSSIERS
This feature enables you to create and manage judicial dossiers.
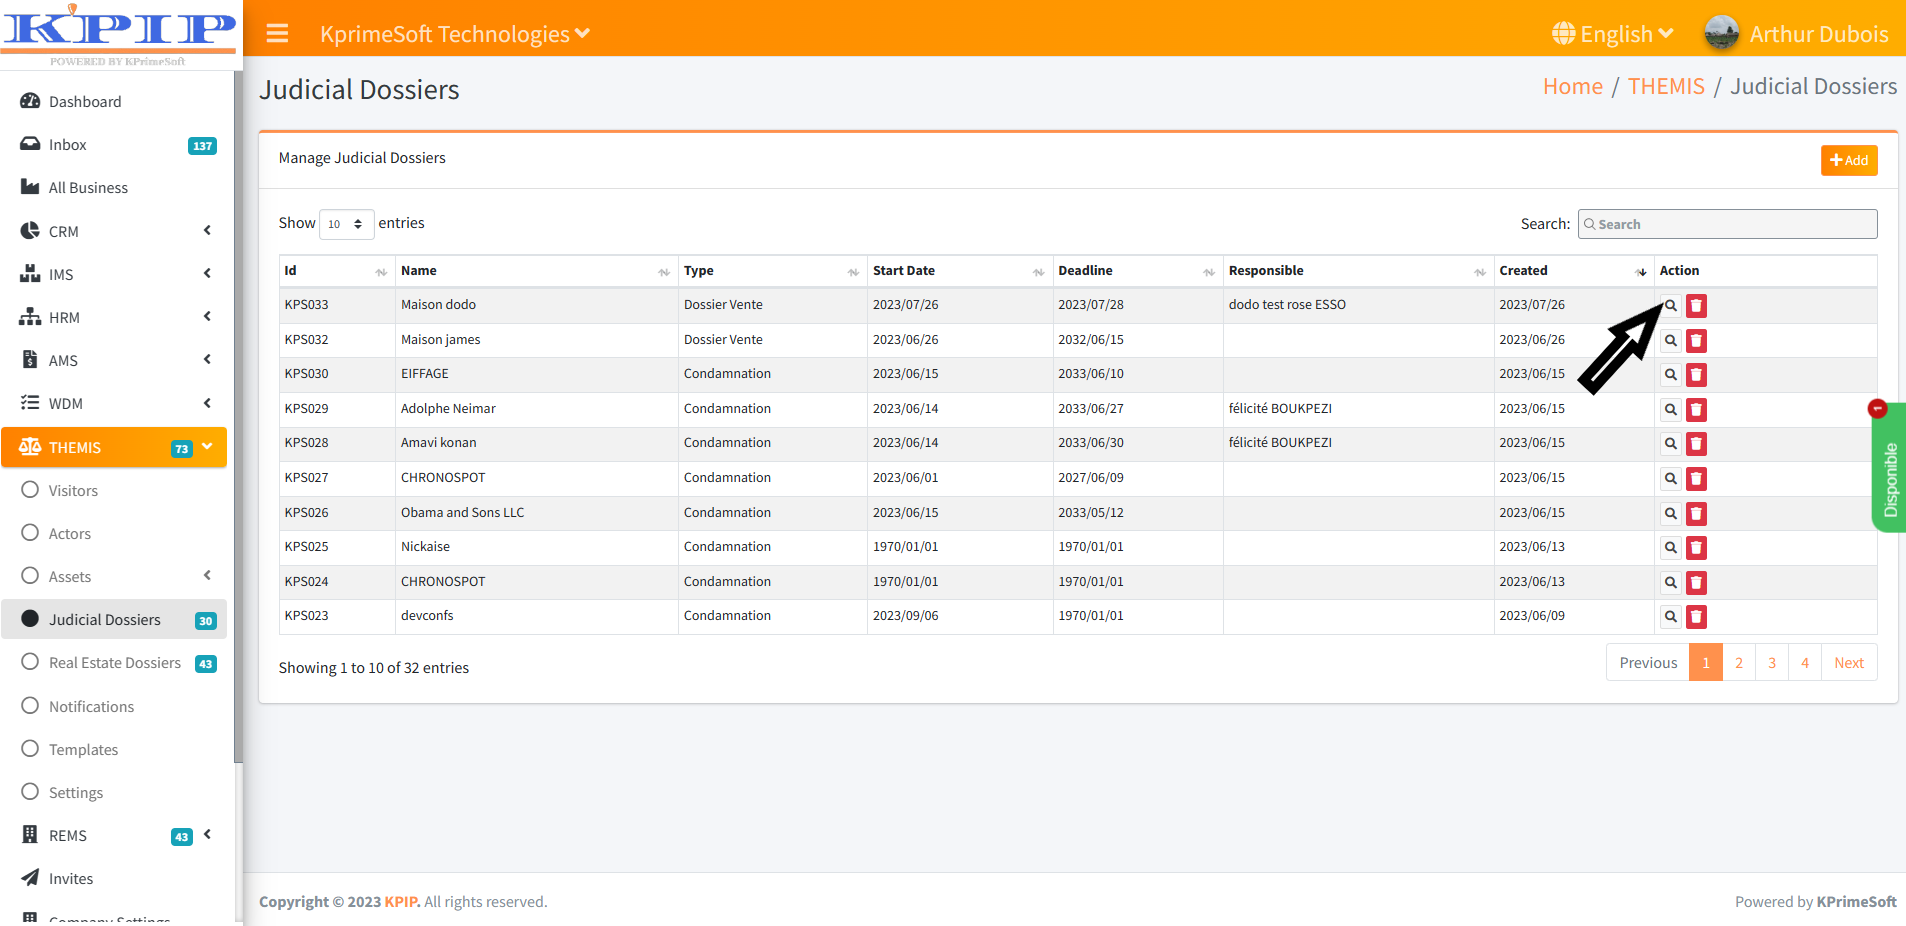
Upon selecting the "Judicial Dossier" feature, a new page will display all the dossiers you have previously saved. Within the "Action" section, you can access the details of a legal file, edit its information, or delete it.
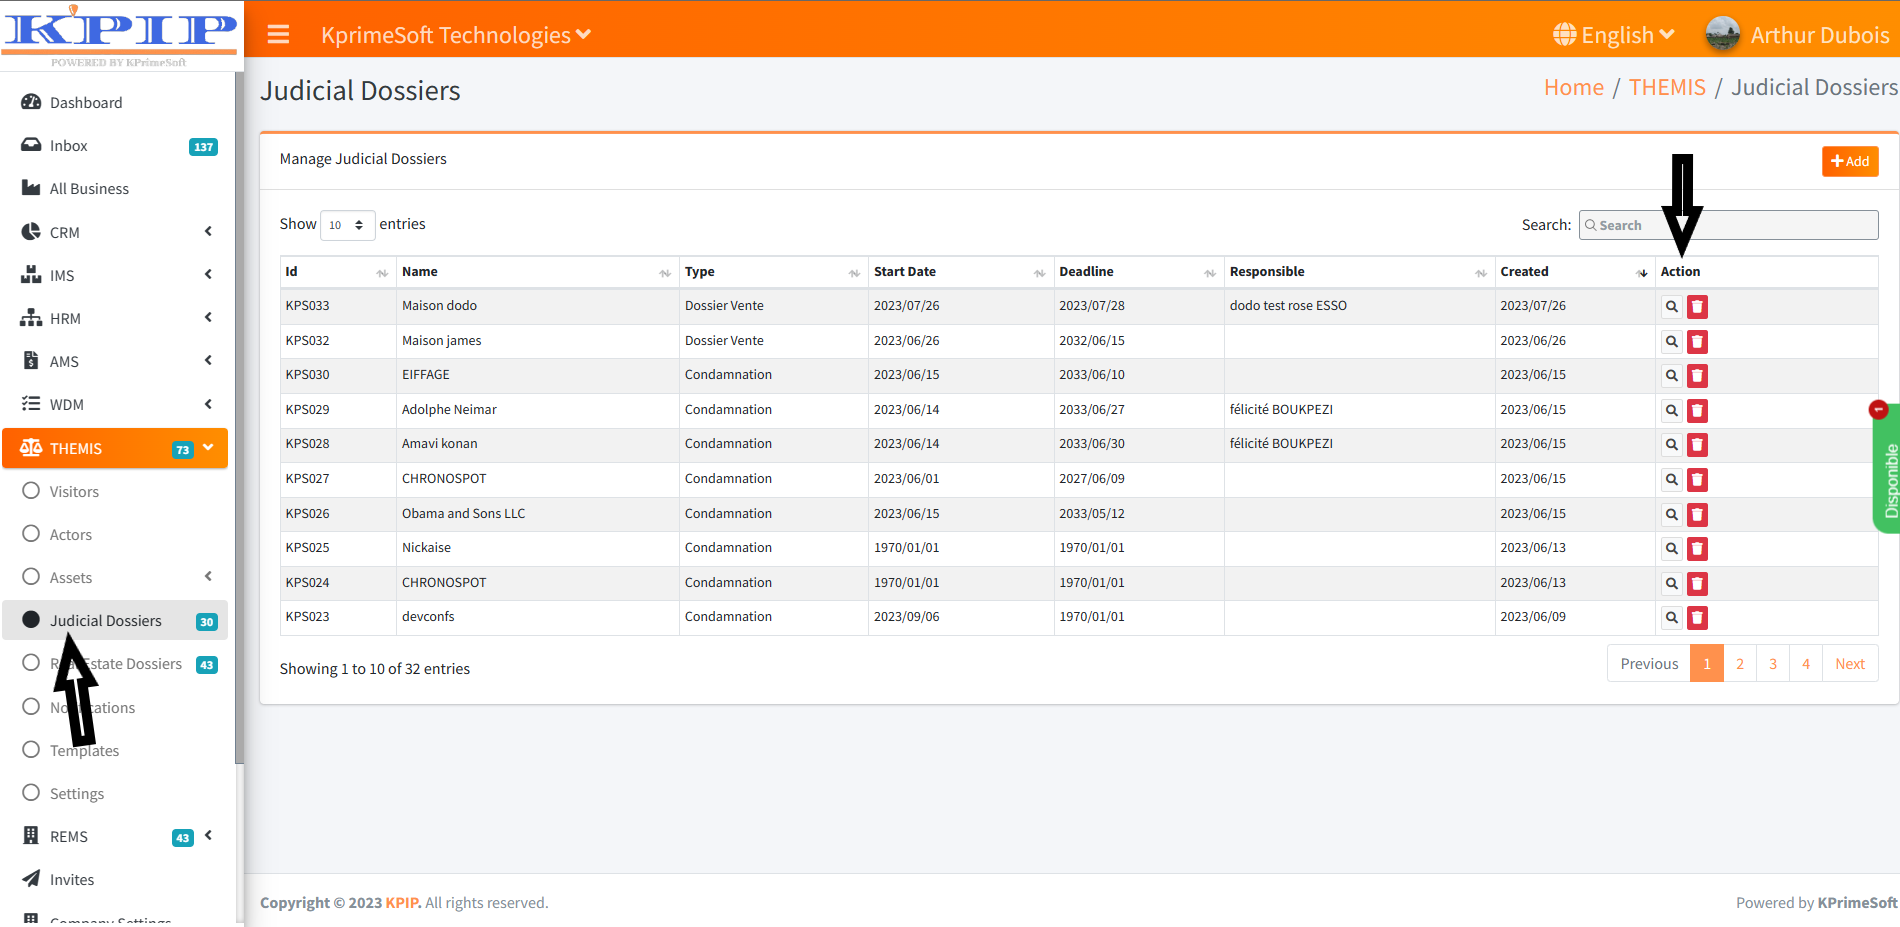
To add a court file, click the "Add" button. On the subsequent page, complete the registration form and then click "Save" to store the information.
The "Show Entries" option allows you to define the number of court records to be displayed per page.
The "Search" option facilitates quick retrieval of a court file by entering its name.
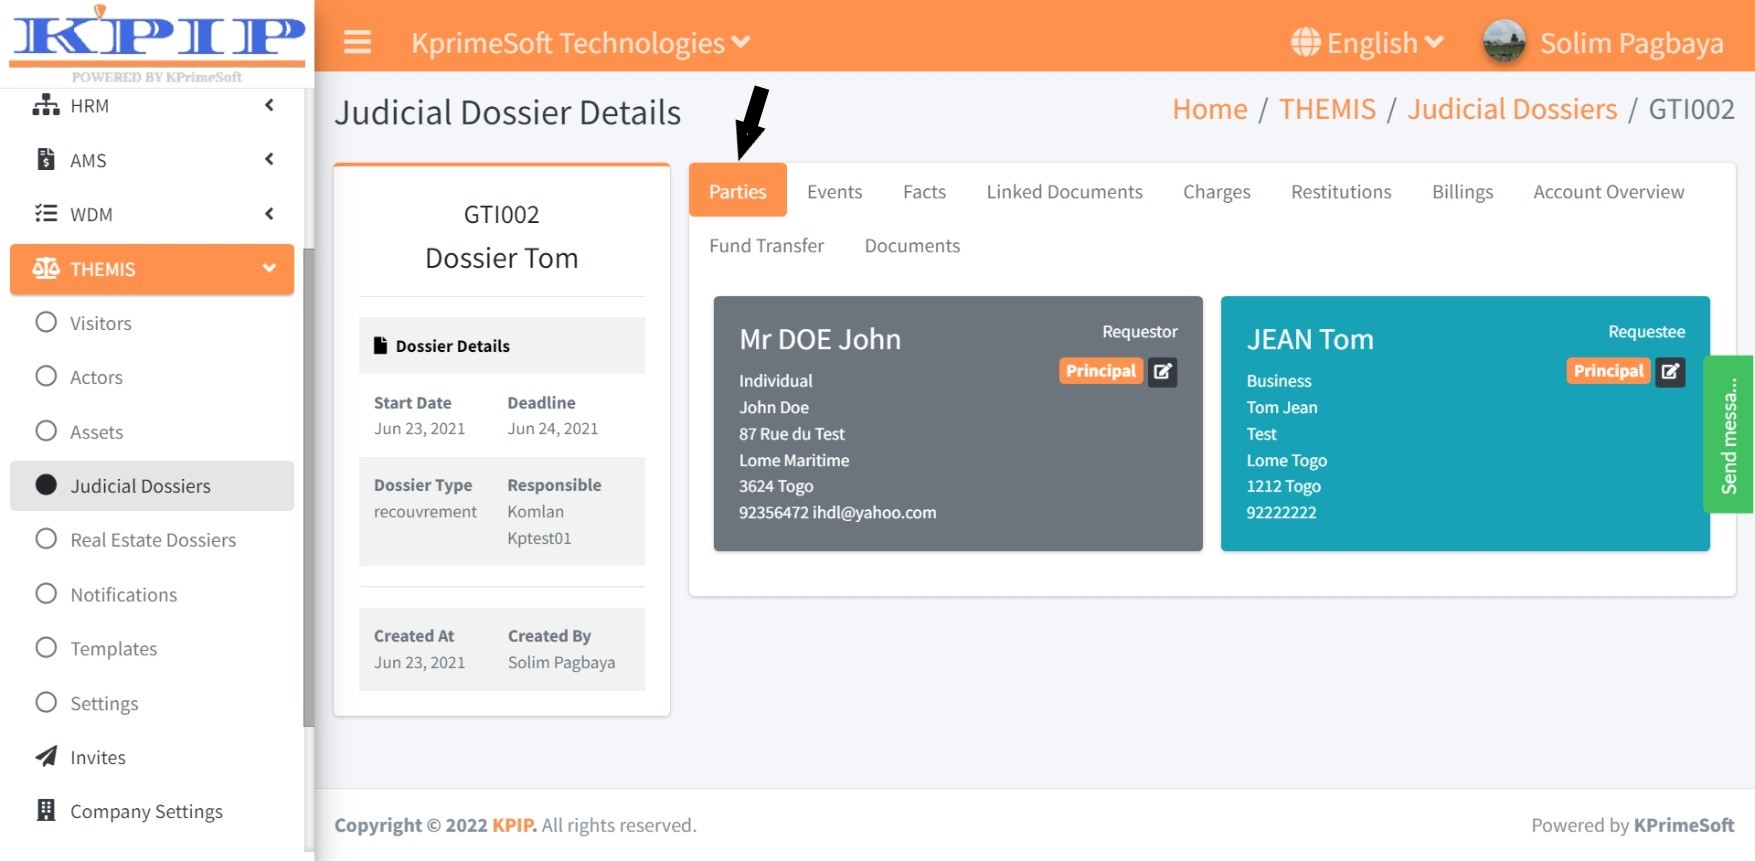
For the management of a legal file post-creation, select the "Details" button within the pertinent file's "Action" section. This provides access to the following sections: Parties, Events, Facts, Related Documents, Costs, Restitutions, Invoicing, Account Insights, Funds Transfers, and Documents.
1 - Parties
This functionality presents comprehensive details about all individuals involved in a judicial file.
2 - Events
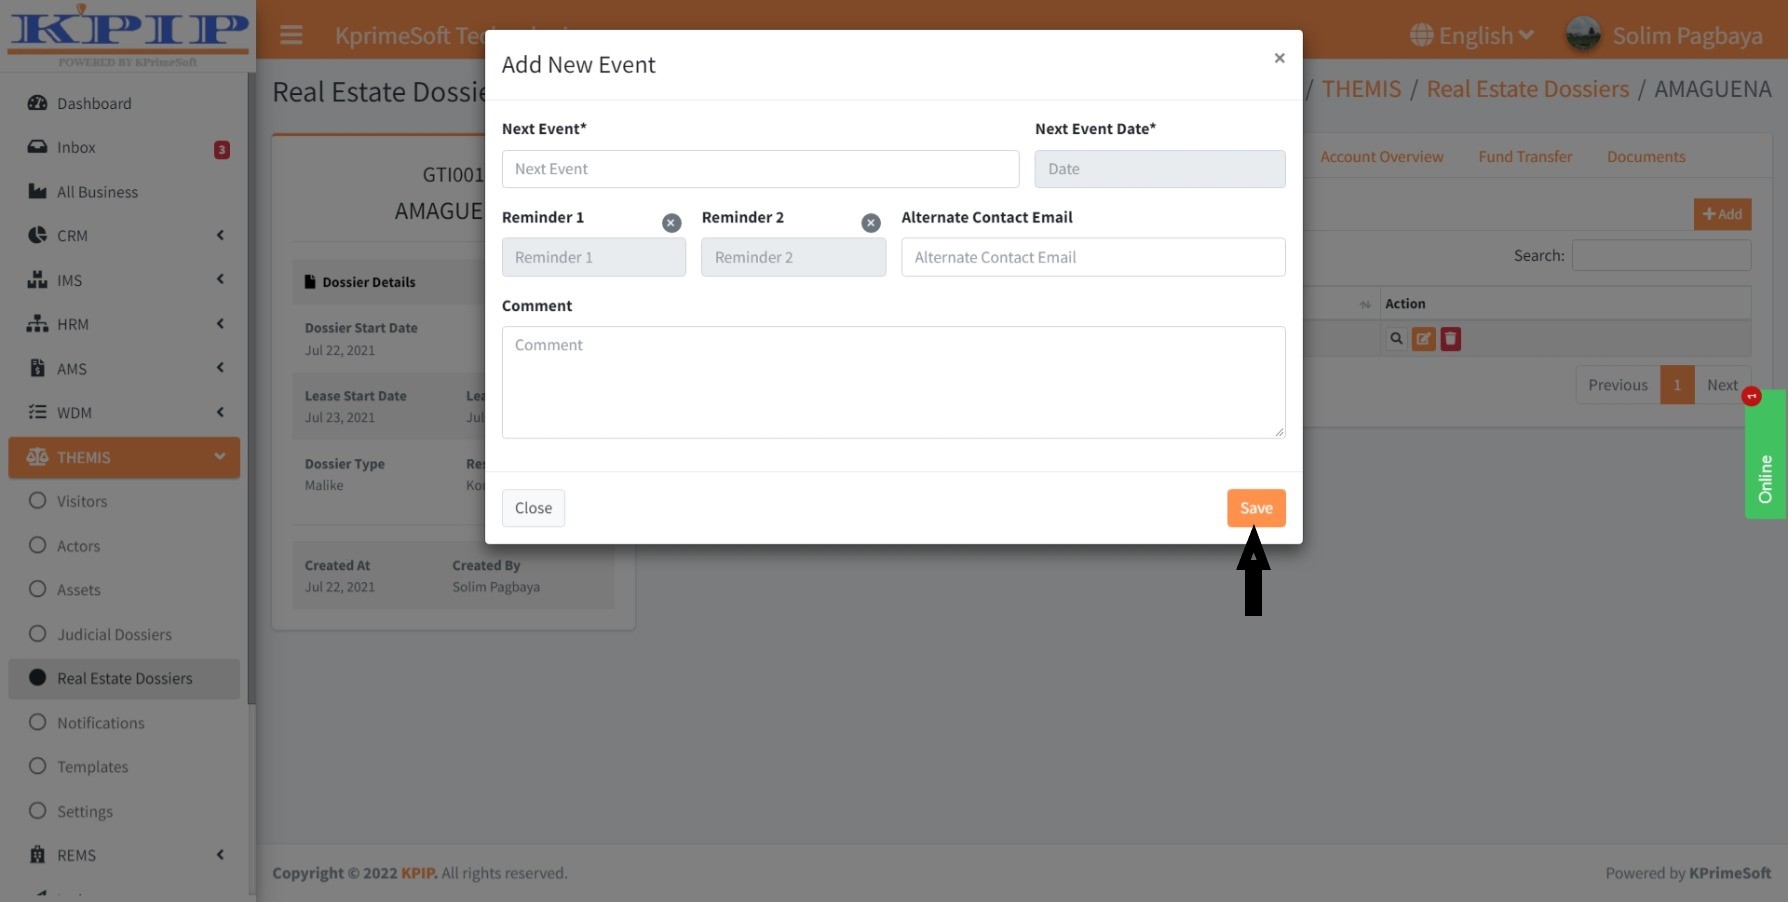
Furthermore, this feature permits the integration and setup of reminders for future events related to the file, which you will receive in your inbox at the specified time.
Upon clicking the "Event" functionality, a new page will showcase all saved events within the folder. The "Action" section allows you to view event details, make edits, or delete entries.

To add an event, click the "Add" button. Subsequently, complete the event programming form on the ensuing page and click "Save" to store the details.
3 - Facts
Additionally, this feature enables the incorporation of facts pertaining to the court case.
Upon selecting the "Facts" feature, a new page will display all recorded facts. Within the "Action" section, you can edit or delete facts.
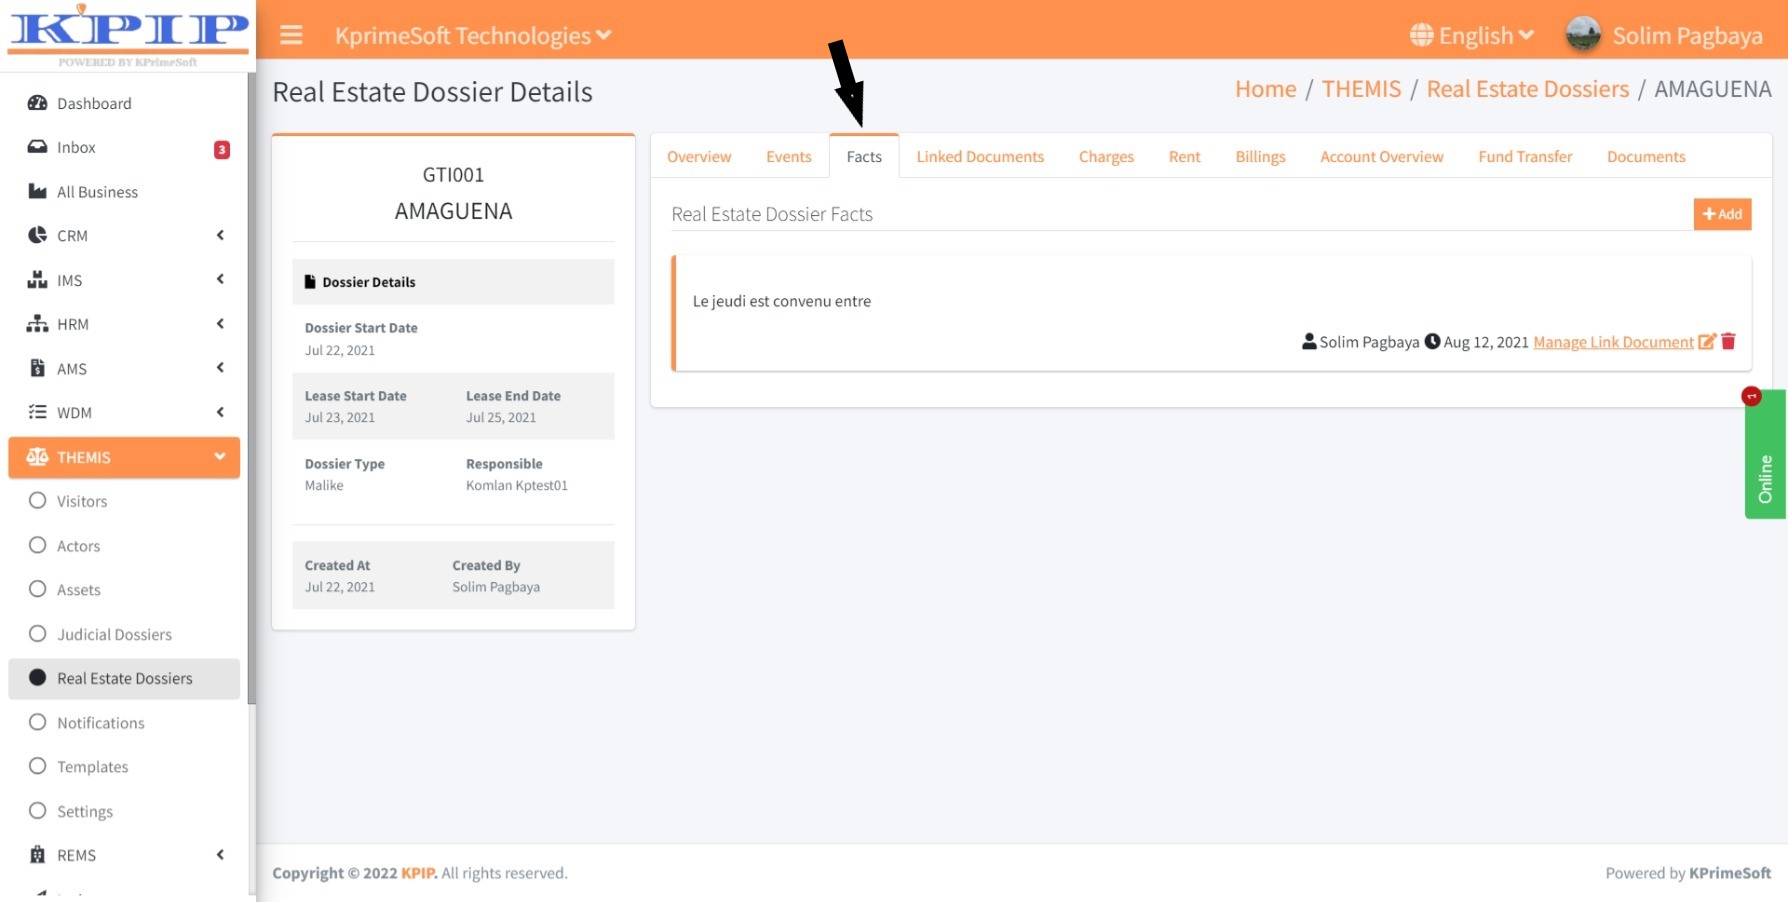
To add a fact, click the "Add" button. On the following page, input the fact and then click "Save" to store it.
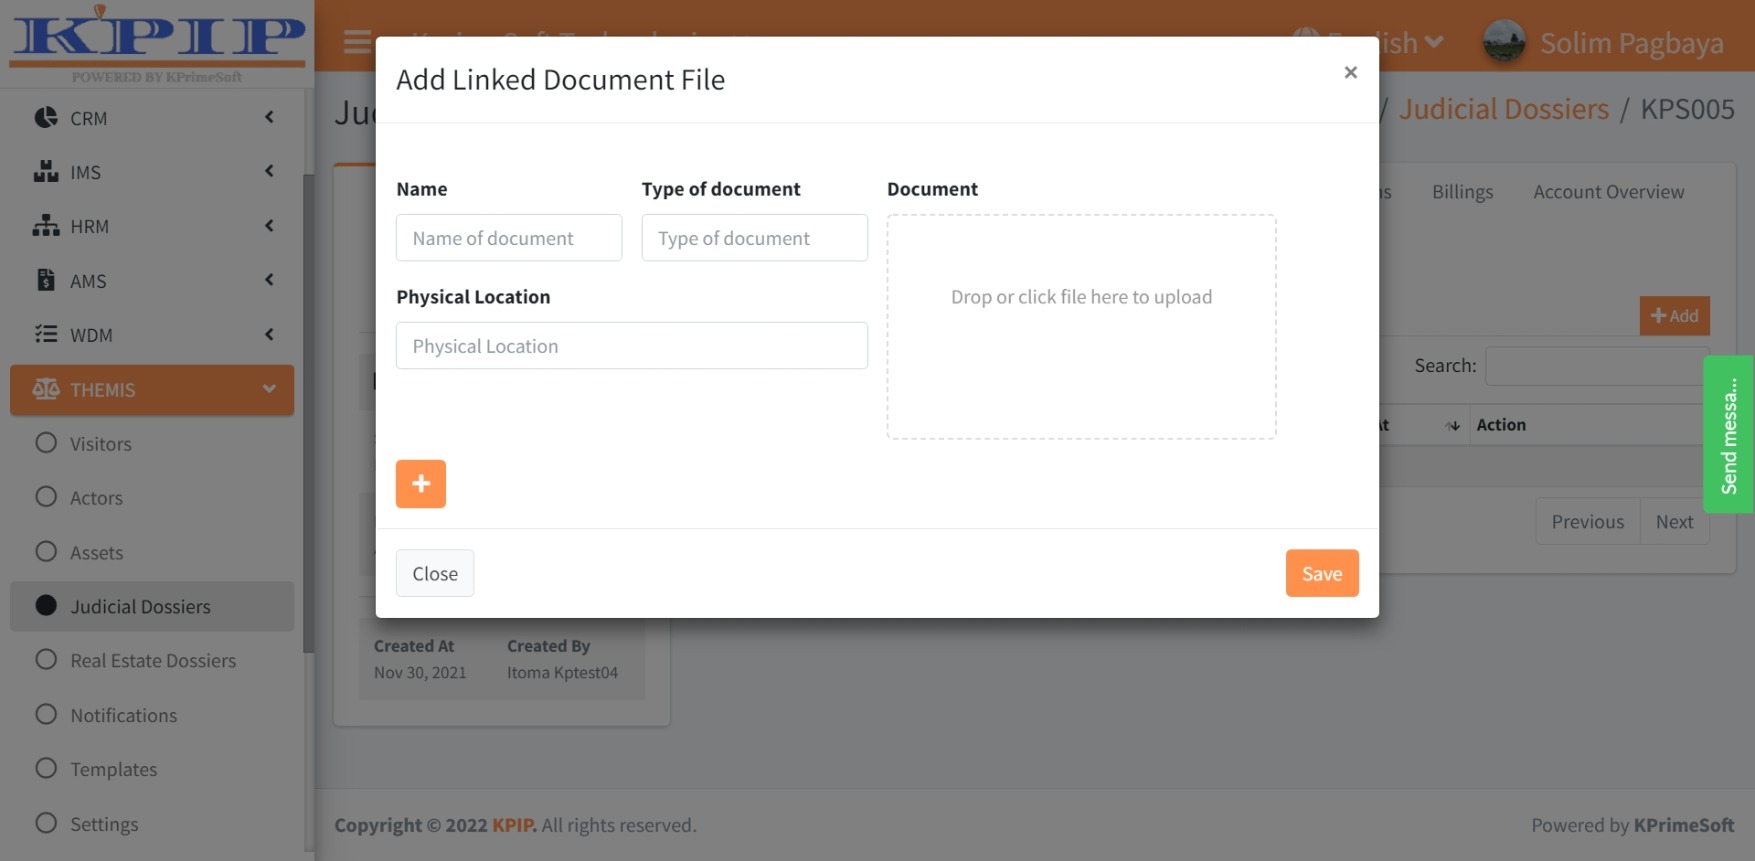
4 - Linked documents
Moreover, this feature allows you to attach one or multiple documents related to the court file.
Upon clicking the "Linked documents" feature, a new page will exhibit all documents linked to the file. In the "Action" section, you can access details, edit, or delete linked documents.
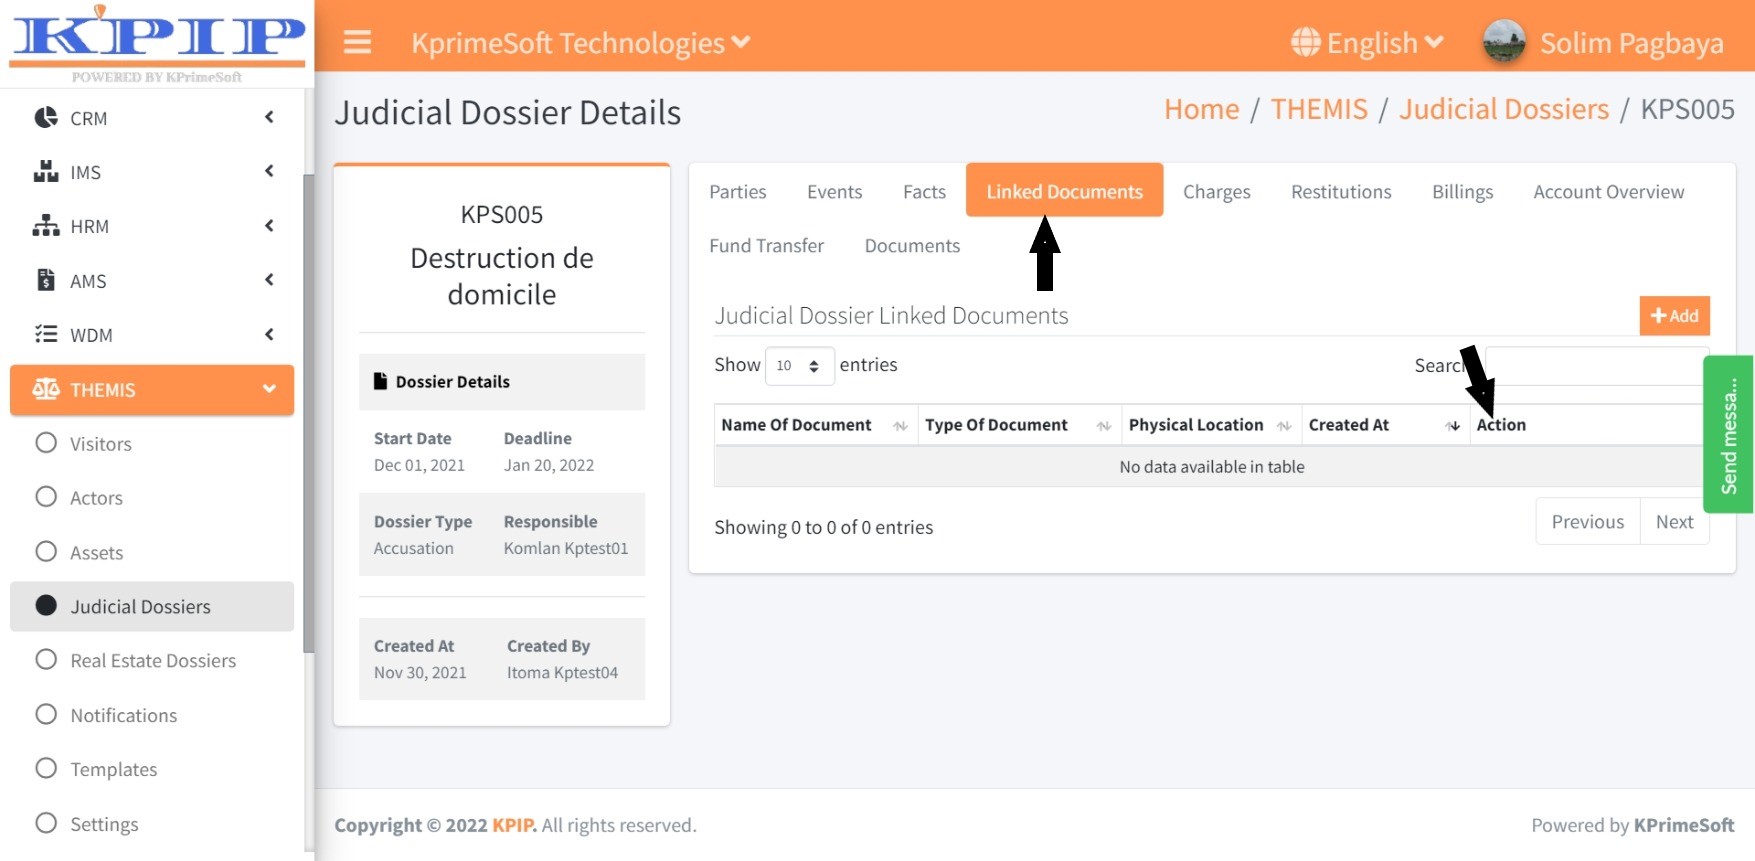
To add a linked document, click the "Add" button. On the ensuing page, complete the form, upload the document, and then click "Save" to store it.

5 - Charges
Furthermore, this feature facilitates the inclusion of fees associated with the court case.
Upon selecting the "Charges" feature, a new page will present all registered charges. Within the "Action" section, you can edit or deactivate a fee.
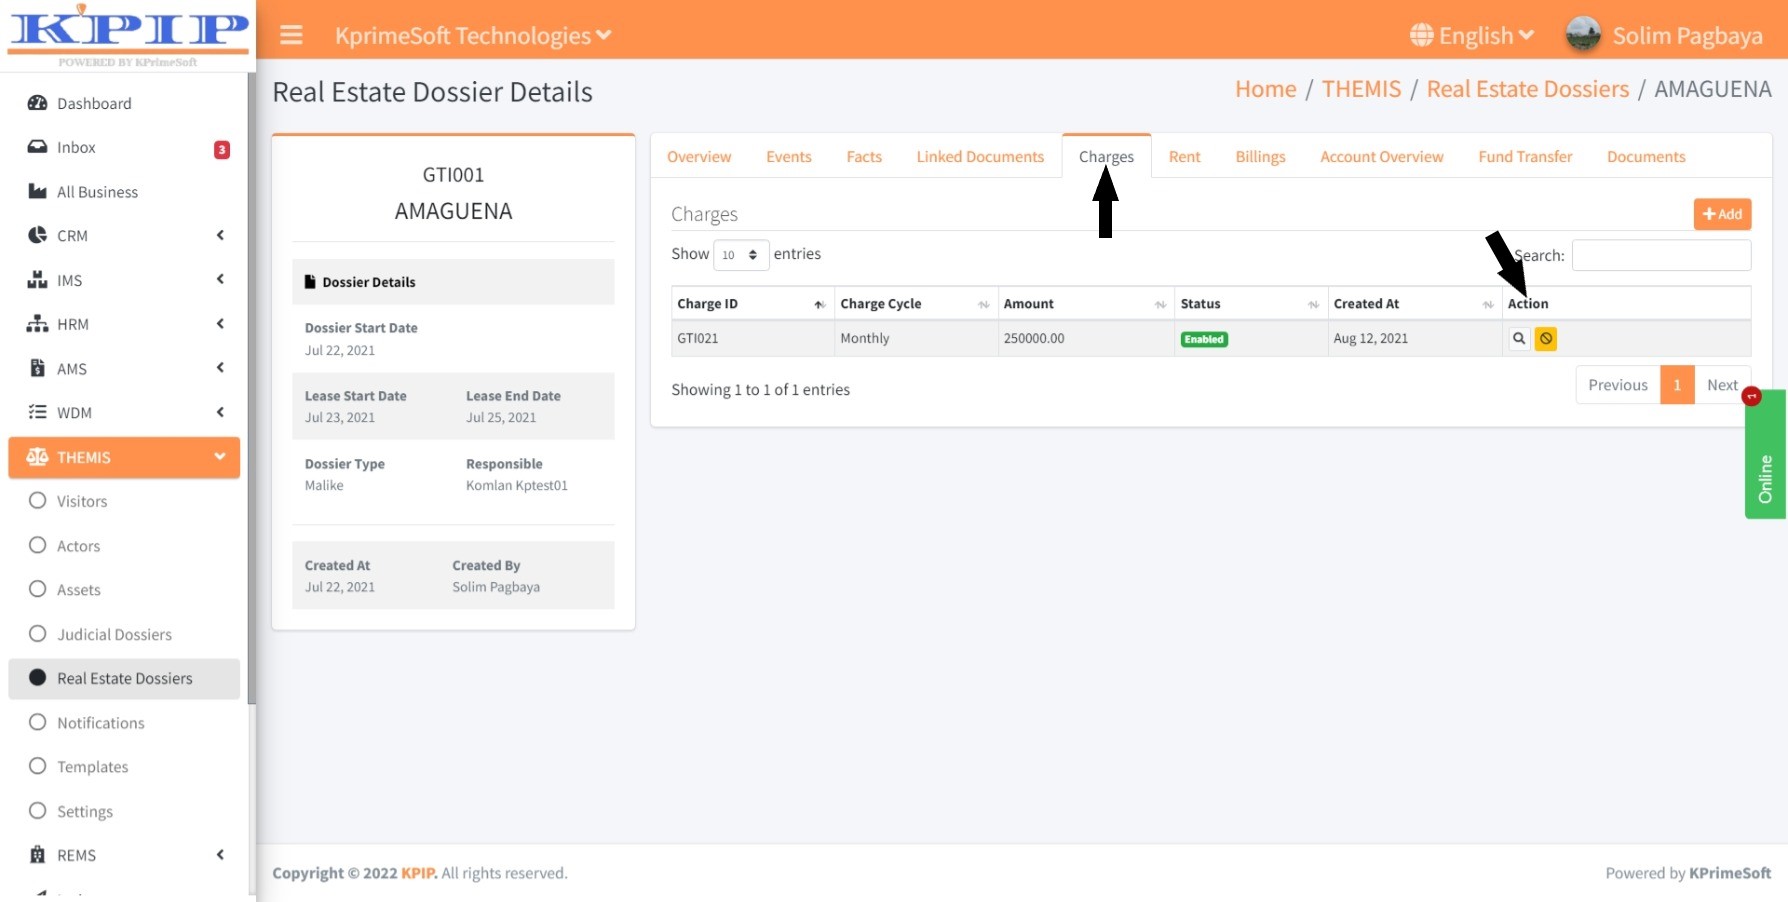
To add a fee, click the "Add" button. On the following page, complete the form and then click "Save" to store the fee information.

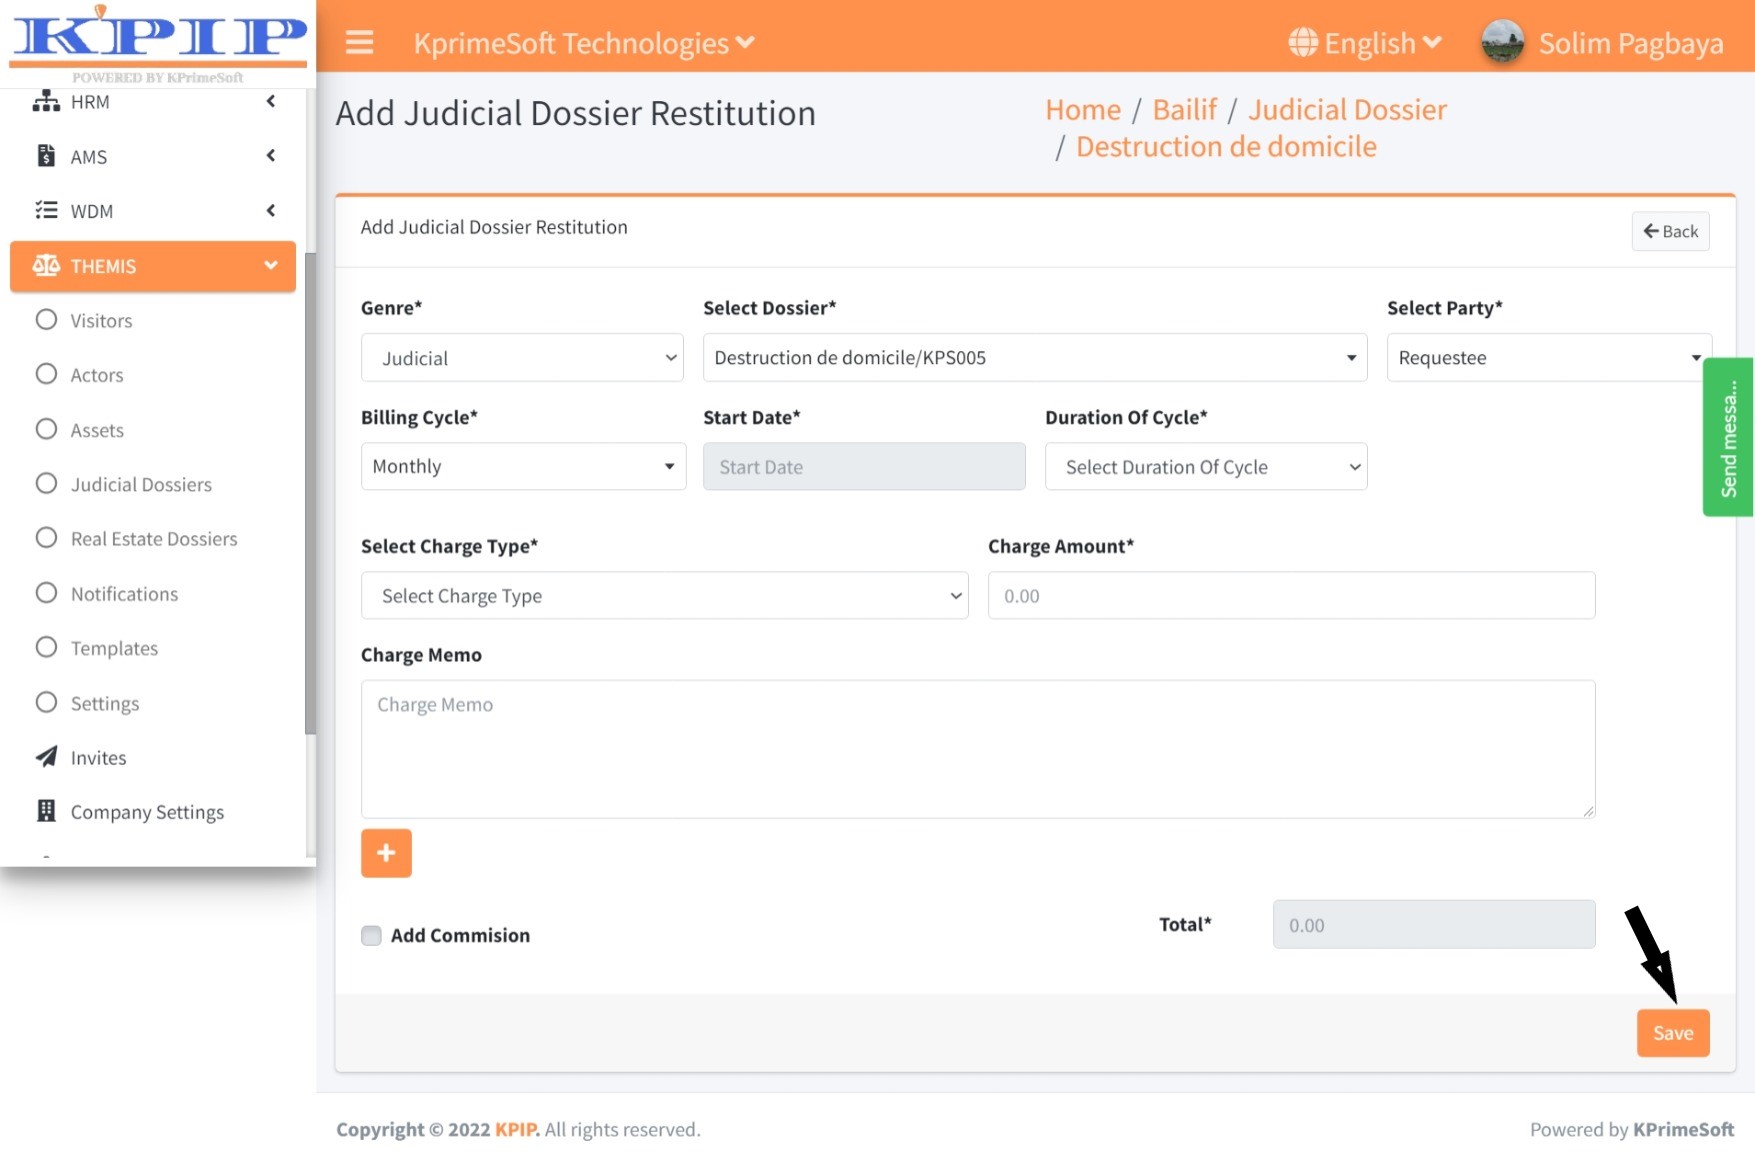
6 - Restitutions
This functionality allows you to integrate restitution or restitutions related to the judicial file in question. When you click on the “Restitutions” feature, you will see all the restitutions you have already saved appear on a new page. In the “Action” section, you have the option to edit or deactivate a restitution.
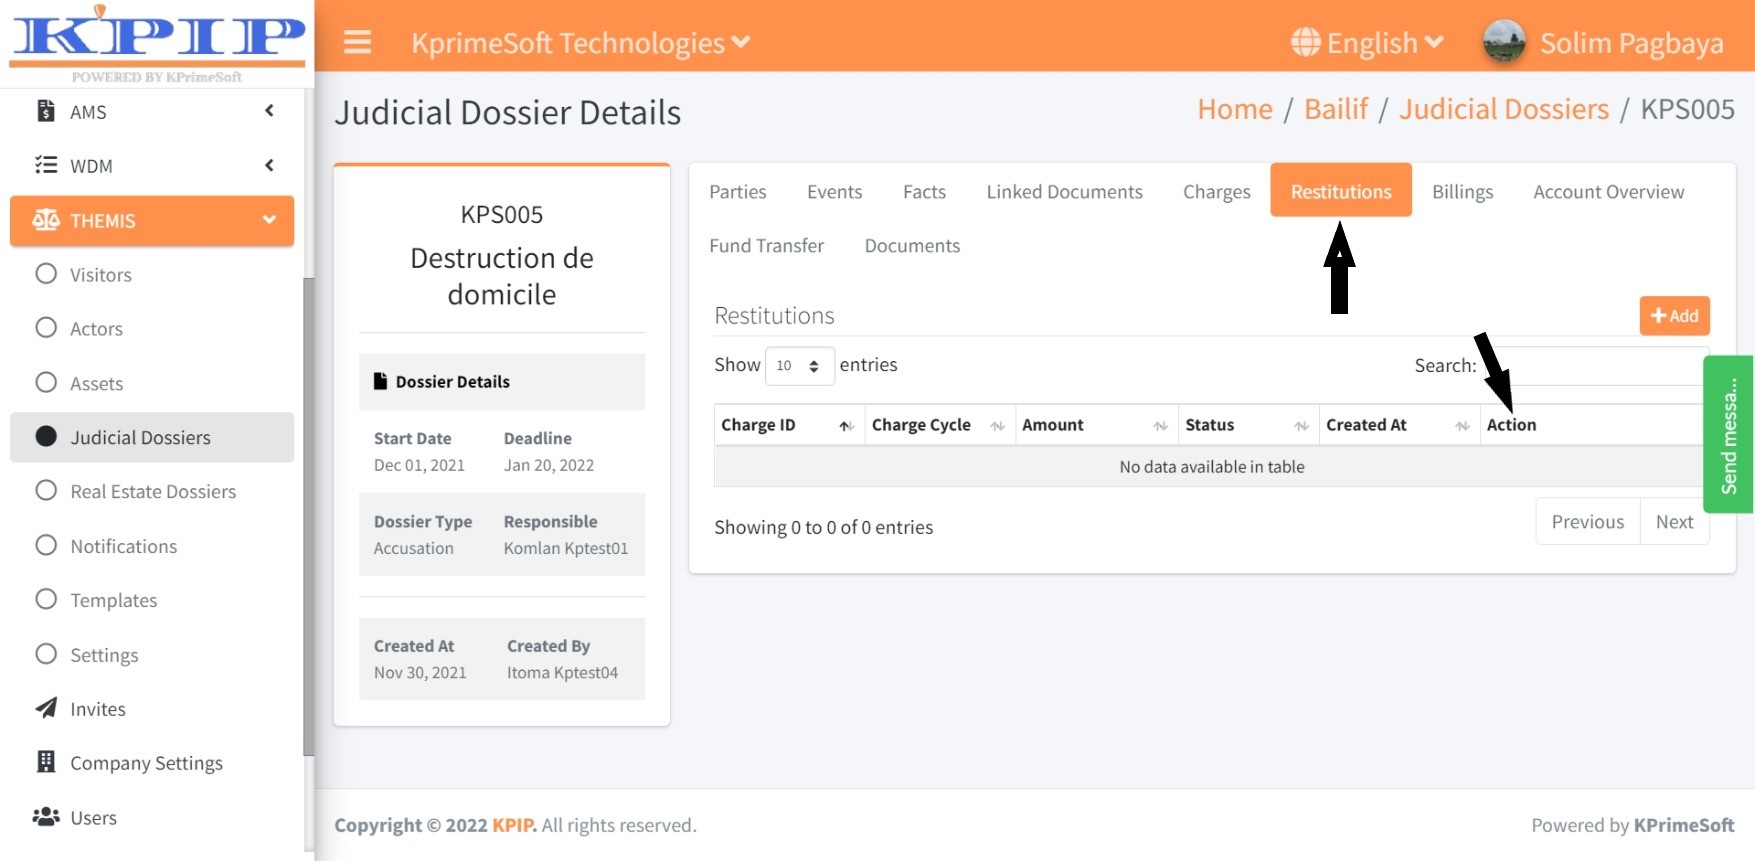
To add a restitution, click on the “Add” button. On the new page that is displayed, fill out the form, and then click on the “Save” button to save.
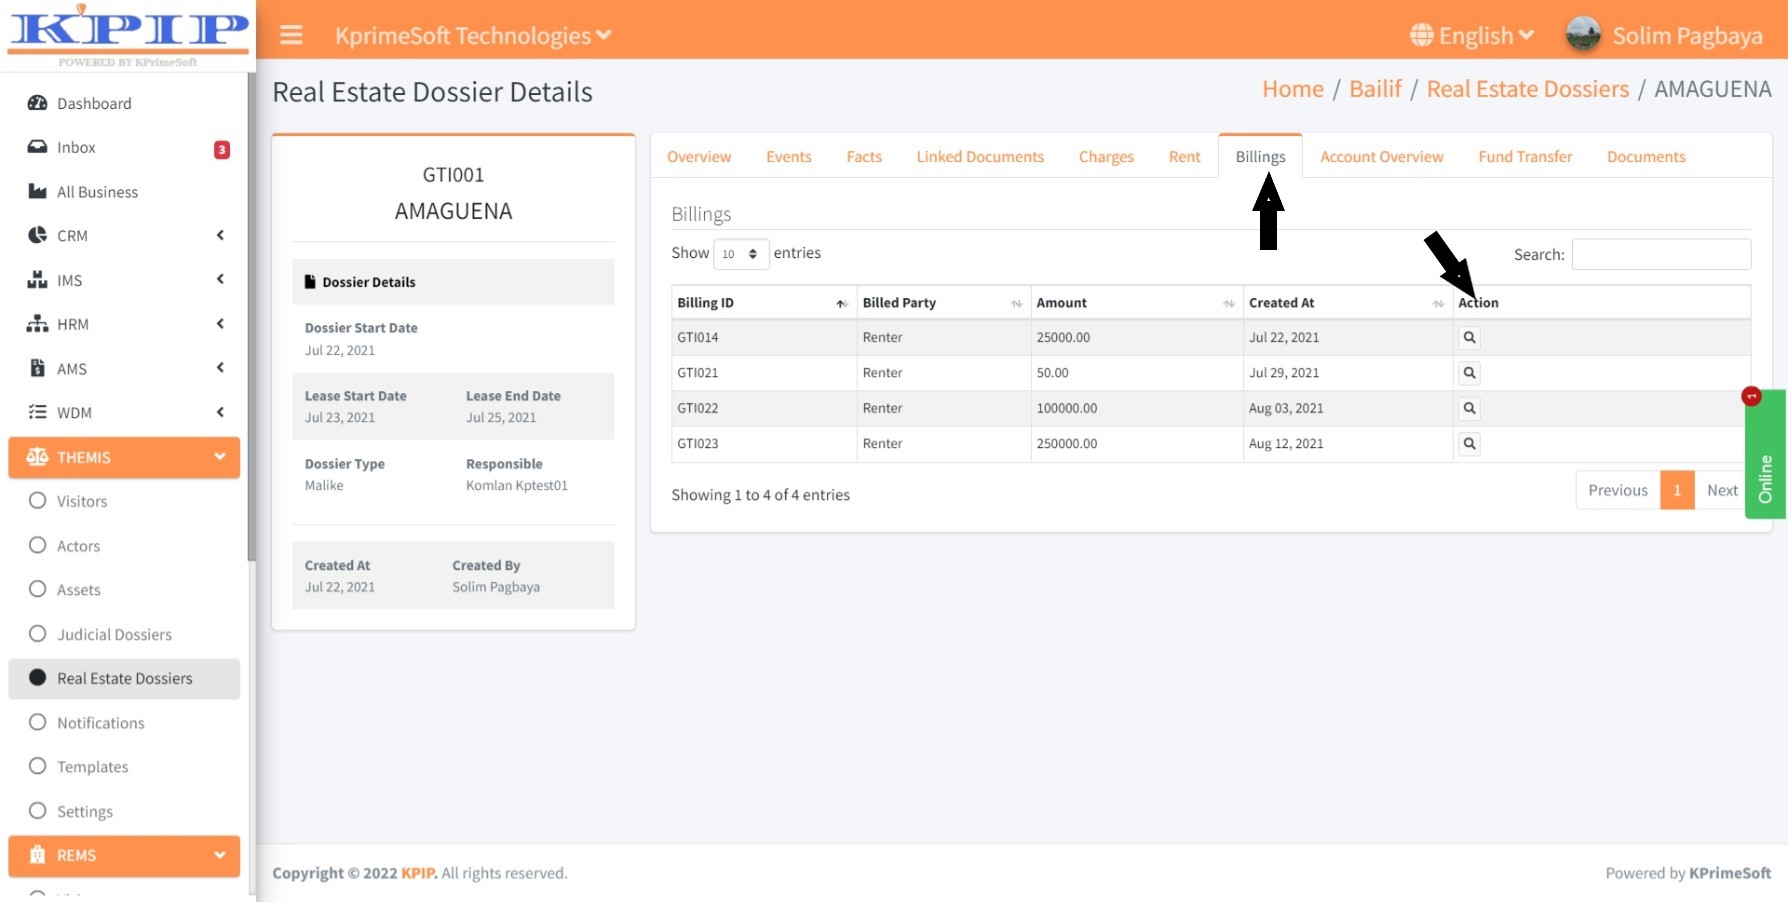
7 - Billings
This feature enables you to generate an invoice in a PDF file, print the invoice, output and print the invoice receipt, and send the invoice by email. You also have the capability to record the payments made. To perform any of these actions, click on the “Details” button in the “Action” section and carry out your action on the subsequent page.
8 - Account overviews
Additionally, this feature allows you to view the accounts of all parties involved (requestor, requestee, and third parties) in the judicial file.

9 - Fund transfers
Furthermore, you can use this feature to add a funds transfer related to the specific judicial file. When you access the “Funds transfers” functionality, you will find all previously registered funds transfers displayed on a new page. In the “Action” section, you can choose to view the details of a funds transfer that was executed.
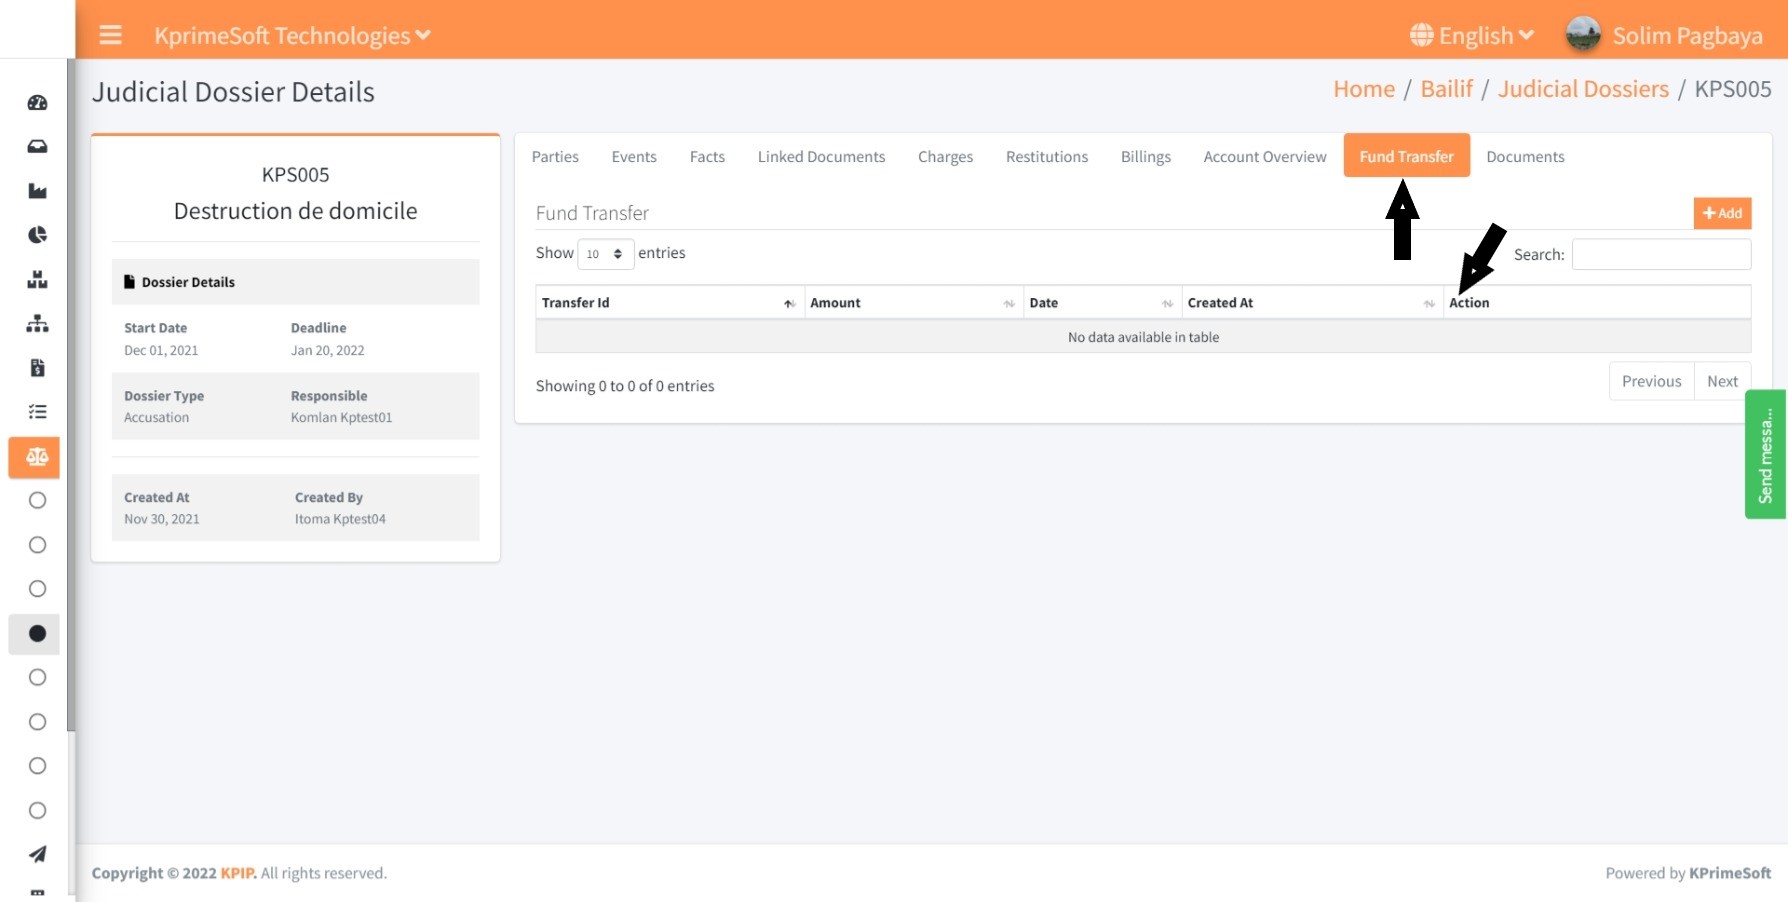
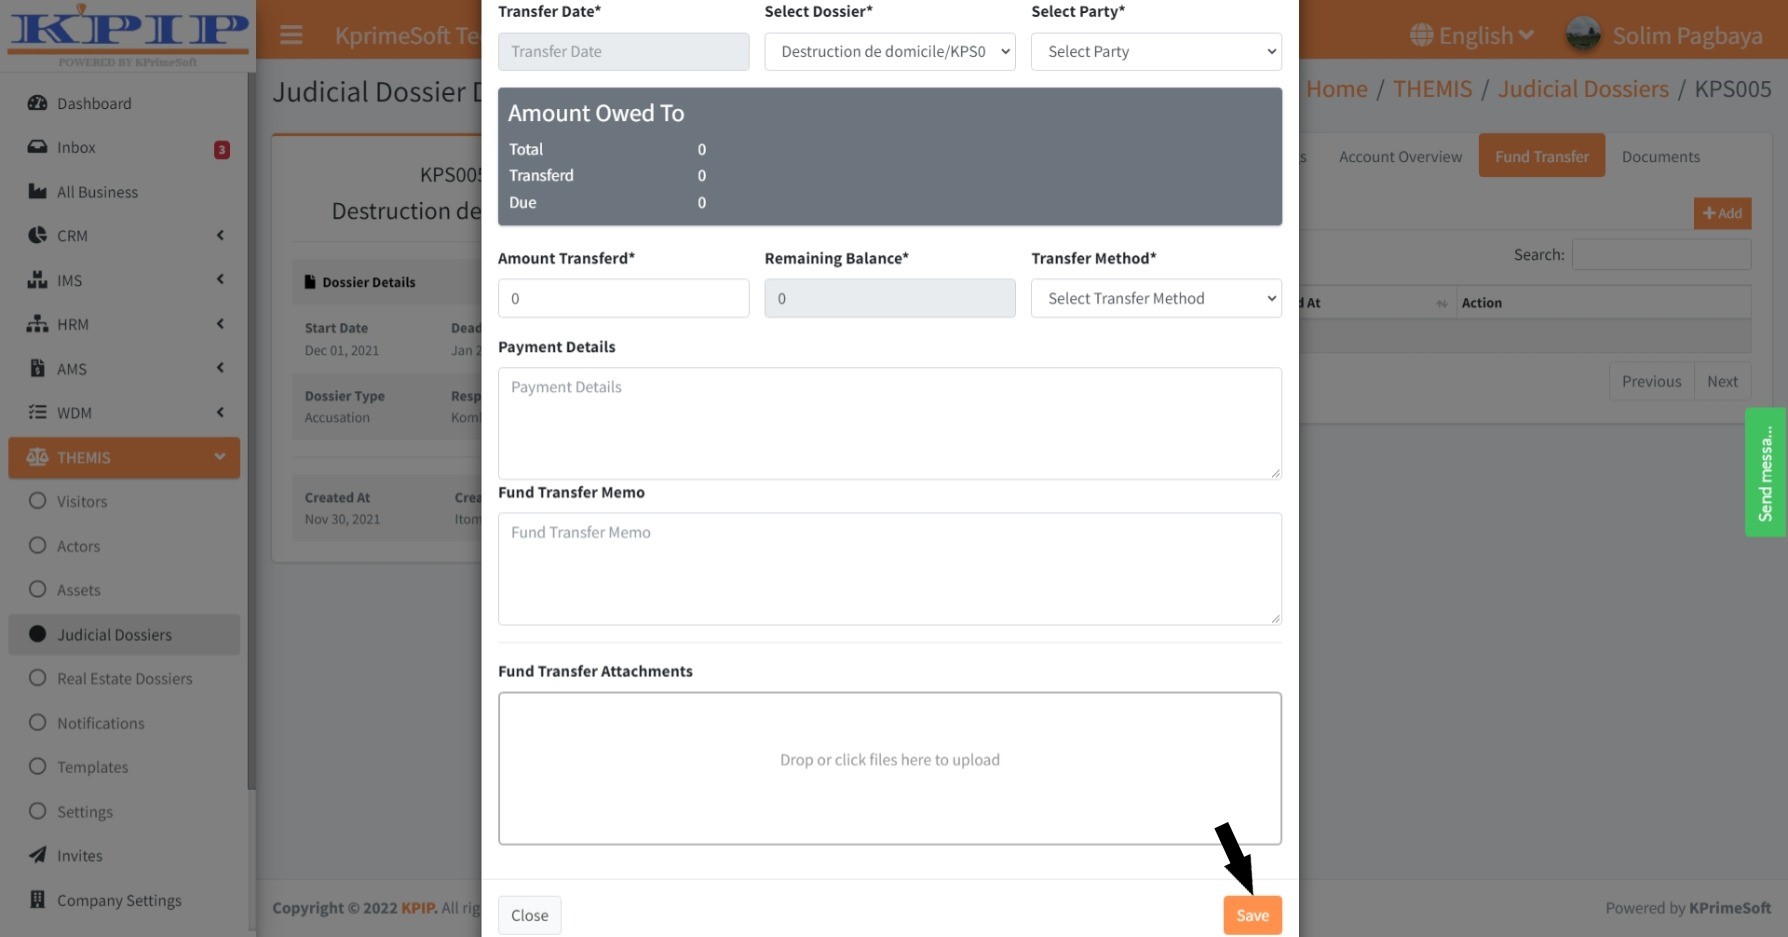
To add a funds transfer, click on the “Add” button. On the ensuing page, complete the required form fields, and then click on the “Save” button to store the information.
10 - Documents
Lastly, this functionality allows you to incorporate documents (templates) into the relevant judicial dossier. Upon clicking the “Documents” feature, a new page will show all the documents you have previously saved. In the “Action” section, you have the option to view the details of a document, display it in PDF format, print it, send it by email, edit it, or delete it.
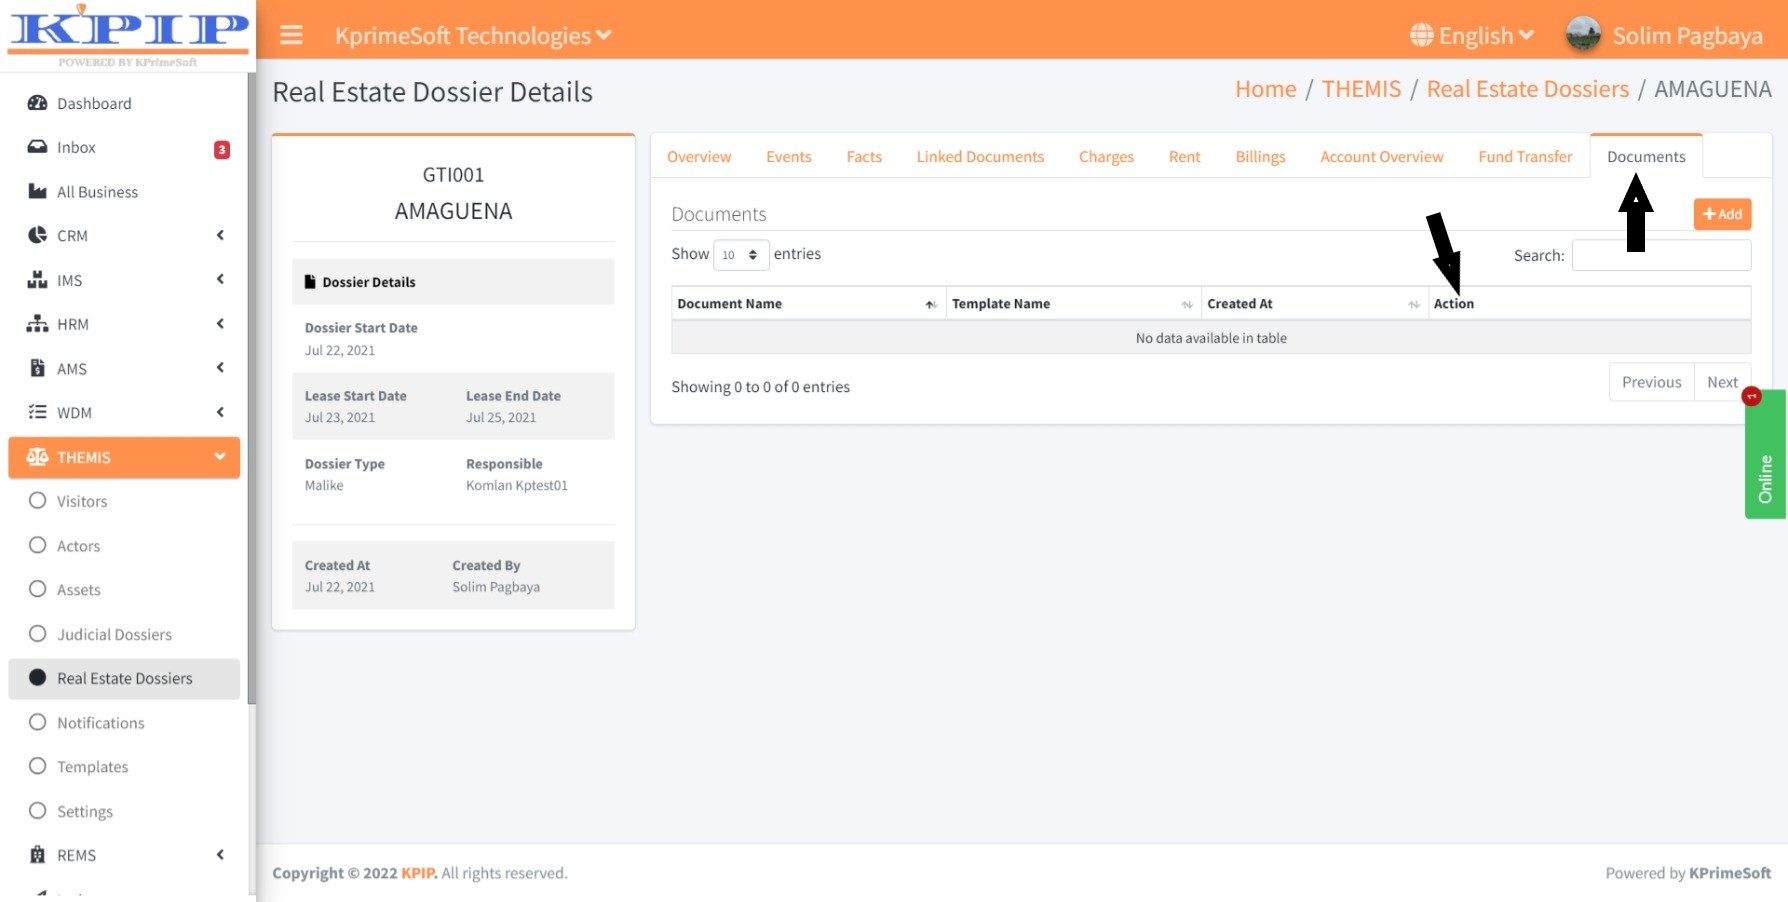
To add a document, click on the “Add” button. On the displayed page, fill in the necessary details on the document, and then click on the “Save” button to save your changes.

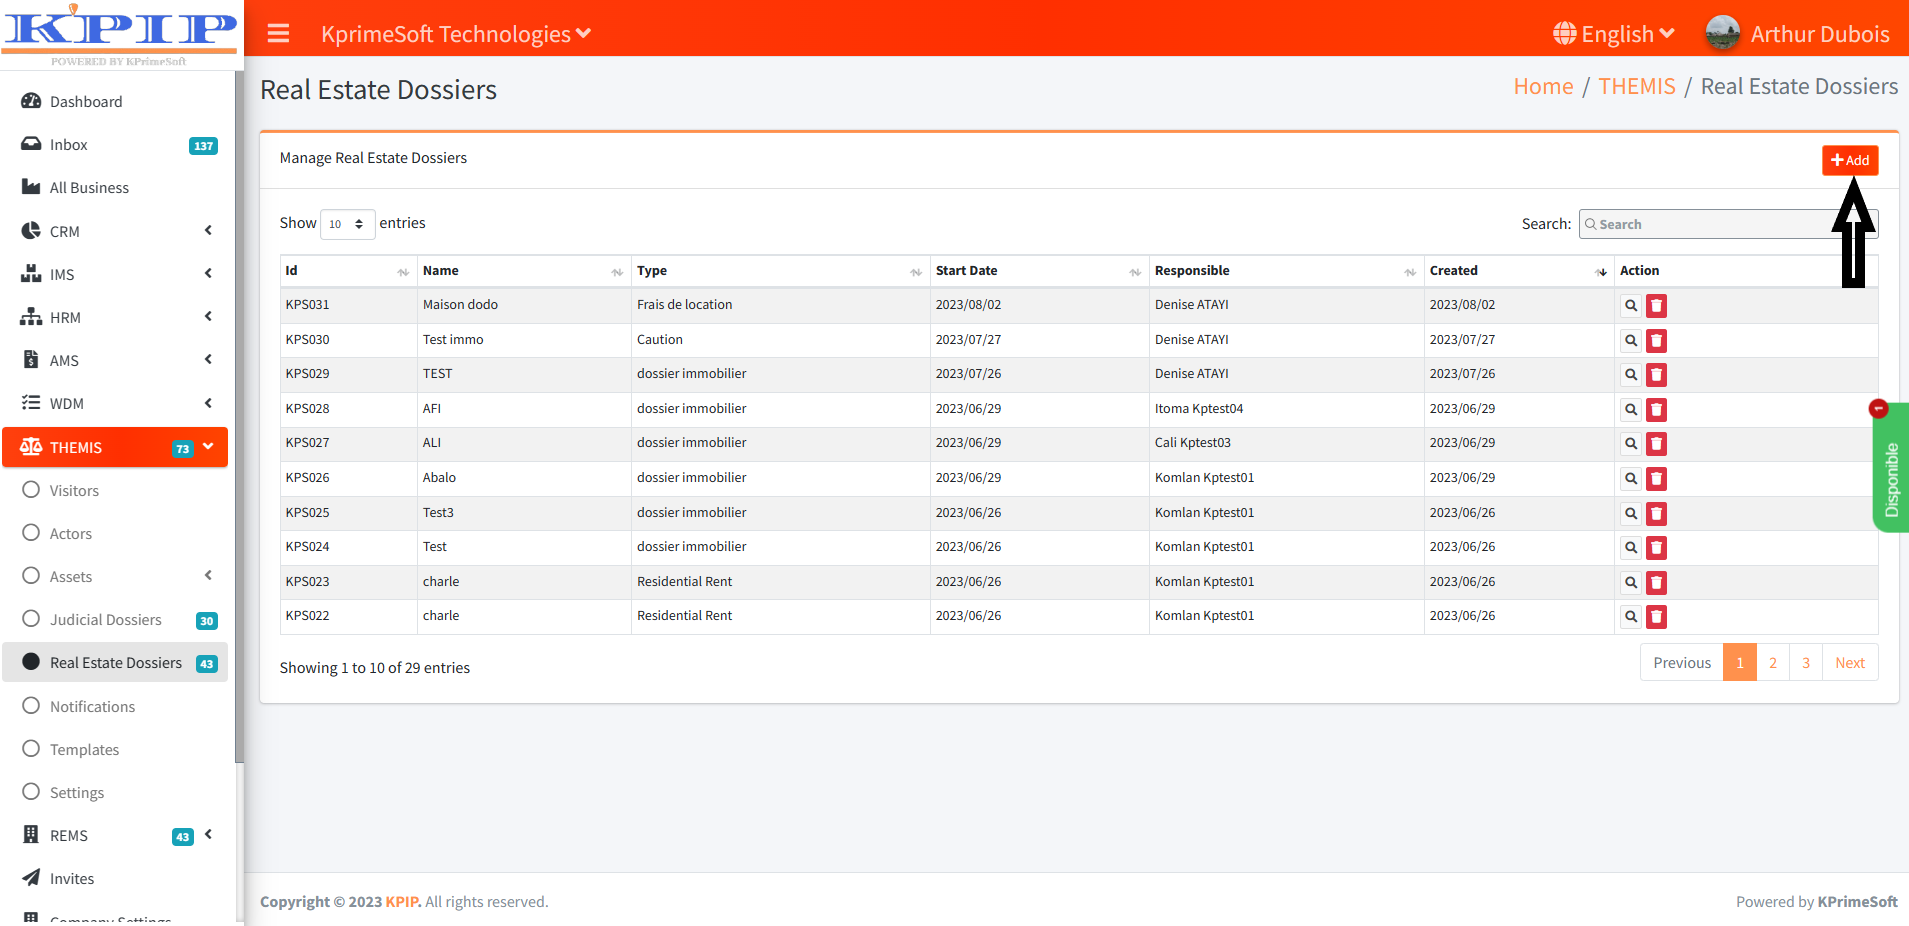
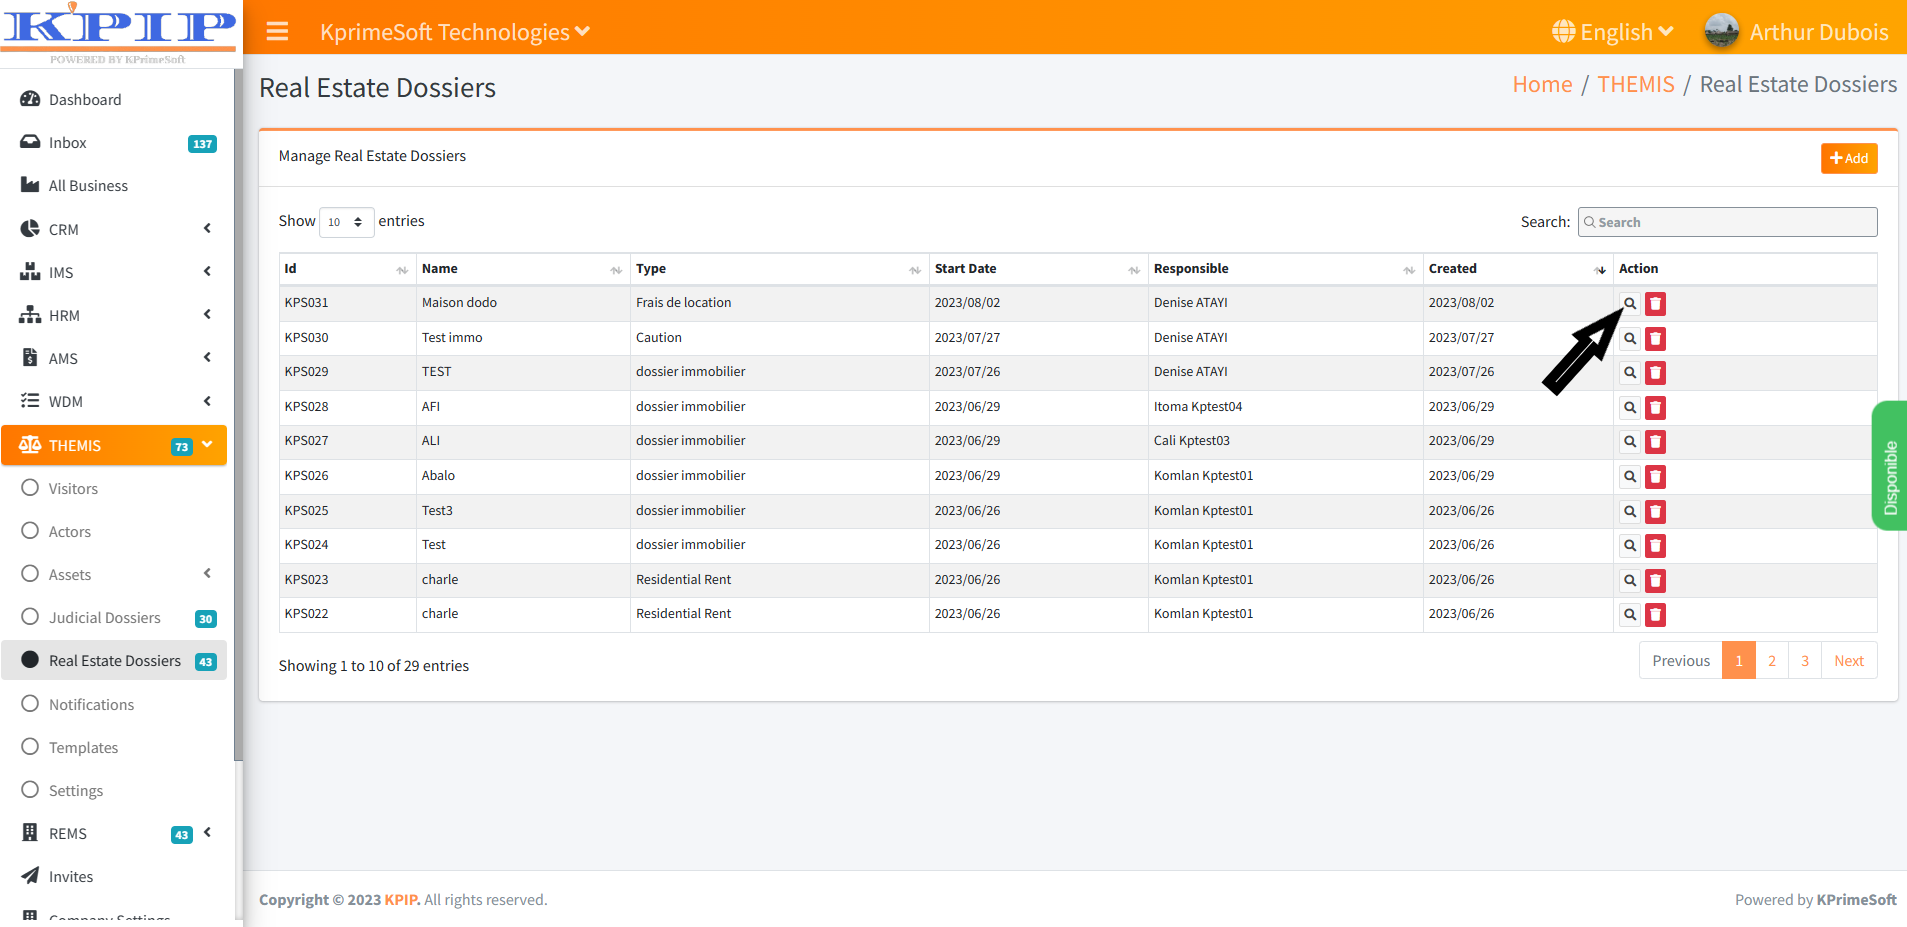
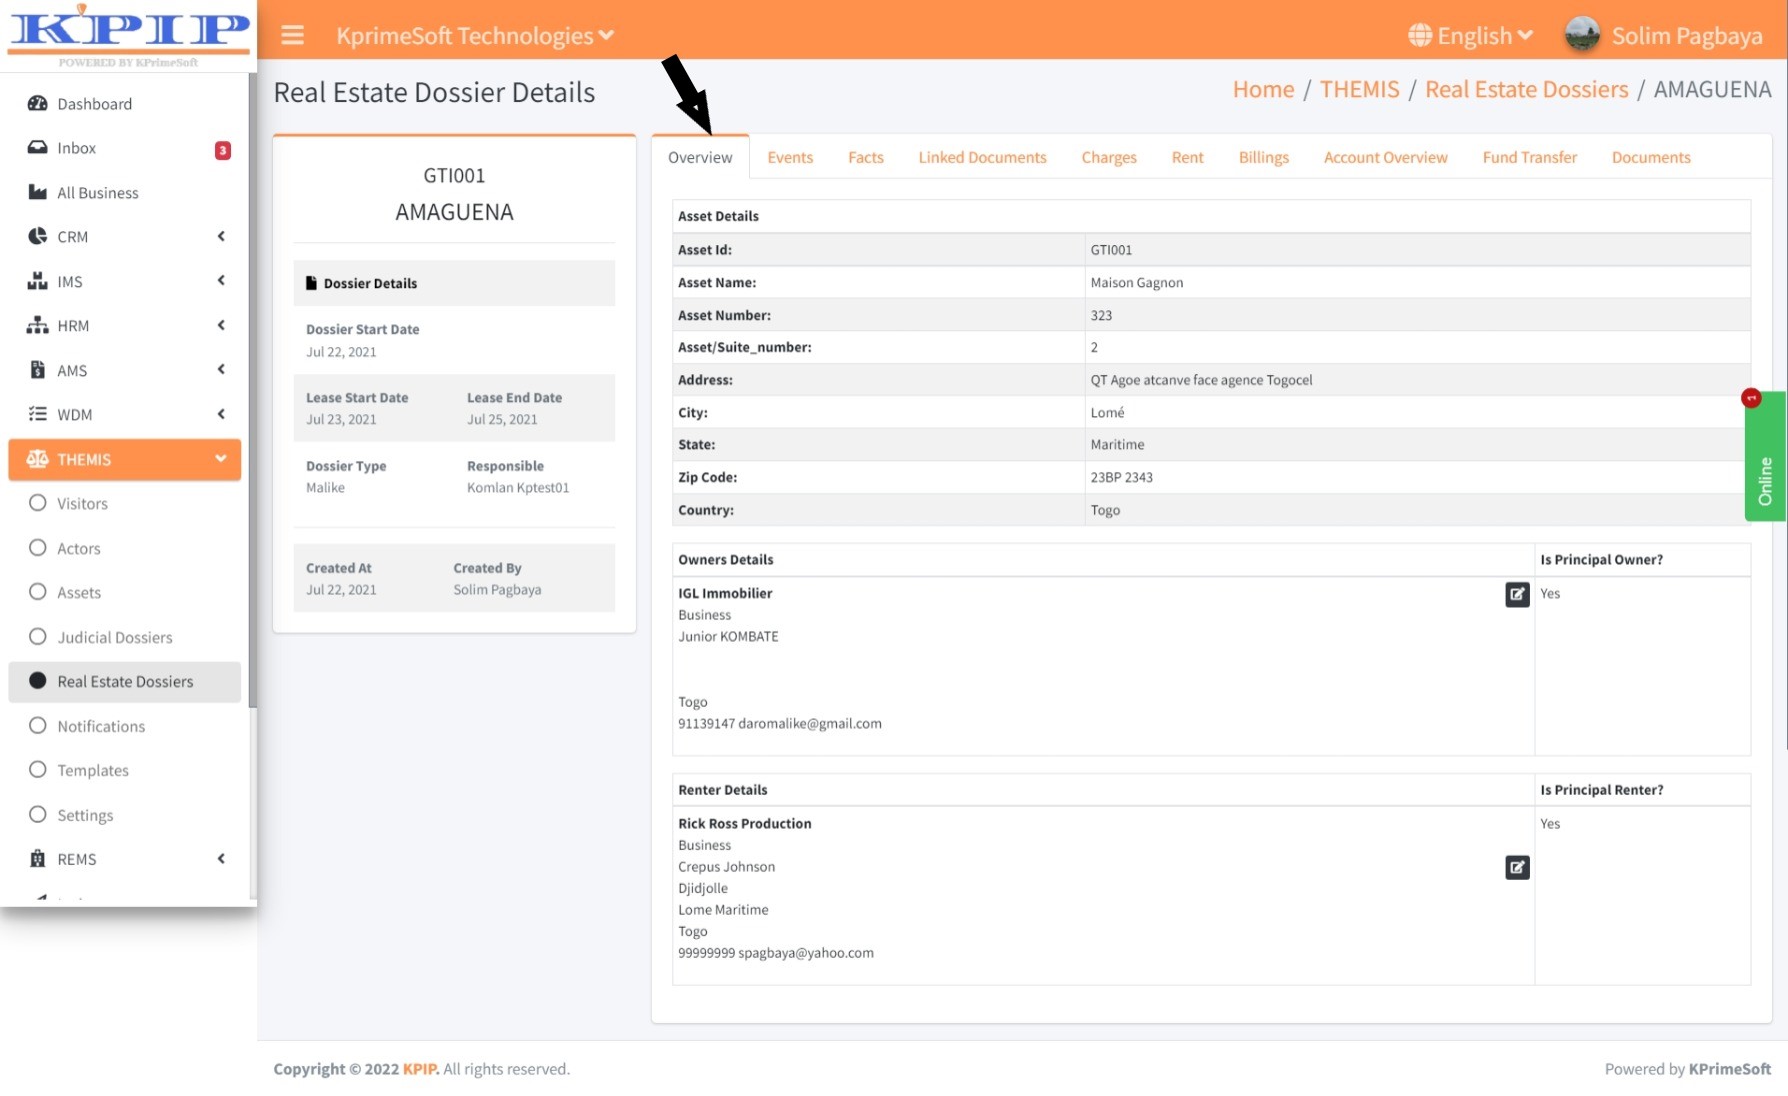
VI - REAL ESTATE DOSSIERS
This feature enables you to create and manage real estate records. Upon clicking the "Real Estate Dossier" feature, all previously saved real estate dossiers will appear on a new page. Within the "Action" section, you can choose to view the details of a real estate file, edit its information, or delete it.
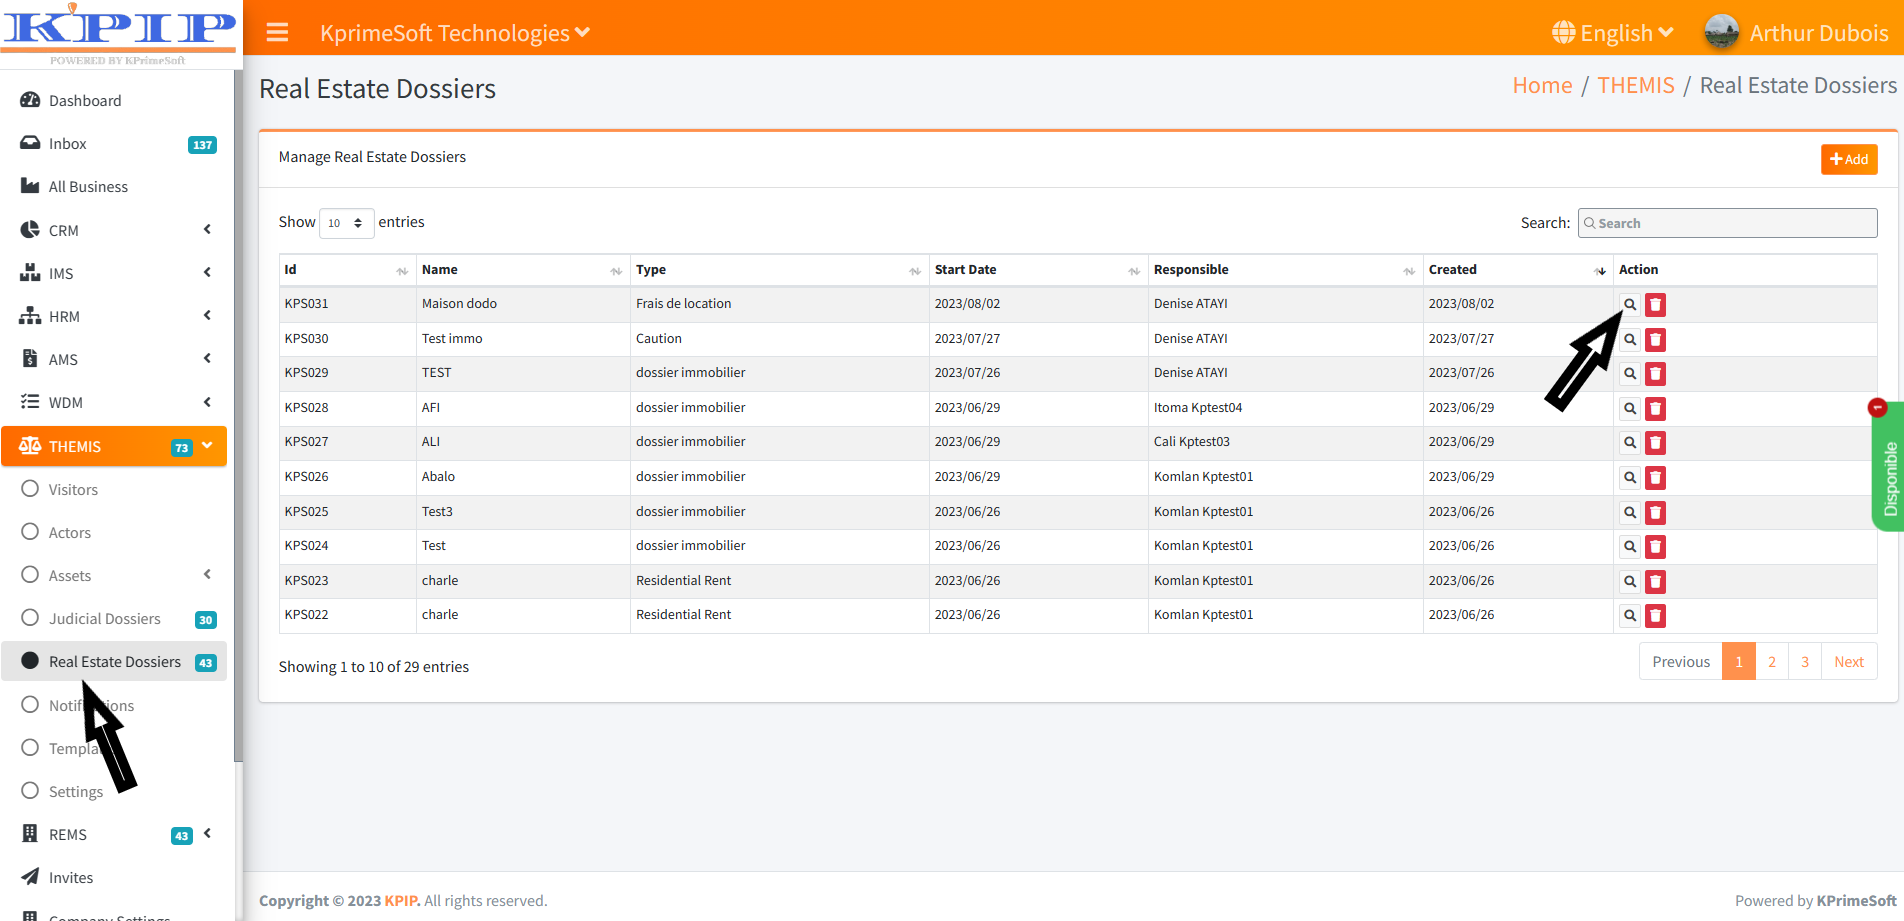
To add a new real estate dossier, simply click on the "Add" button. On the subsequent page, complete the registration form and then click the "Save" button to store the information.

The "Show entries" option grants you the ability to specify the quantity of real estate records displayed per page.
Meanwhile, the "Search" option allows for swift retrieval of a specific real estate file by entering its name.
For post-creation management of a real estate dossier, select the "Details" button. Within the "Action" section of the respective file, you'll find a range of functions such as Parties, Events, Facts, Related Documents, Costs, Refunds, Invoicing, Insights Accounts, Funds Transfers, and Documents.
1 - Parties
This functionality presents all the individuals involved in a real estate dossier along with their respective details.
2 - Events
This feature enables you to integrate and set up reminders for upcoming events associated with the file. These reminders will be delivered to your inbox at the appropriate time. Upon clicking the "Events" function, a new page will display all the events you have previously saved in the folder. Within the "Action" section, you will have the option to view event details, edit event information, or delete events.
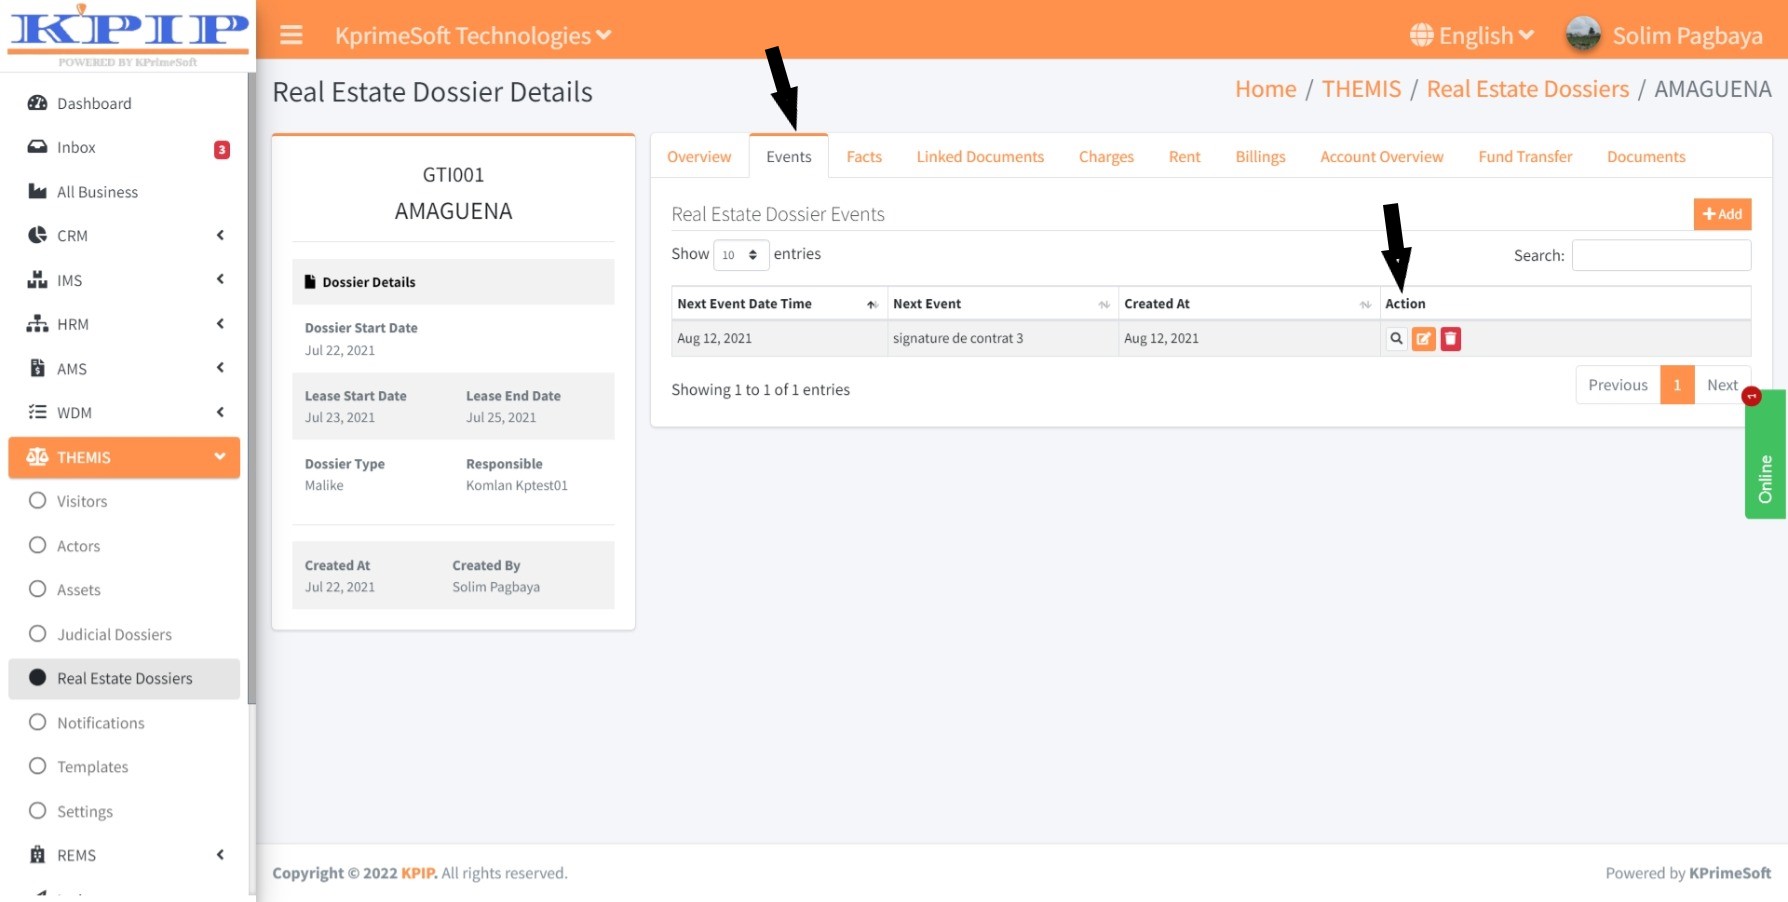
To add an event, simply click the "Add" button. On the subsequent page, complete the event scheduling form, then click the "Save" button to store the event.

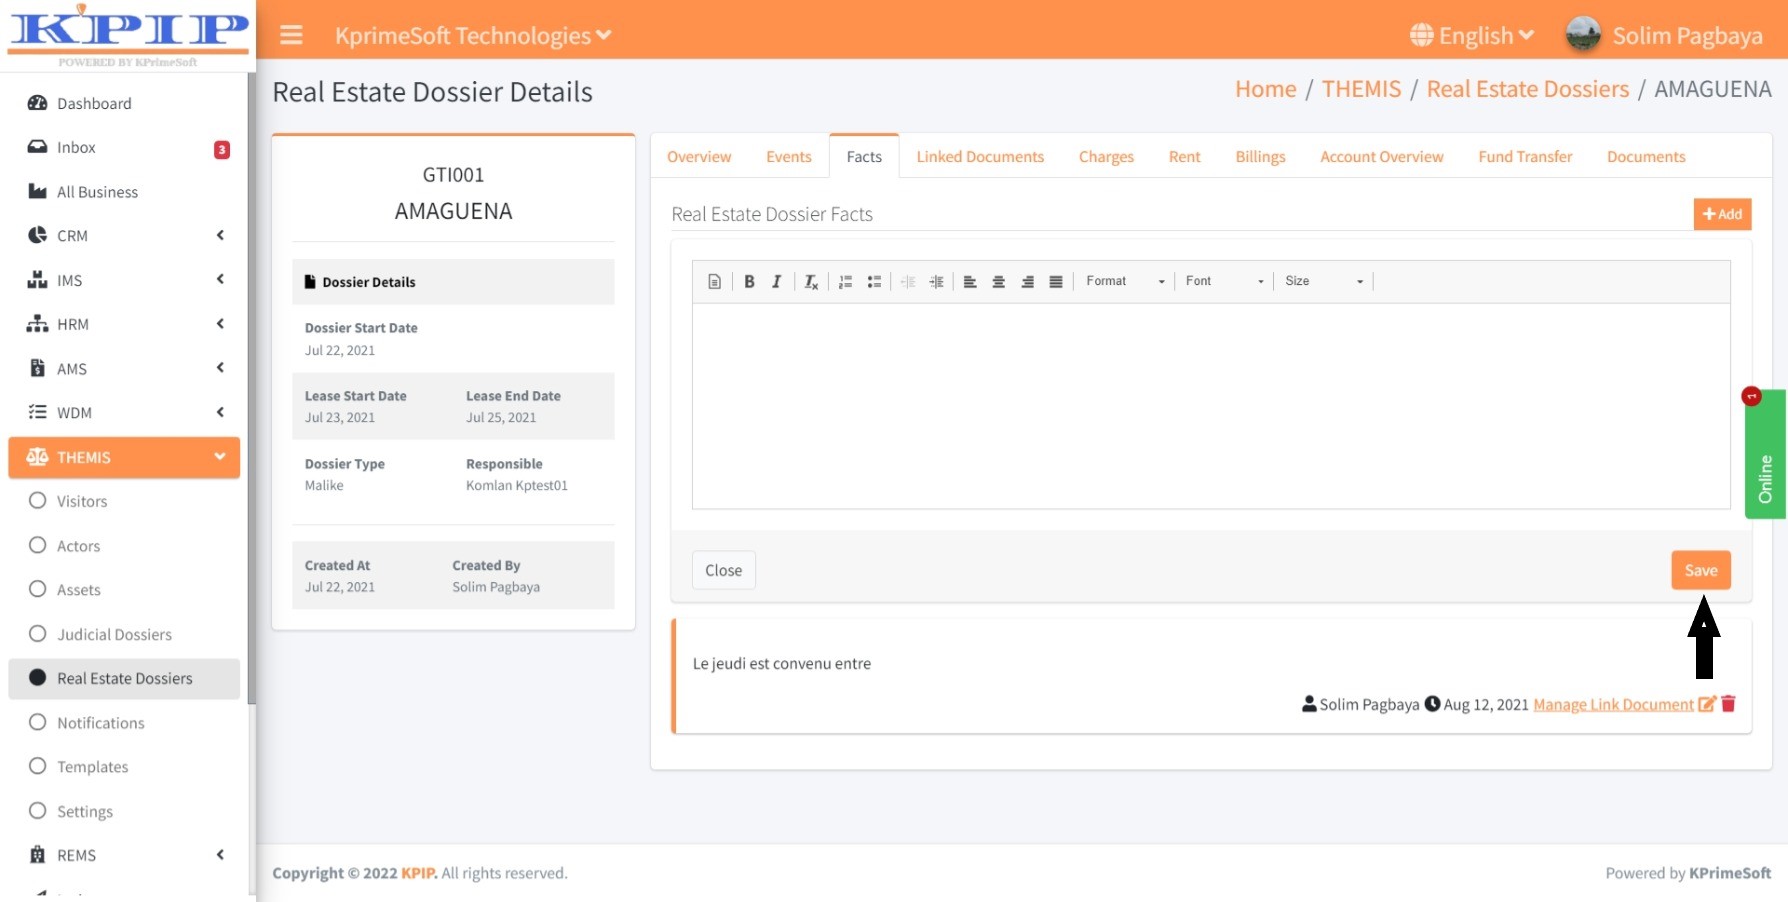
3 - Facts
This feature enables the integration of pertinent information related to the court case in question. Upon selecting the "Facts" feature, you will be directed to a new page displaying all the facts you have recorded. Within the "Action" segment, you can edit or delete any recorded facts.

To include a fact, click on the "Add" button. On the displayed page, enter the relevant information and then press the "Save" button to retain the fact.
4 - Linked Documents
Additionally, this feature allows you to attach one or more documents relevant to the real estate dossier. Upon clicking the "Linked documents" feature, you will be presented with a new page showcasing all documents associated with the file. In the "Action" section, you will be able to view document details, make edits, or delete documents.
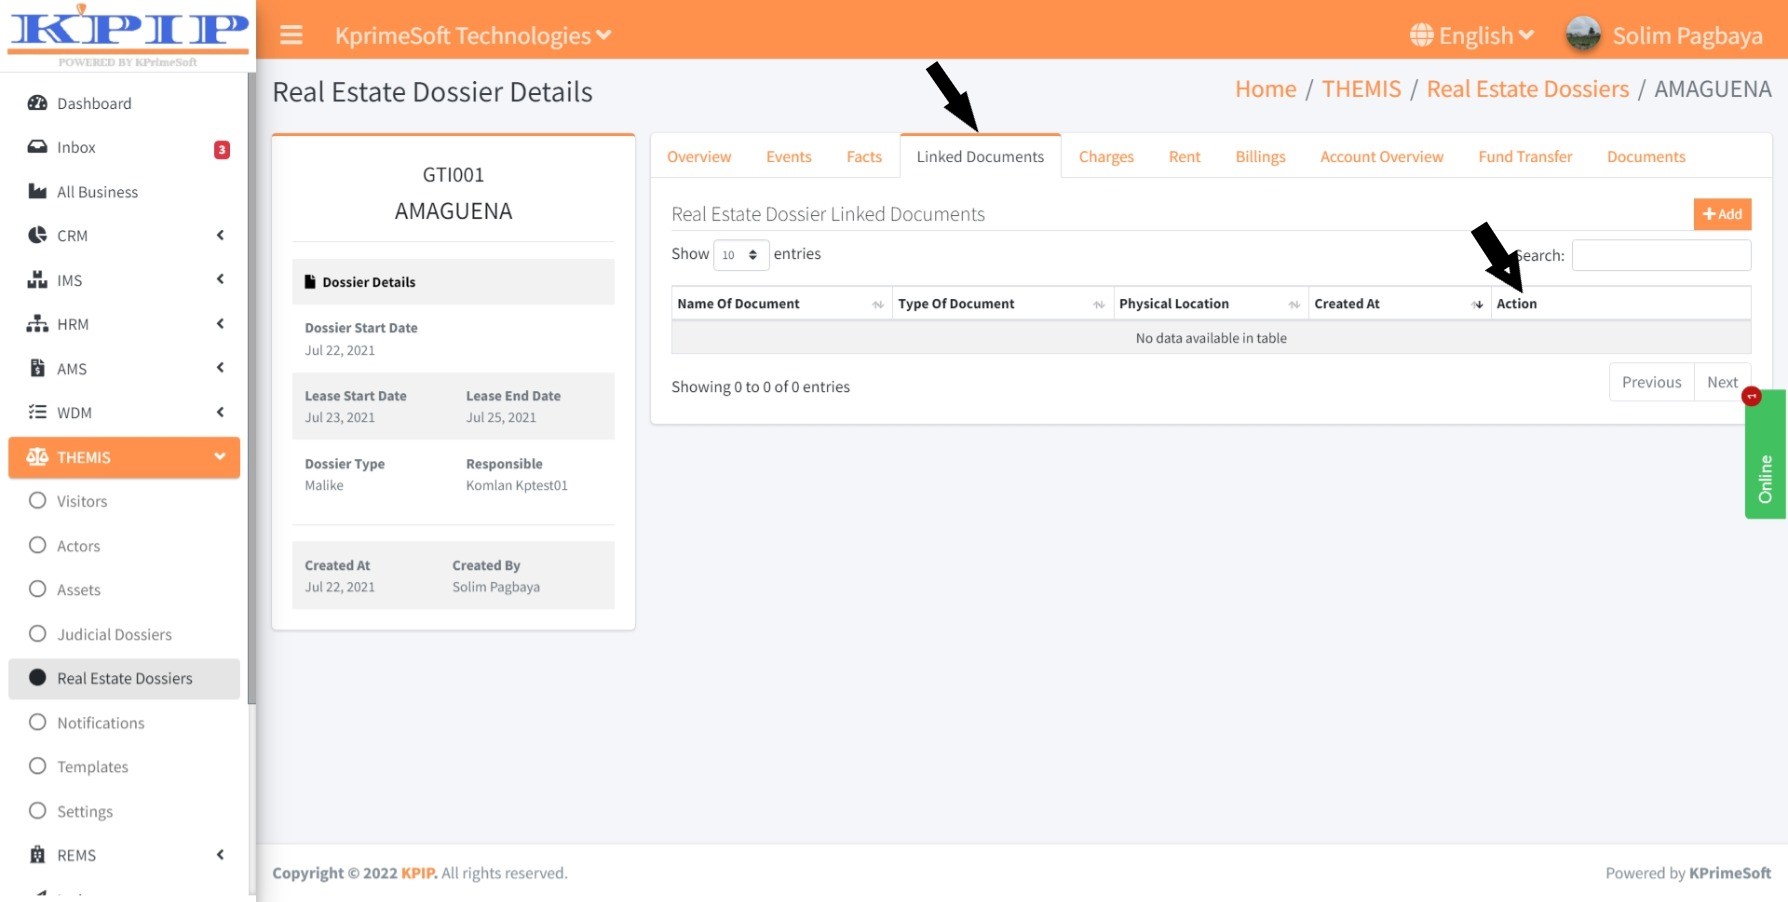
To attach a document to the folder, click the "Add" button. On the ensuing page, complete the form, upload the document, and then click the "Save" button to save your changes.
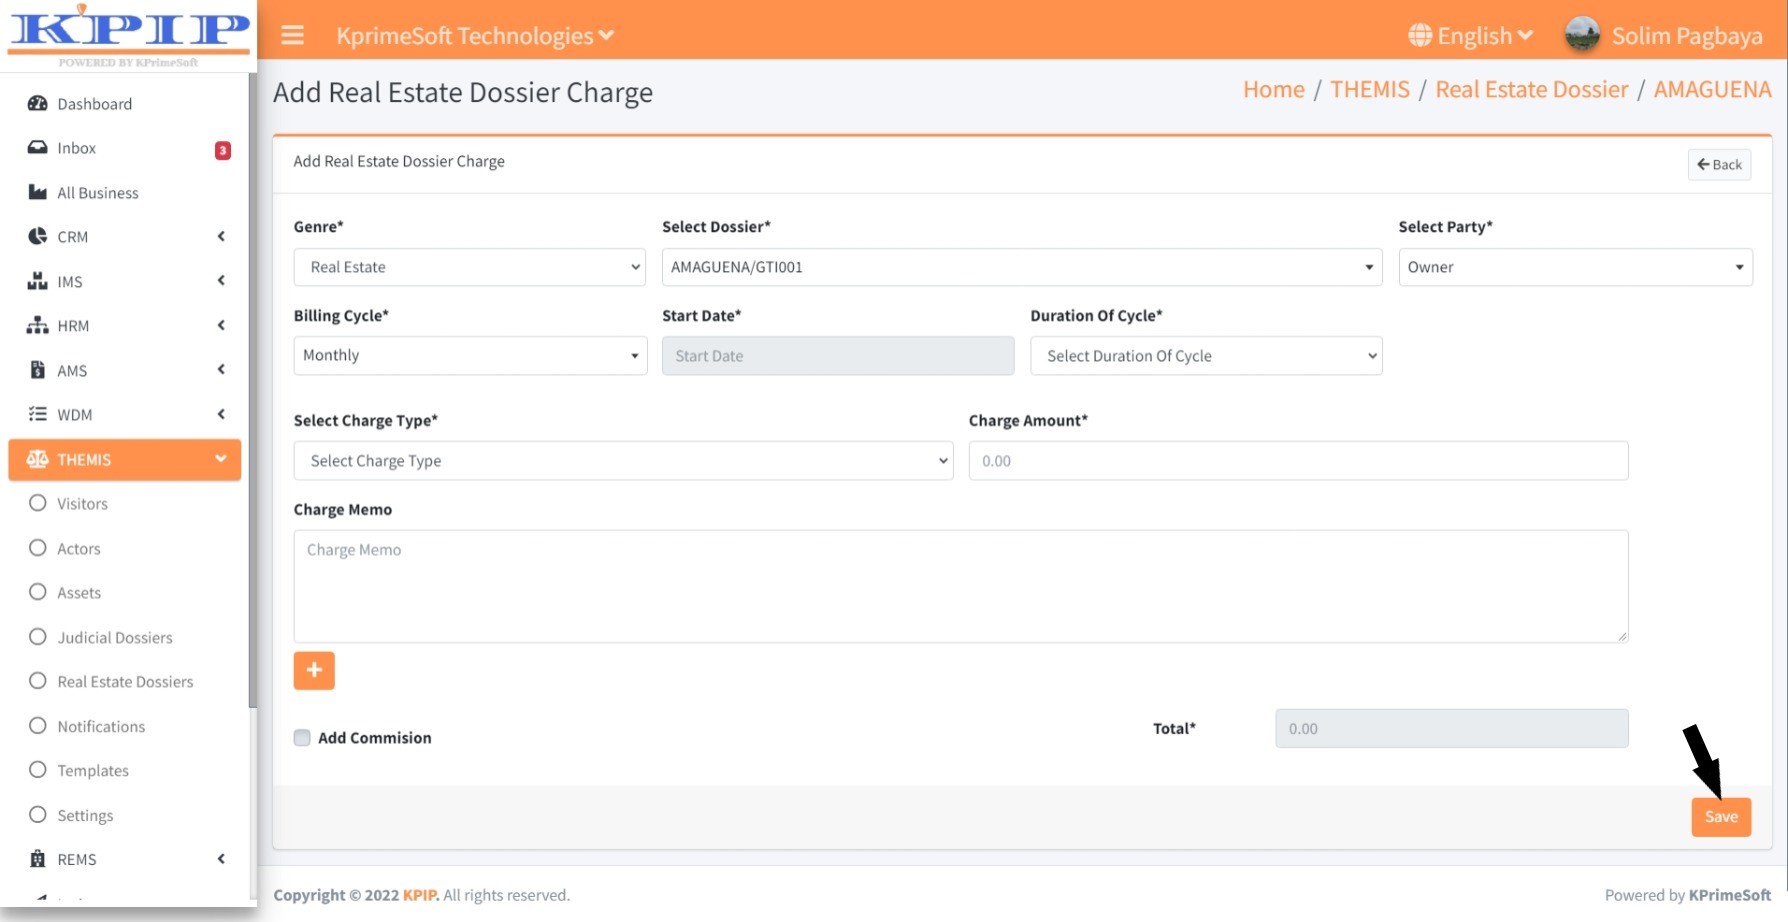
5 - Charges
Furthermore, this feature facilitates the integration of fees associated with the court case. Upon selecting the "Charges" feature, you will be directed to a new page displaying all the charges you have previously registered. Within the "Action" portion, you can edit or deactivate any fees.

To add a fee, click on the "Add" button. On the displayed page, fill out the necessary form, and then click the "Save" button to confirm.
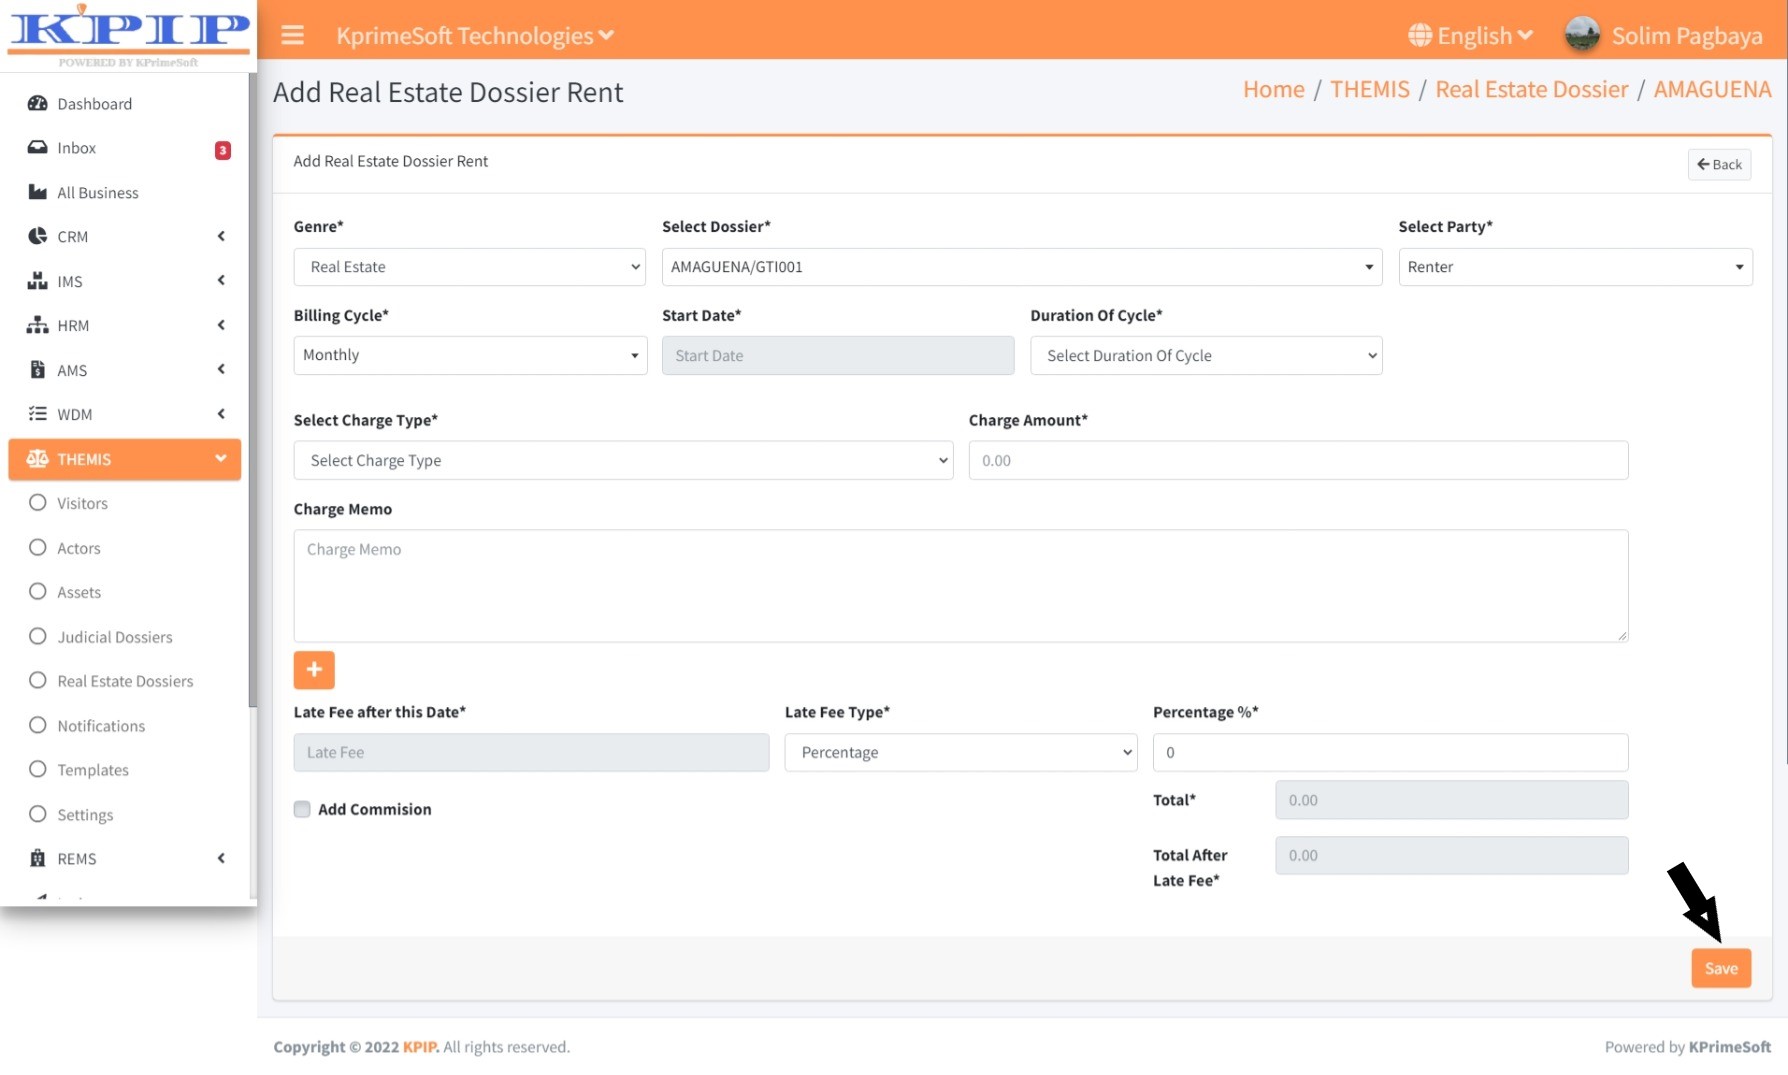
6 - Rent
This functionality enables you to record rental information in the real estate dossier under consideration. When you select the "Rent" feature, a new page will display all the previously saved rents. In the "Action" section, you'll have the option to edit or deactivate a rent.
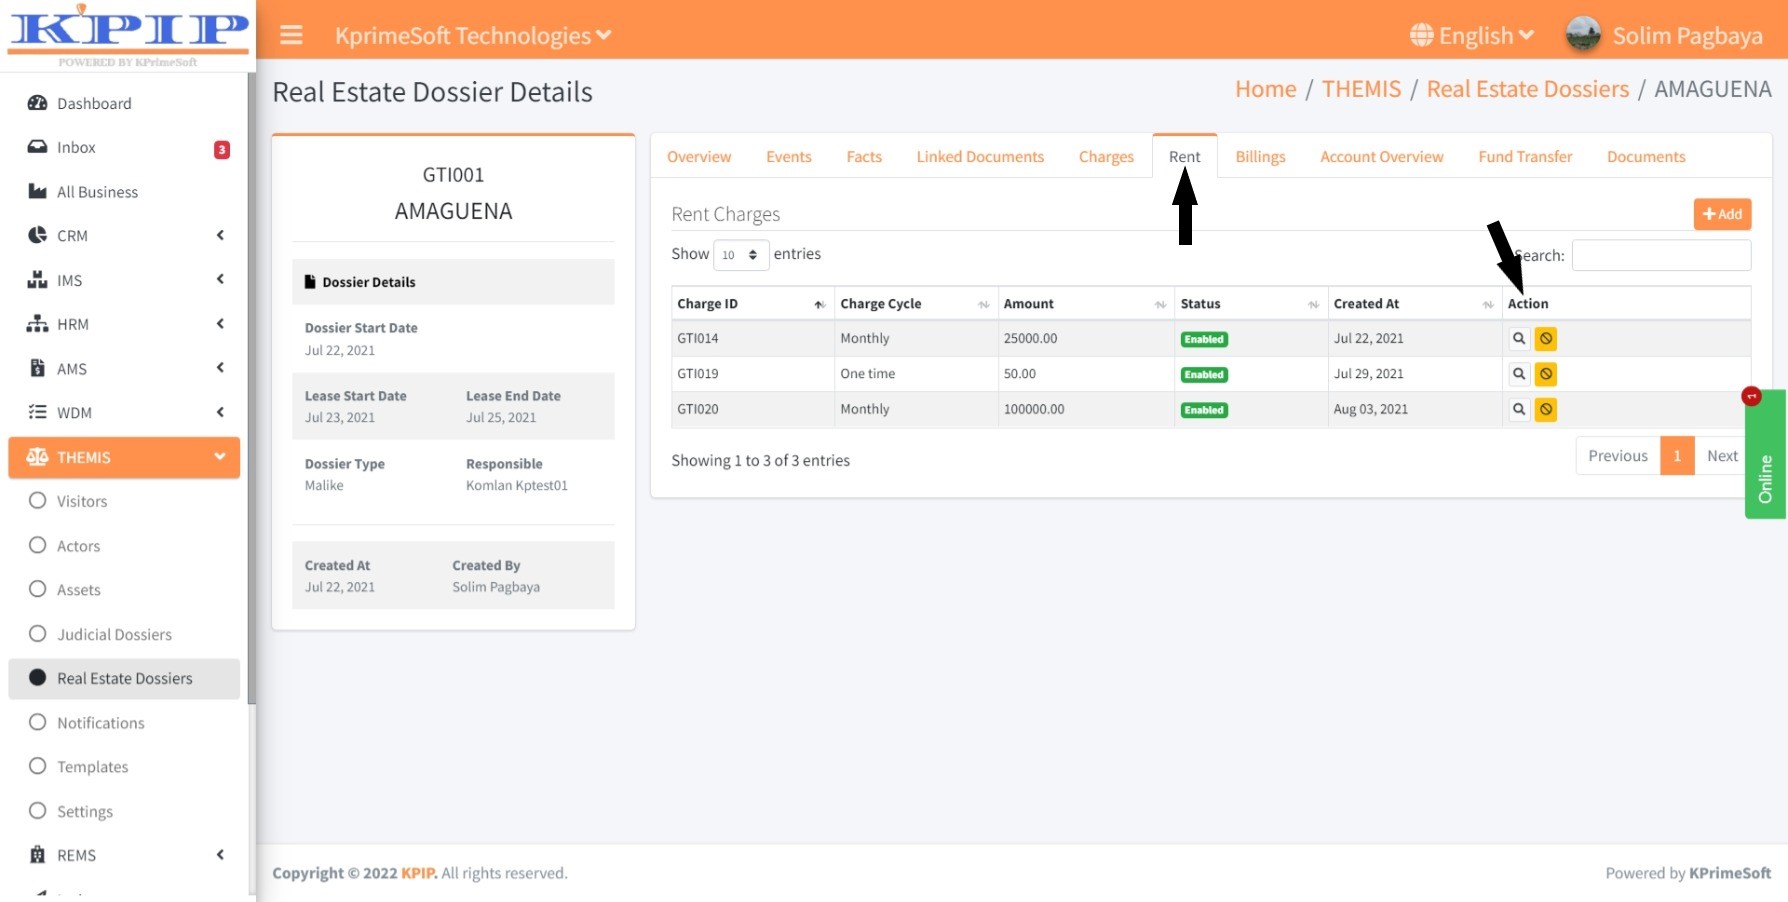
To add a new rental record, click the "Add" button on the following page. Fill out the form on the subsequent page and then press the "Save" button to store the information.
7 - Billings
This feature allows you to generate a PDF invoice, print it, produce and print the invoice receipt, as well as send the invoice via email. Additionally, you can integrate payment records. To perform any of these actions, click the "Details" button in the "Action" section, and proceed with your desired action on the ensuing page.

8 - Account overviews
Furthermore, this feature grants you access to view the accounts of all involved parties (property owner, tenant, and third parties) associated with the real estate dossier.

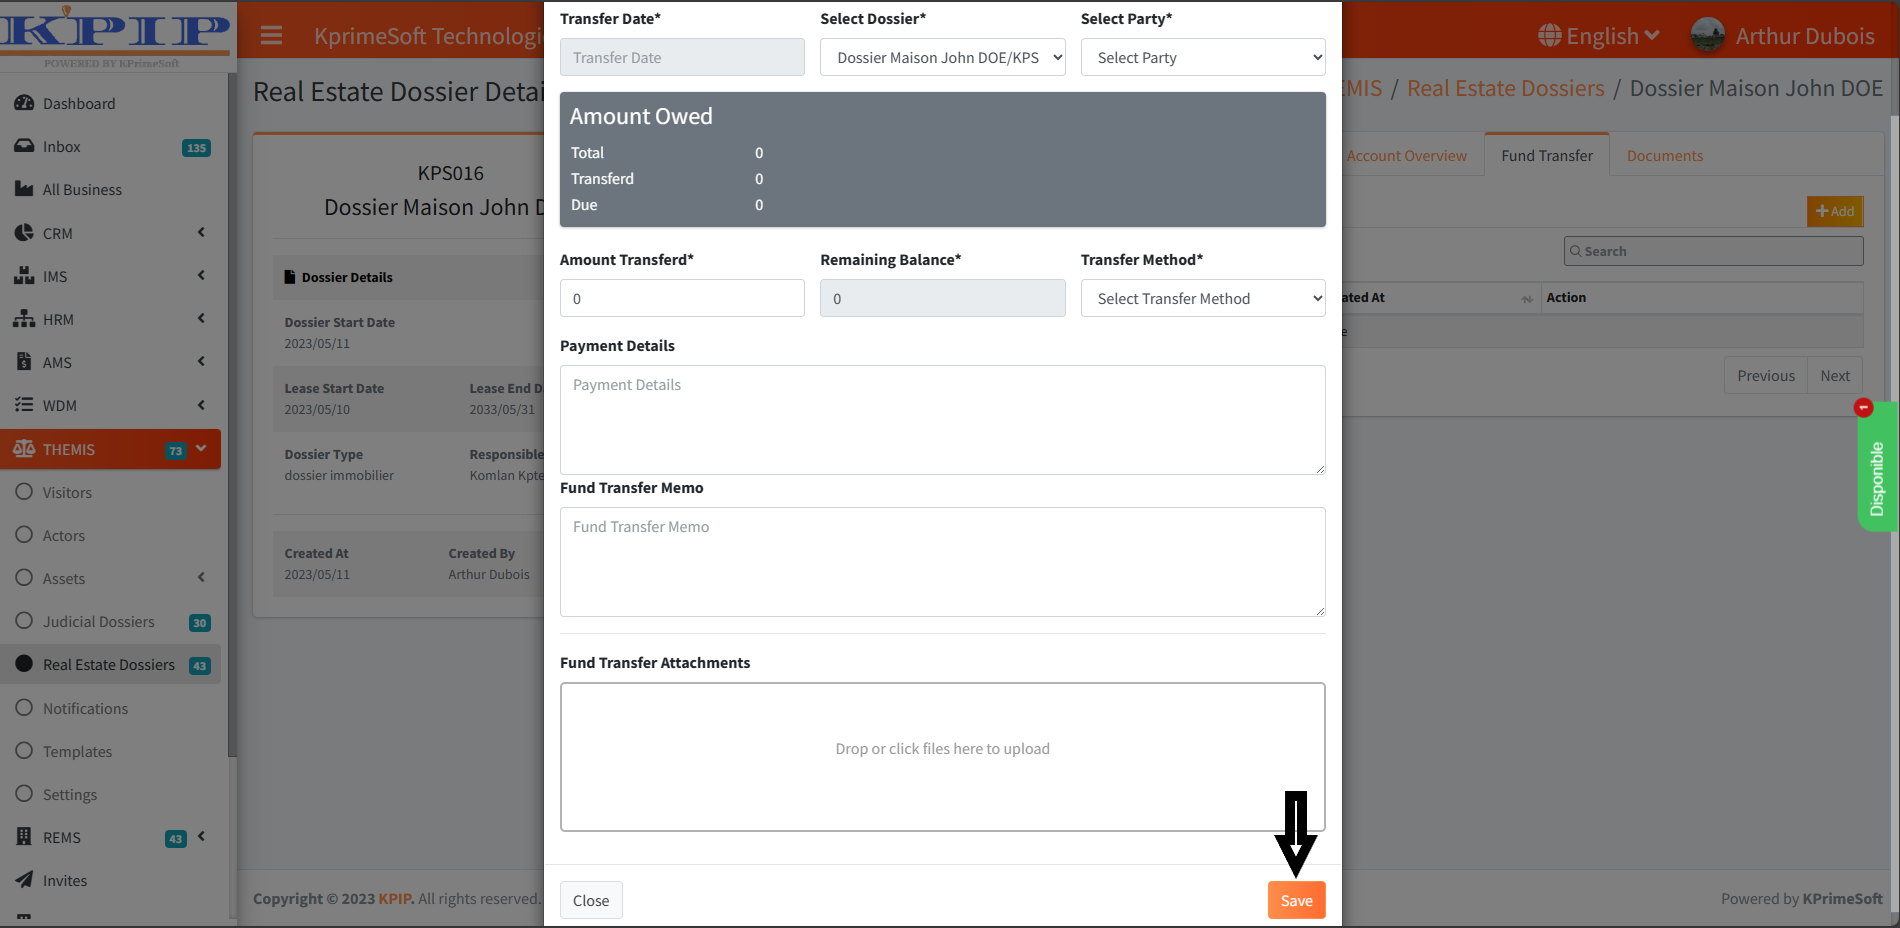
9 - Funds Transfers
You can also utilize this feature to add a funds transfer related to the specified real estate dossier. Upon clicking the "Funds Transfers" functionality, a new page will display all previously registered funds transfers. Within the "Actions" section, you can access the details of a particular funds transfer.

For adding a new funds transfer, click the "Add" button. On the subsequent page, complete the form and then click the "Save" button to confirm the entry.
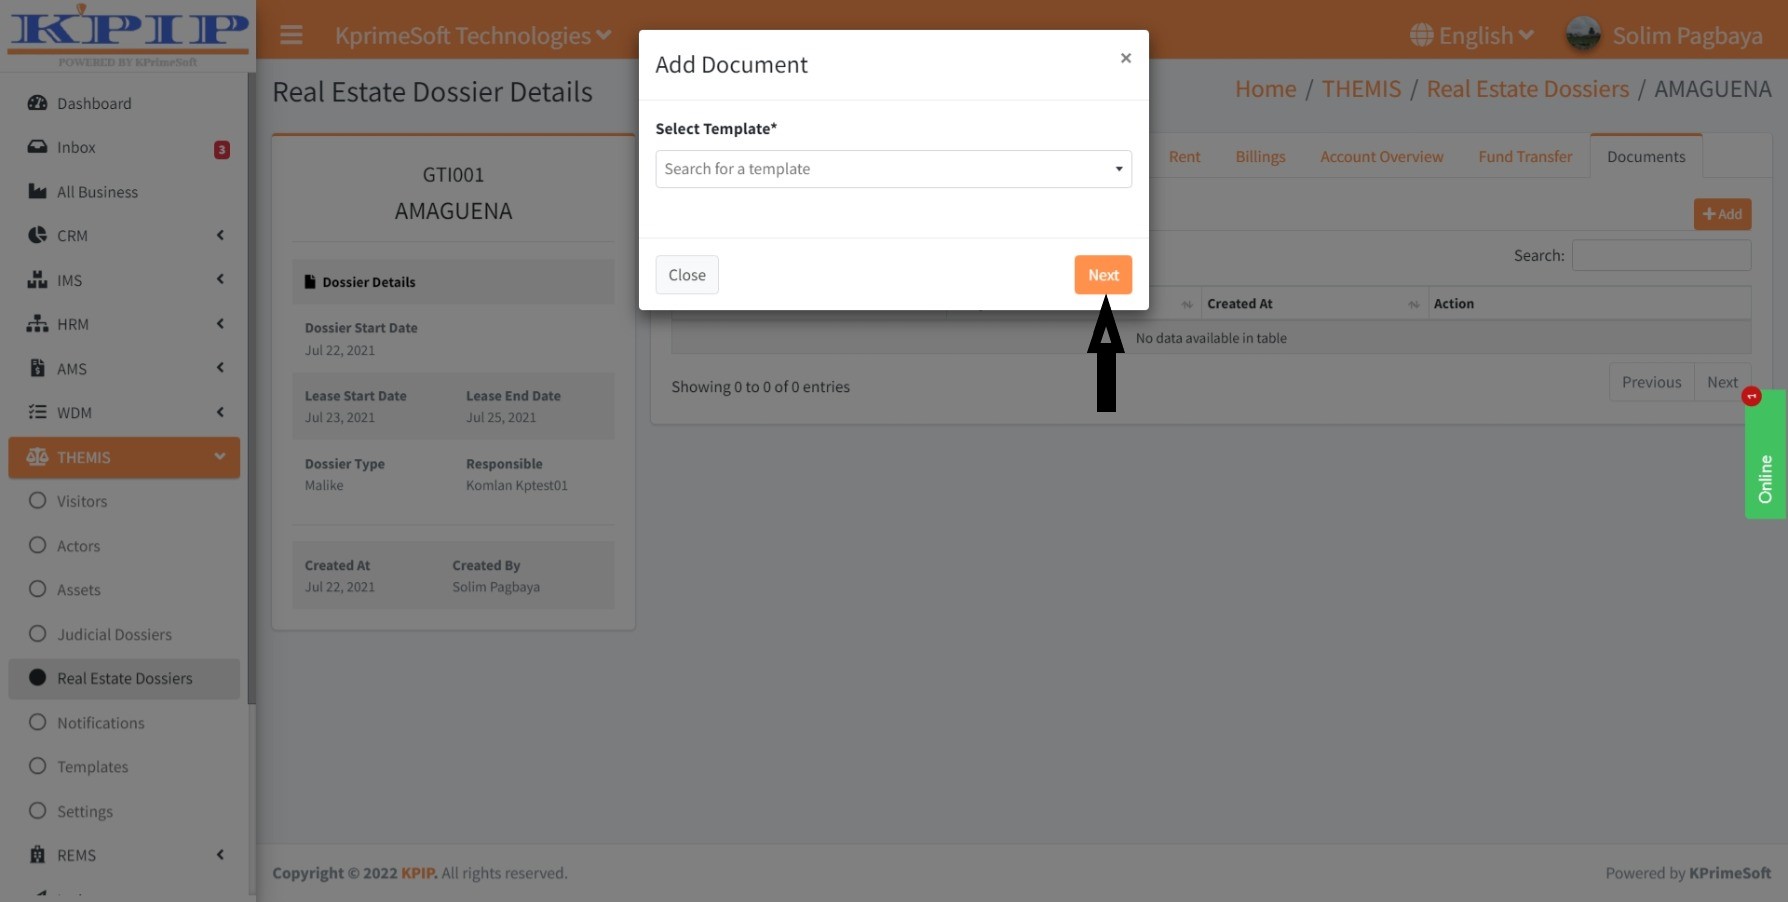
10 - Documents
The "Documents" function enables you to integrate the deeds and actors associated with the specific real estate file. When you click on the "Documents" option, a new page will appear, displaying all the previously saved documents. Within the "Action" section, you can access document details, view documents in PDF format, print, email, edit, or delete them.

To include a new document, click the "Add" button. On the subsequent page, fill in any required fields for the document, and then press the "Save" button to save your modifications.
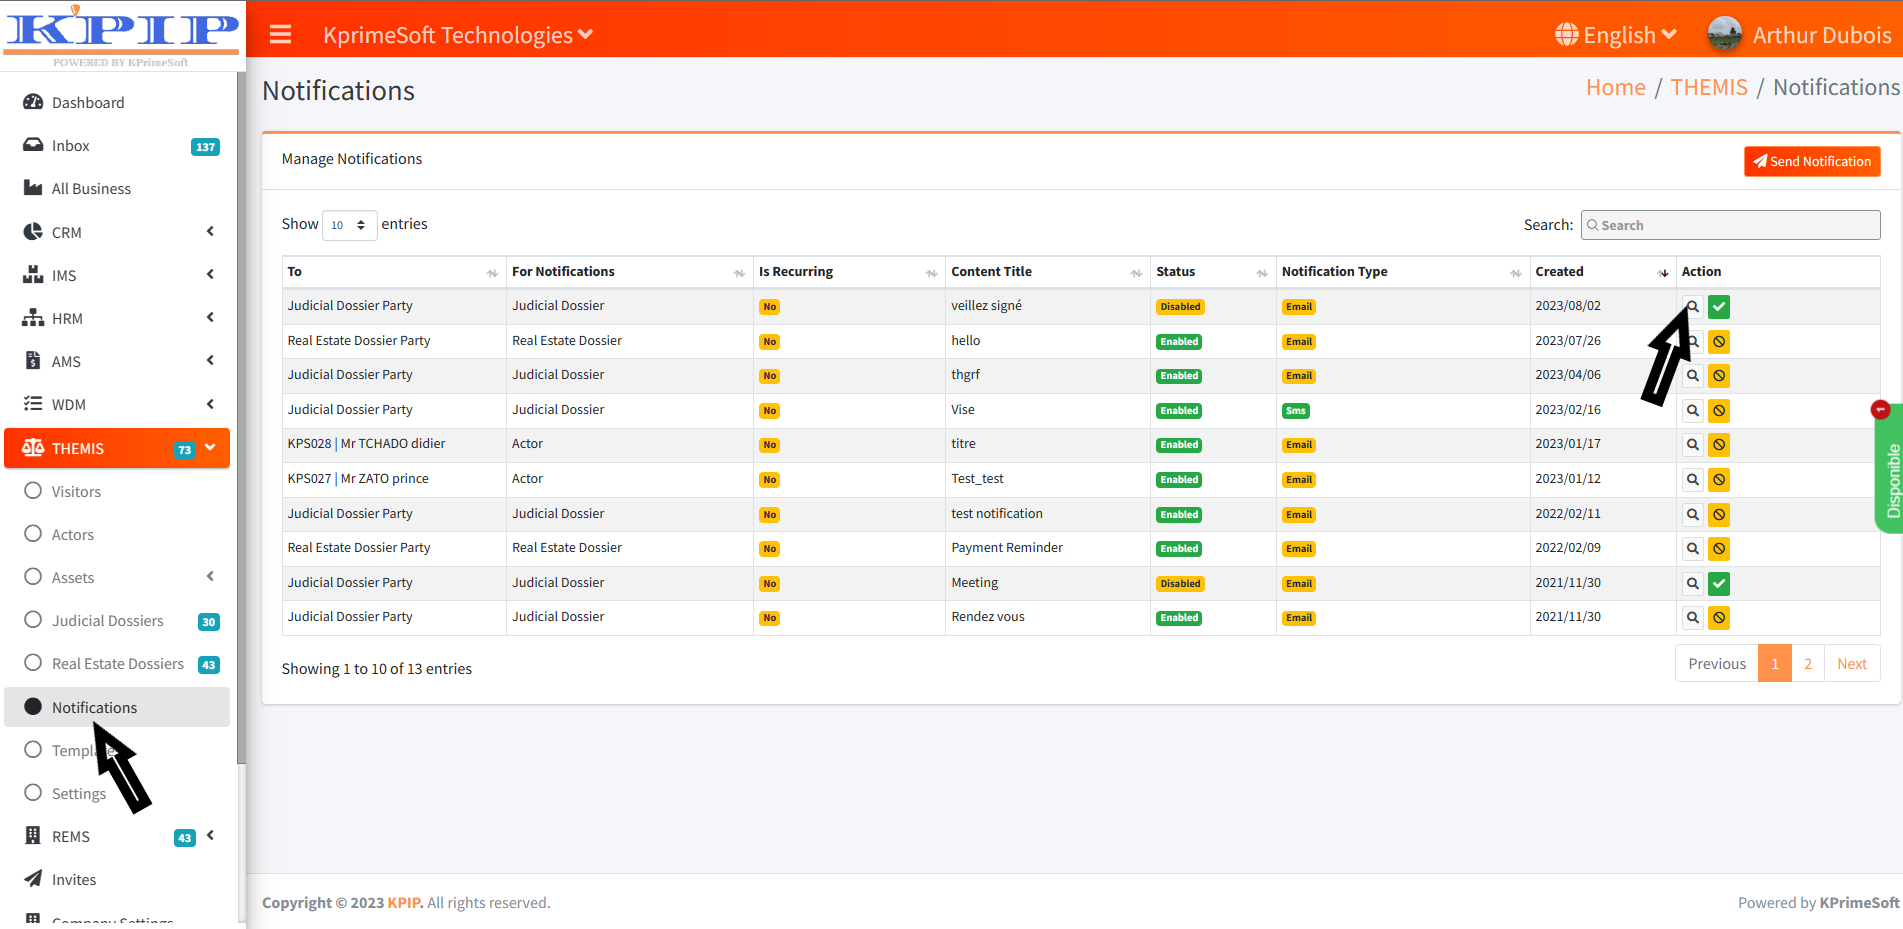
VII - NOTIFICATIONS
This feature enables you to send emails to both your company's staff and customers. Upon clicking the "Notifications" feature, a new page will display a table containing information about all the emails that have been sent. In the "Action" section, you will have the option to view the details of a particular email or deactivate a scheduled email.
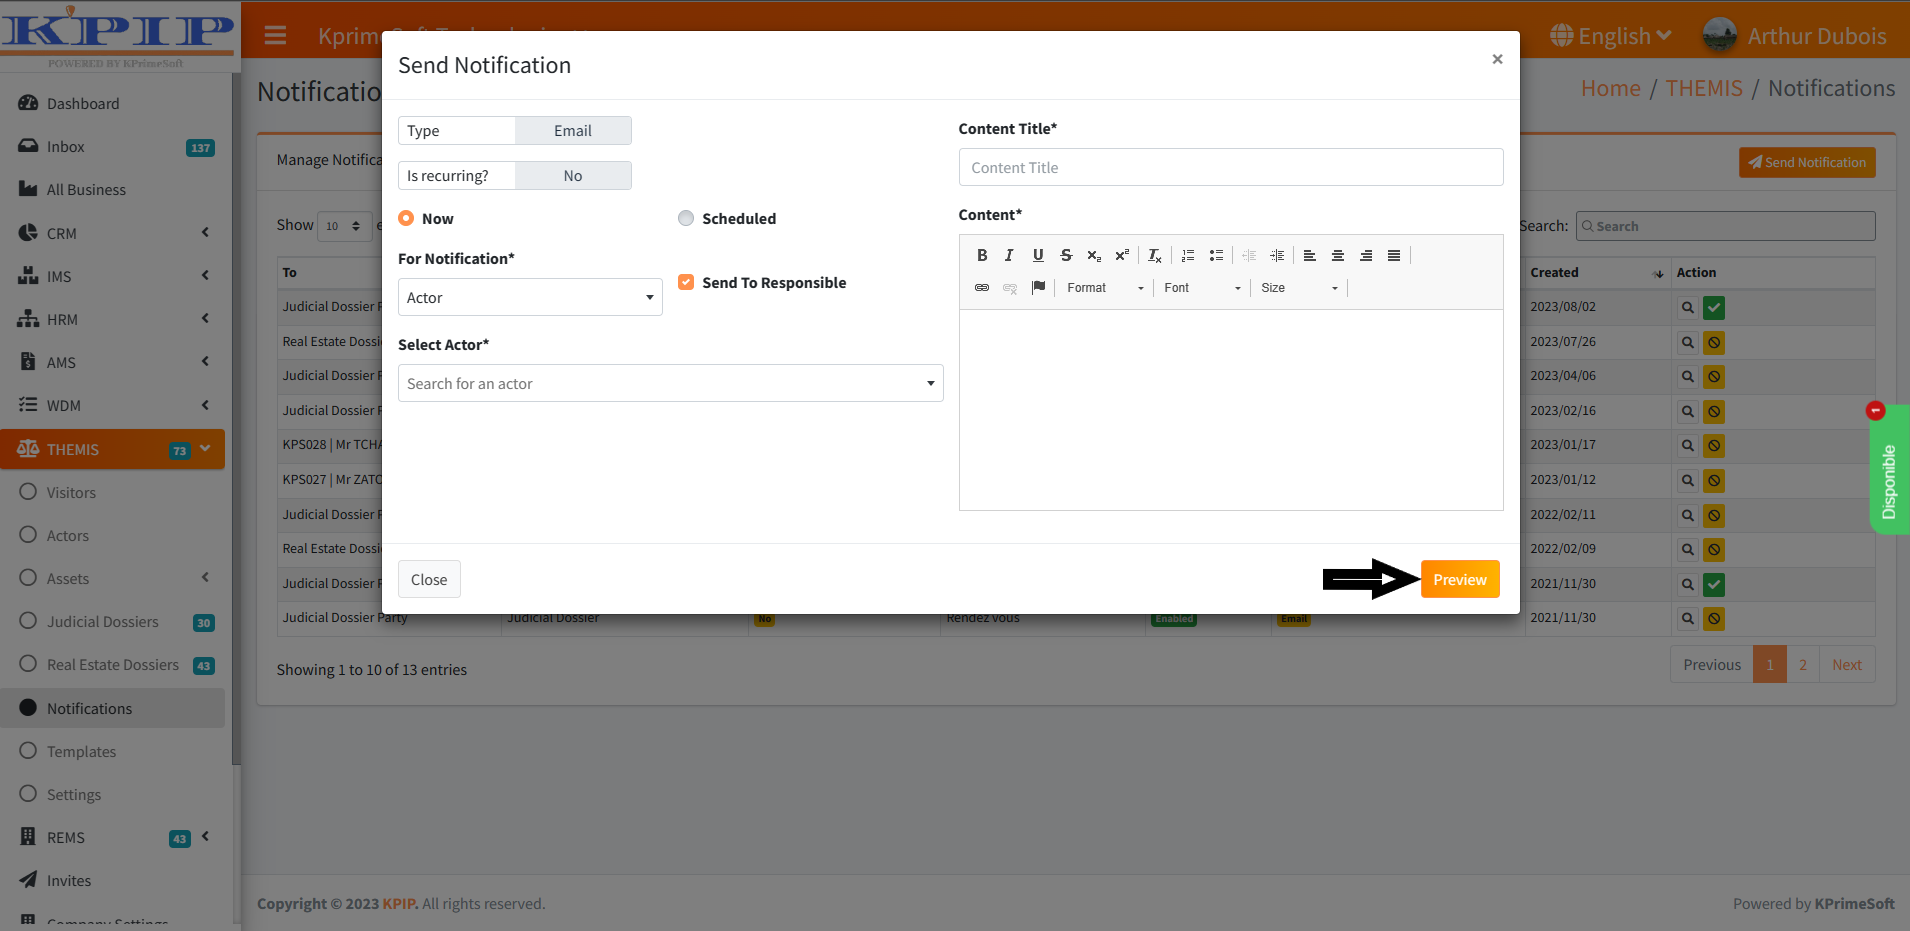
To initiate an email, click on the "Send a notification" button. On the ensuing page, complete the sending form. Afterward, click on the "Preview" button to review the integrated data. Finally, click on the "Send a notification" button to dispatch the email.
VIII - MODELS
This functionality offers the capability to incorporate a desired model into the creation of legal and real estate documents. Accessing the "Models" function will bring up a table on a new page, displaying the integrated models. In the "Action" section, you can edit an existing model or remove it, provided it is not a global model.
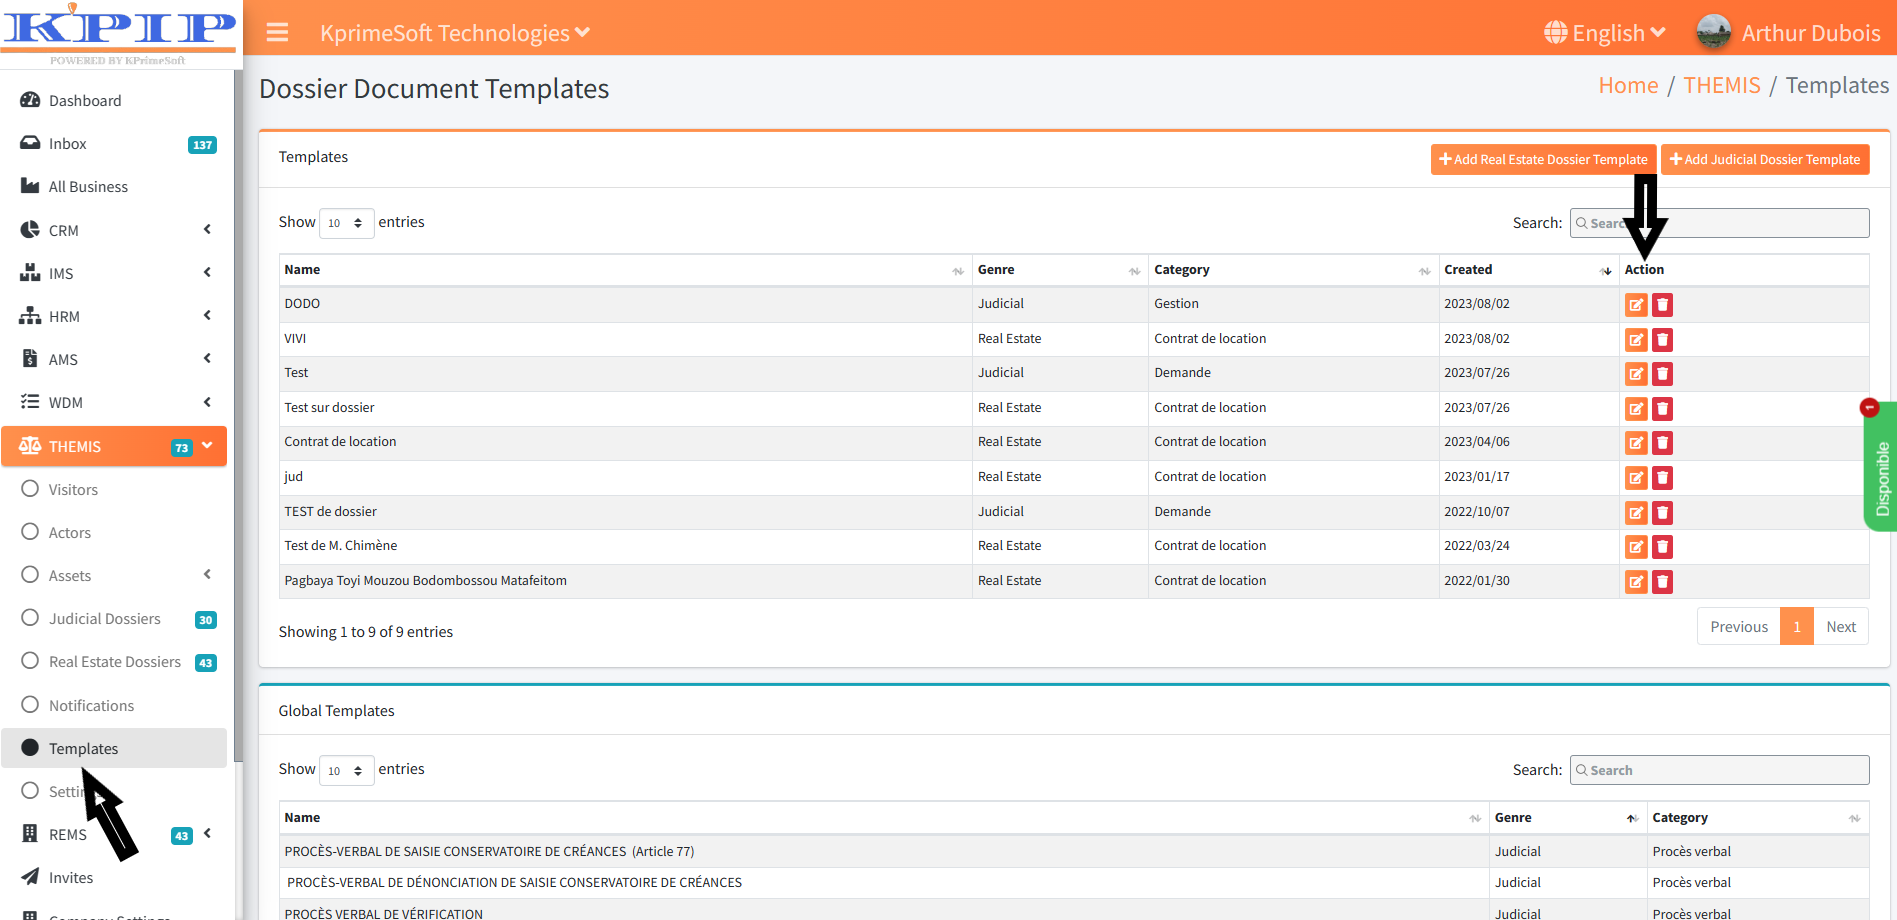
For the addition of a legal or real estate model, select either the "Add a real estate file model" or "Add a judicial file model" button. On the ensuing page, fill out the form, insert the relevant model into the "Content" section, integrate the codes, and then press the "Save" button to store the changes.

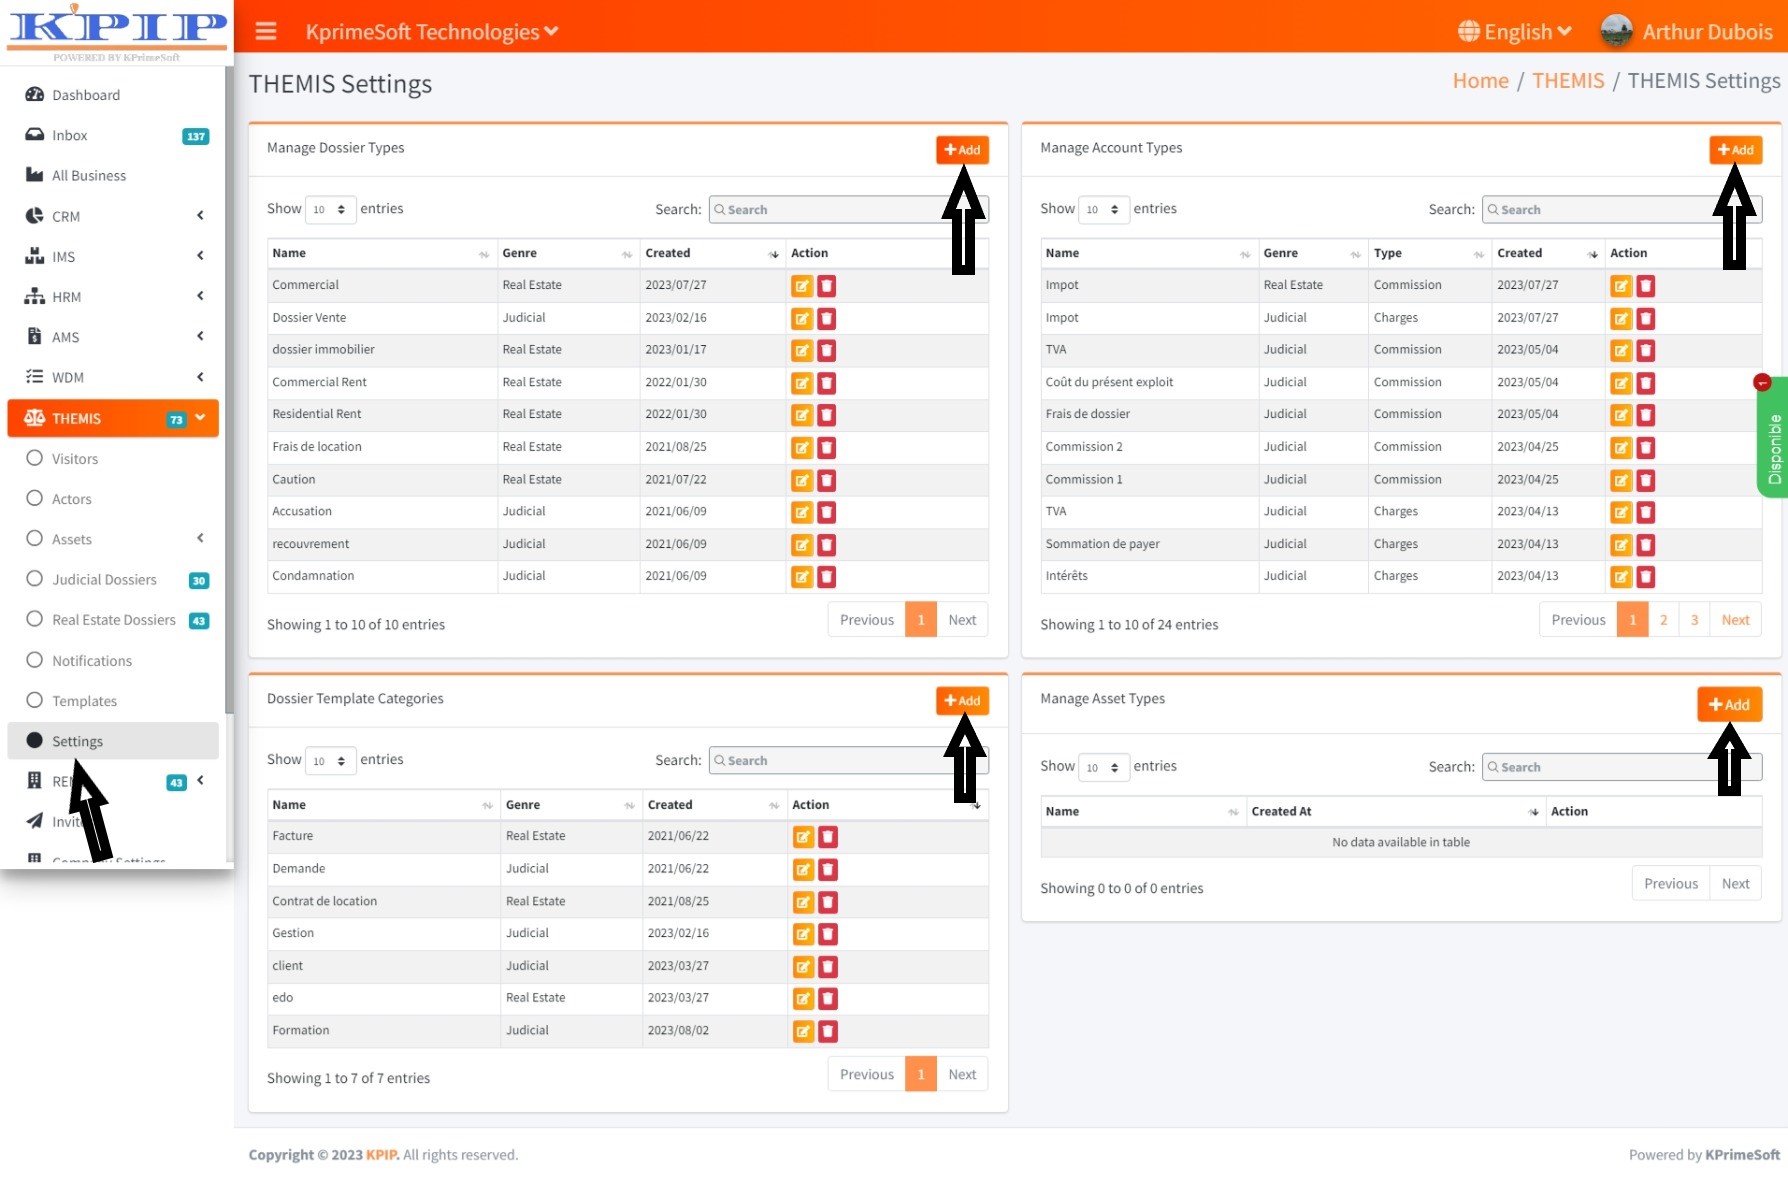
IX - SETTINGS
Furthermore, this feature empowers you to integrate various file types that your firm handles, as well as account types and categories of file models, all of which are used in the composition of legal and real estate documents. To include a new file type, account type, or category of file models, click on the "Add" button. On the subsequent page, complete the form and then click the "Save" button to retain the changes.