DETAILED MANUAL OF CRMS DOCUMENT TO SIGN FUNCTIONALITY

KPrimeSoft Support
Last Update hace 2 años
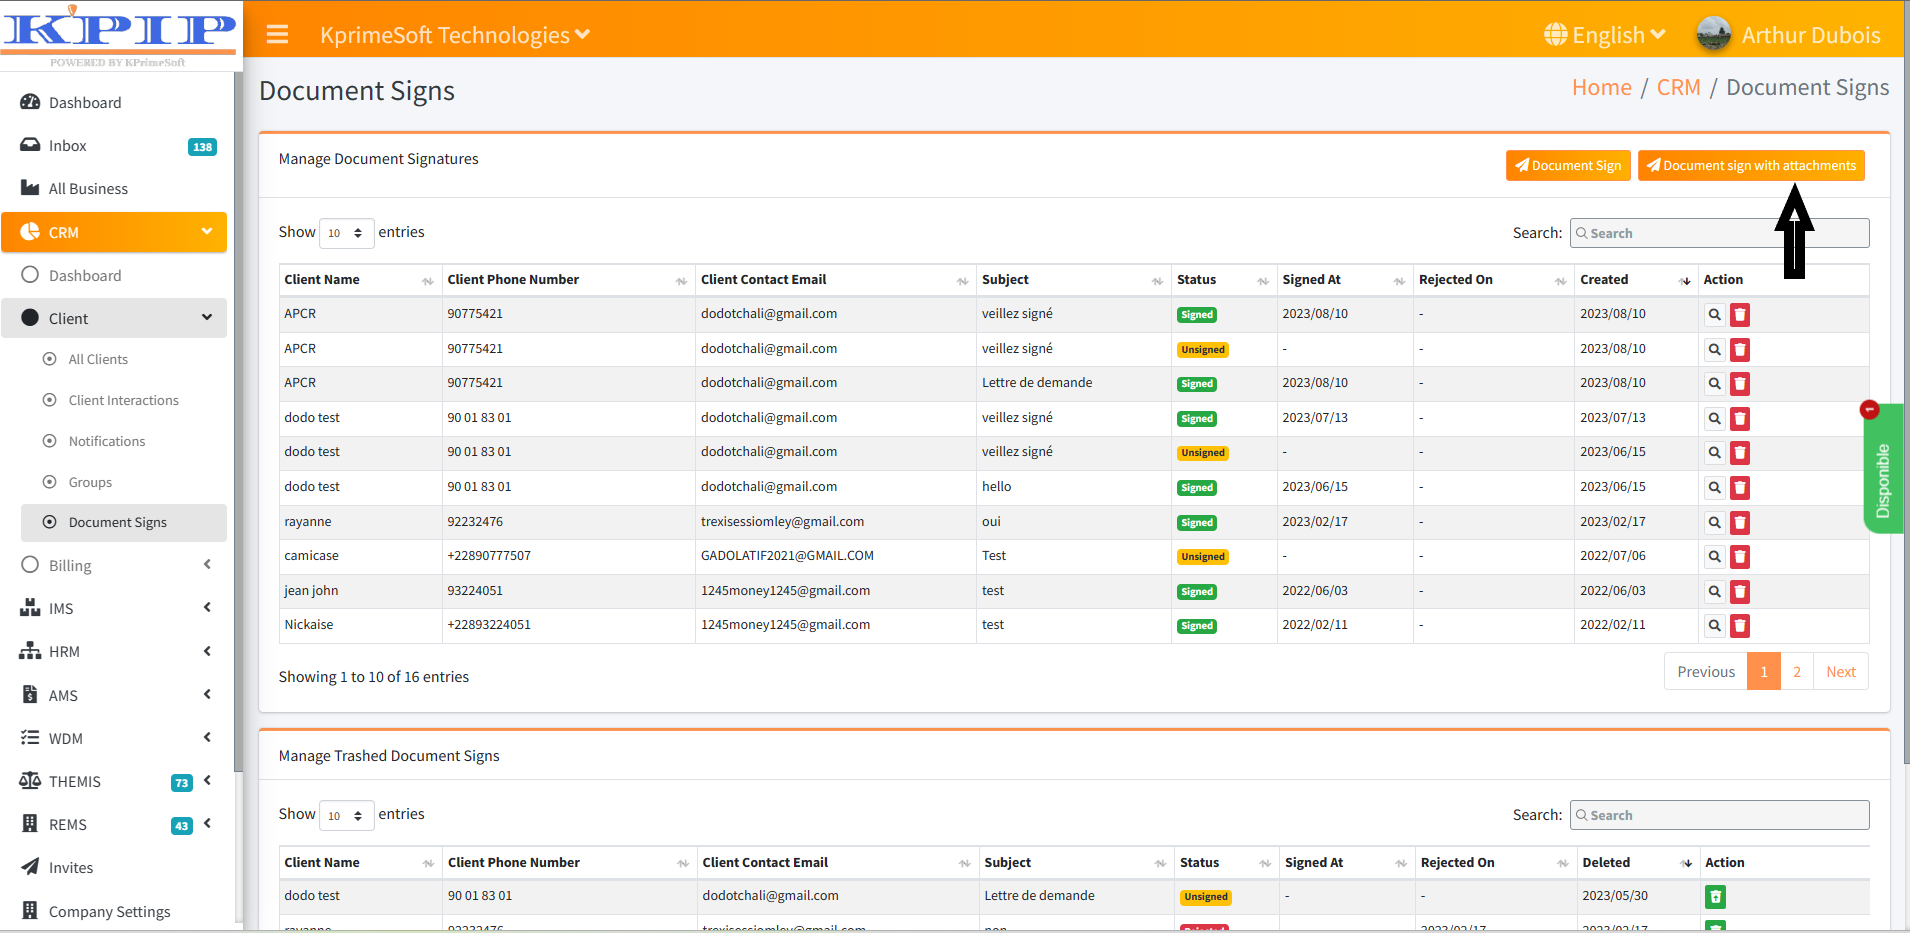
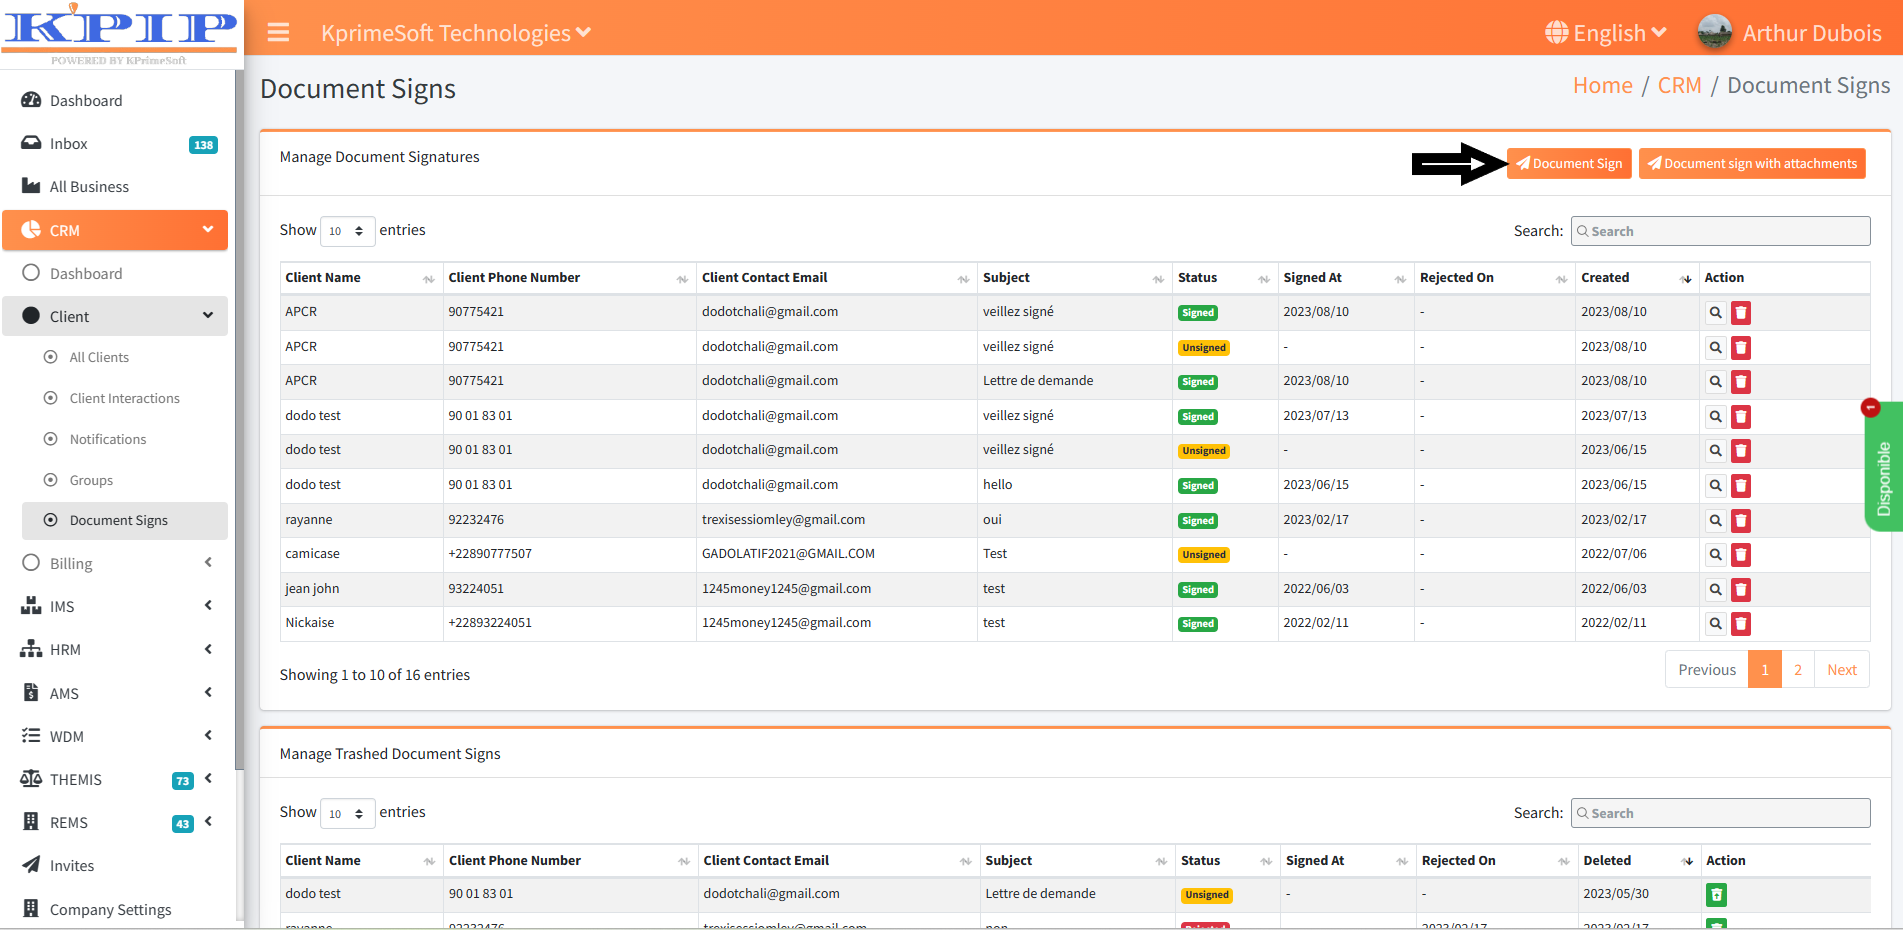
In this section, we can send our documents to our customers without the need for physical delivery. To send a document to a client, it must already be registered in our company's database. This section provides us with access to the following features:
- A summary table for documents that have already been sent and signed.
- A summary table for documents that need to be signed.
- A search bar for easy document retrieval.
- A "Sign Document" button.
- A "Sign Document with Attachments" button.
- Actions such as viewing, deleting, and restoring documents.
Please refer to the screenshot below for a visual representation.

1. SUMMARY TABLE FOR DOCUMENTS TO BE SIGNED ALREADY SENT
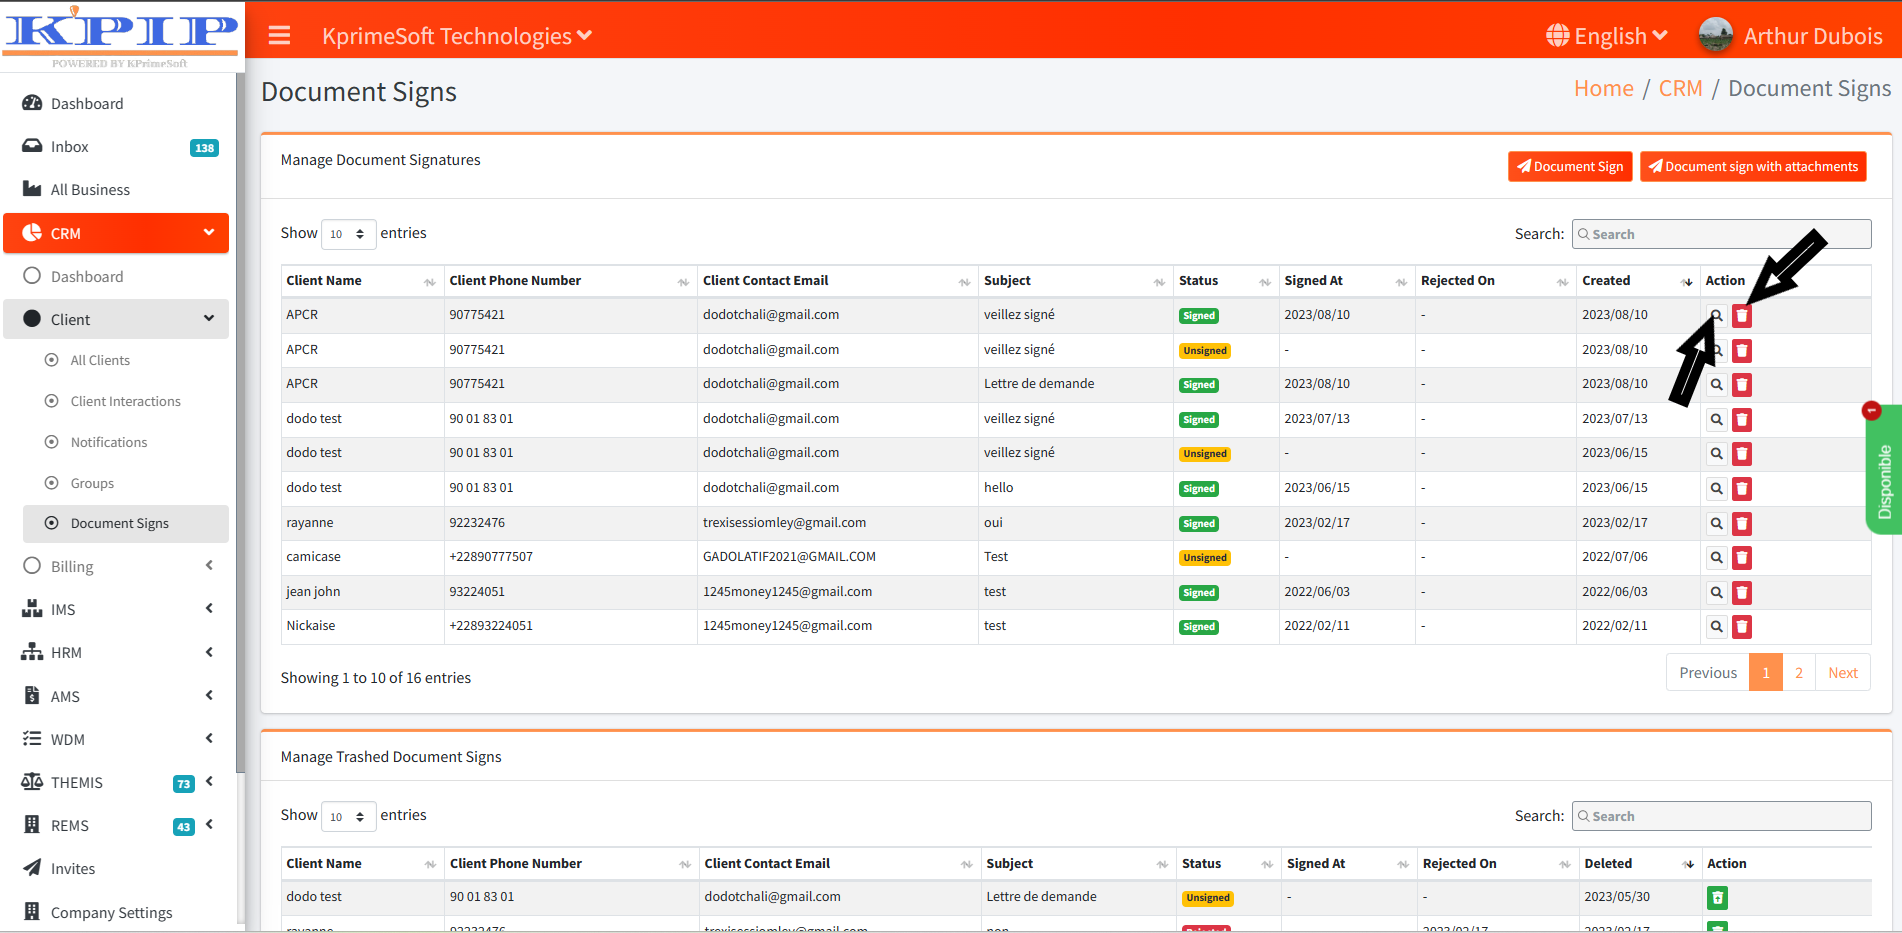
Here is the first table at the top, which lists all the documents already sent for signing. It also provides a brief summary of the document's content, namely:- The recipient of the document.
- Their contact.
- Their email address.
- The subject of the document.
- Its status (signed or not).
- The date of signing.
- The date of rejection.
- The date of creation of the document.
2. SUMMARY TABLE FOR DOCUMENTS TO BE SIGNED
This is the second table at the bottom. It visually presents the documents to be signed that have already been created but have been destroyed. The "Action" section allows us to restore a document that has been destroyed.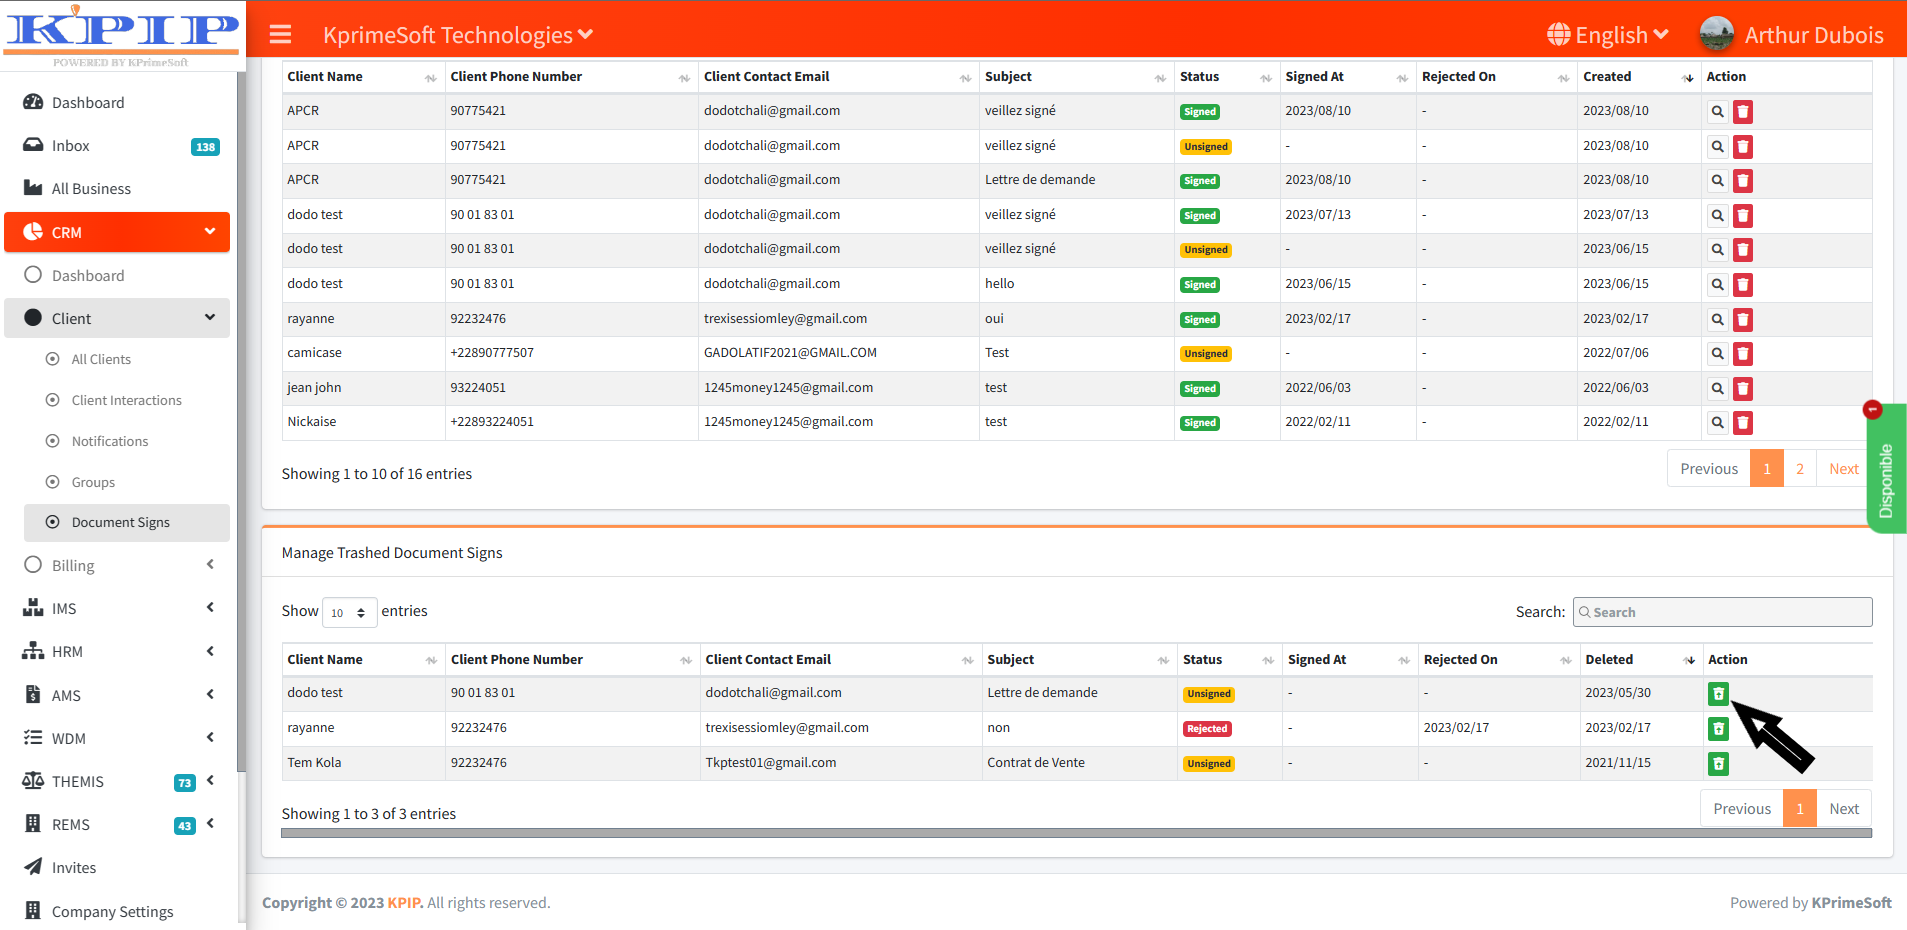
3. SEARCH BAR
An essential tool, the search bar enables us to conduct focused searches by using information related to a created document. This information can include the recipient's name or a portion of their name, the document's subject, or the recipient's email address. Since we anticipate the growth of this table, a targeted search bar has been implemented for enhanced efficiency.
4. DOCUMENT TO BE SIGNED
This section enables us to send a document for the client's signature. Once the document is created, it is automatically added to the table shown above. Please refer to the screenshot for visual confirmation.
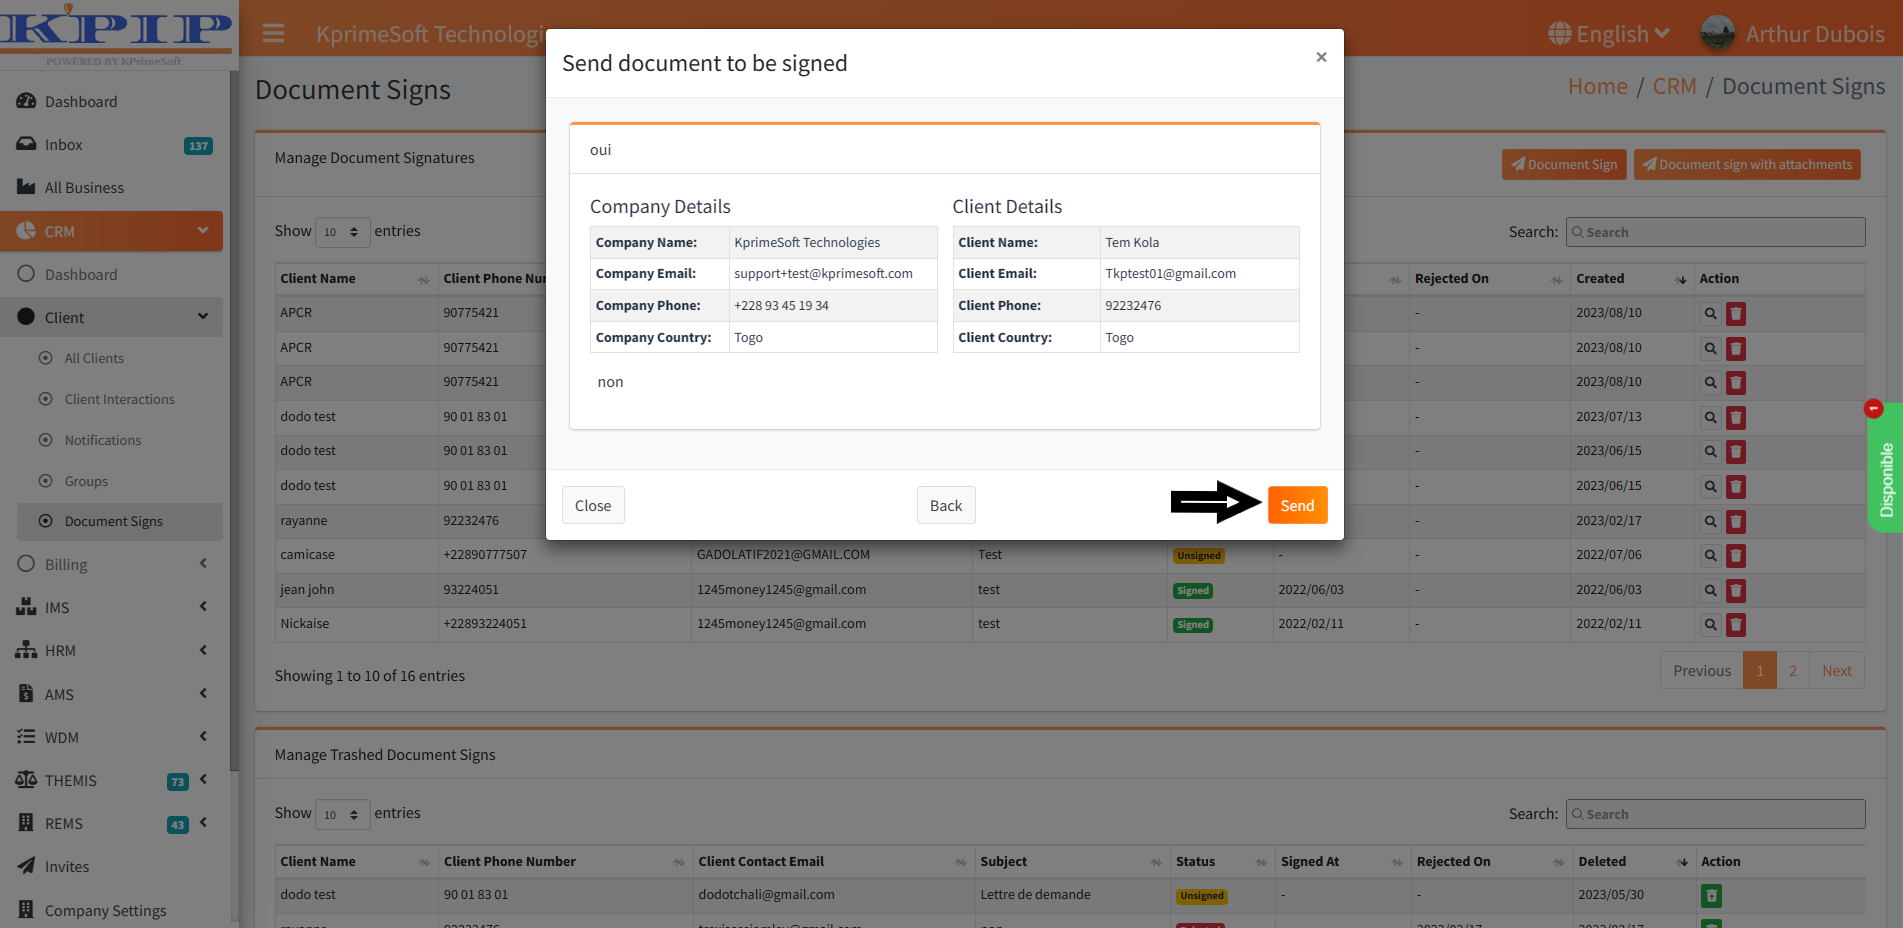
Once the "Document to be signed" button is clicked, a form will be provided for filling in the necessary information to create the document that will be sent. Please refer to the screenshot for visual guidance.
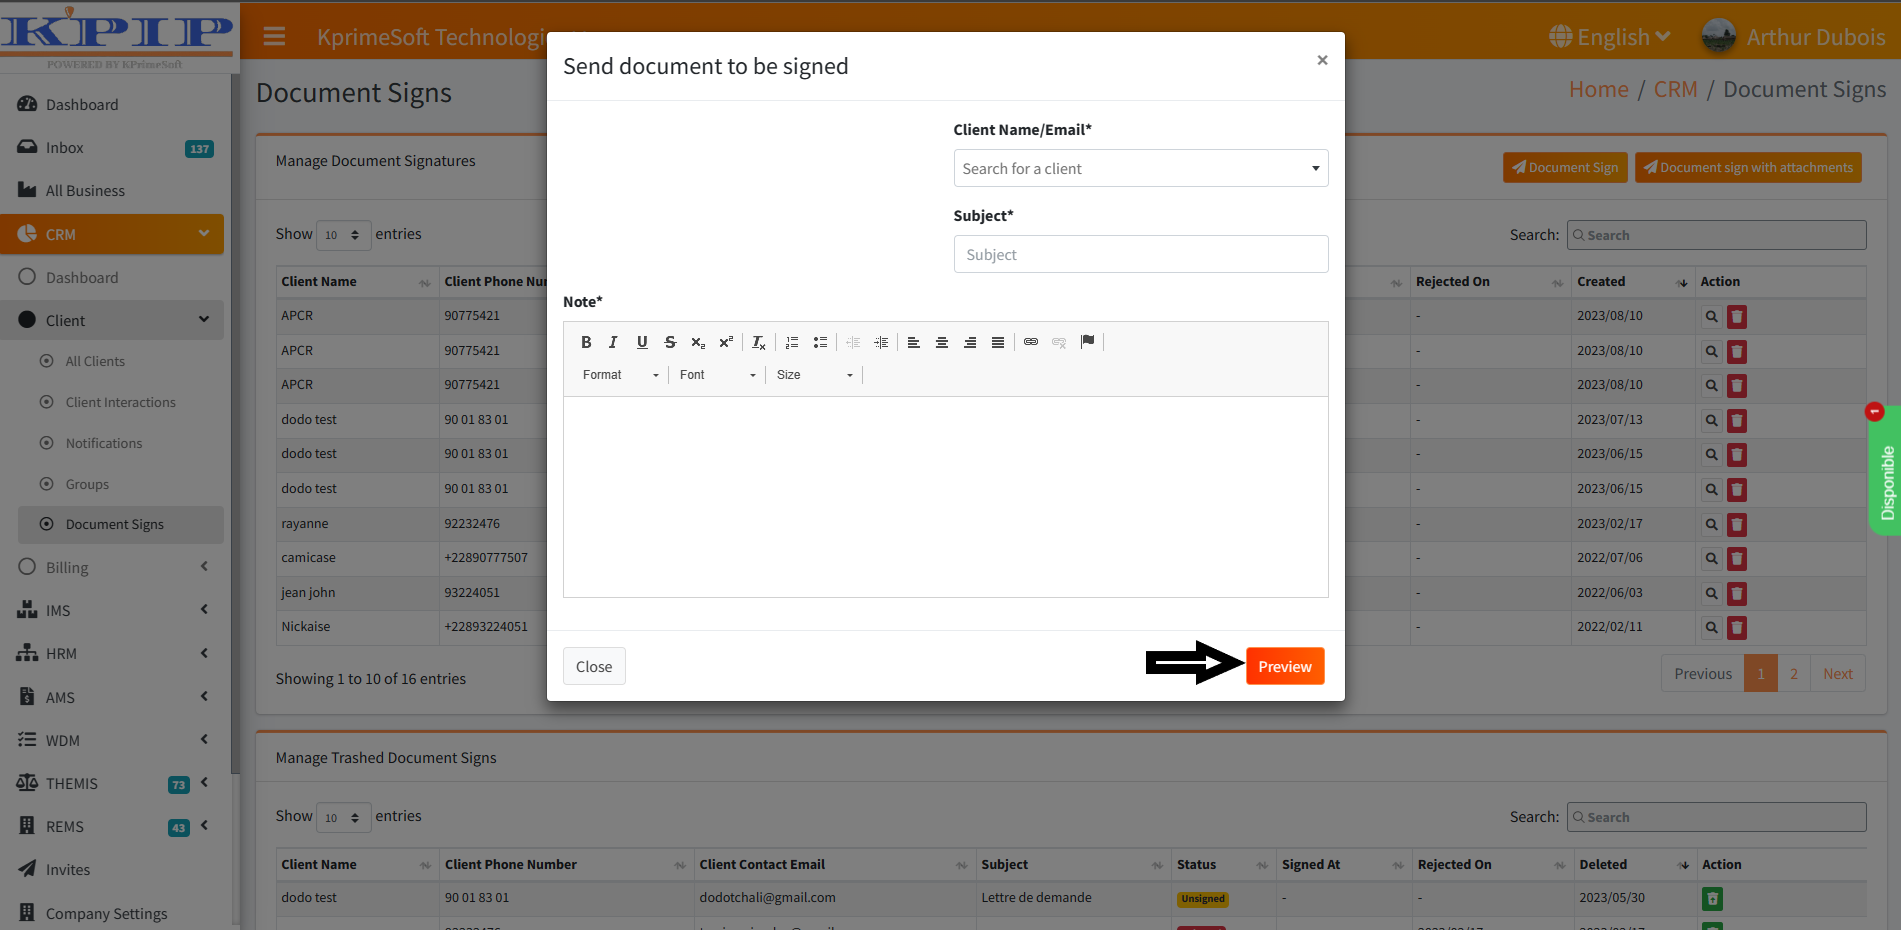
After filling out the form, please save the information to complete the document. Refer to the screenshot for guidance.
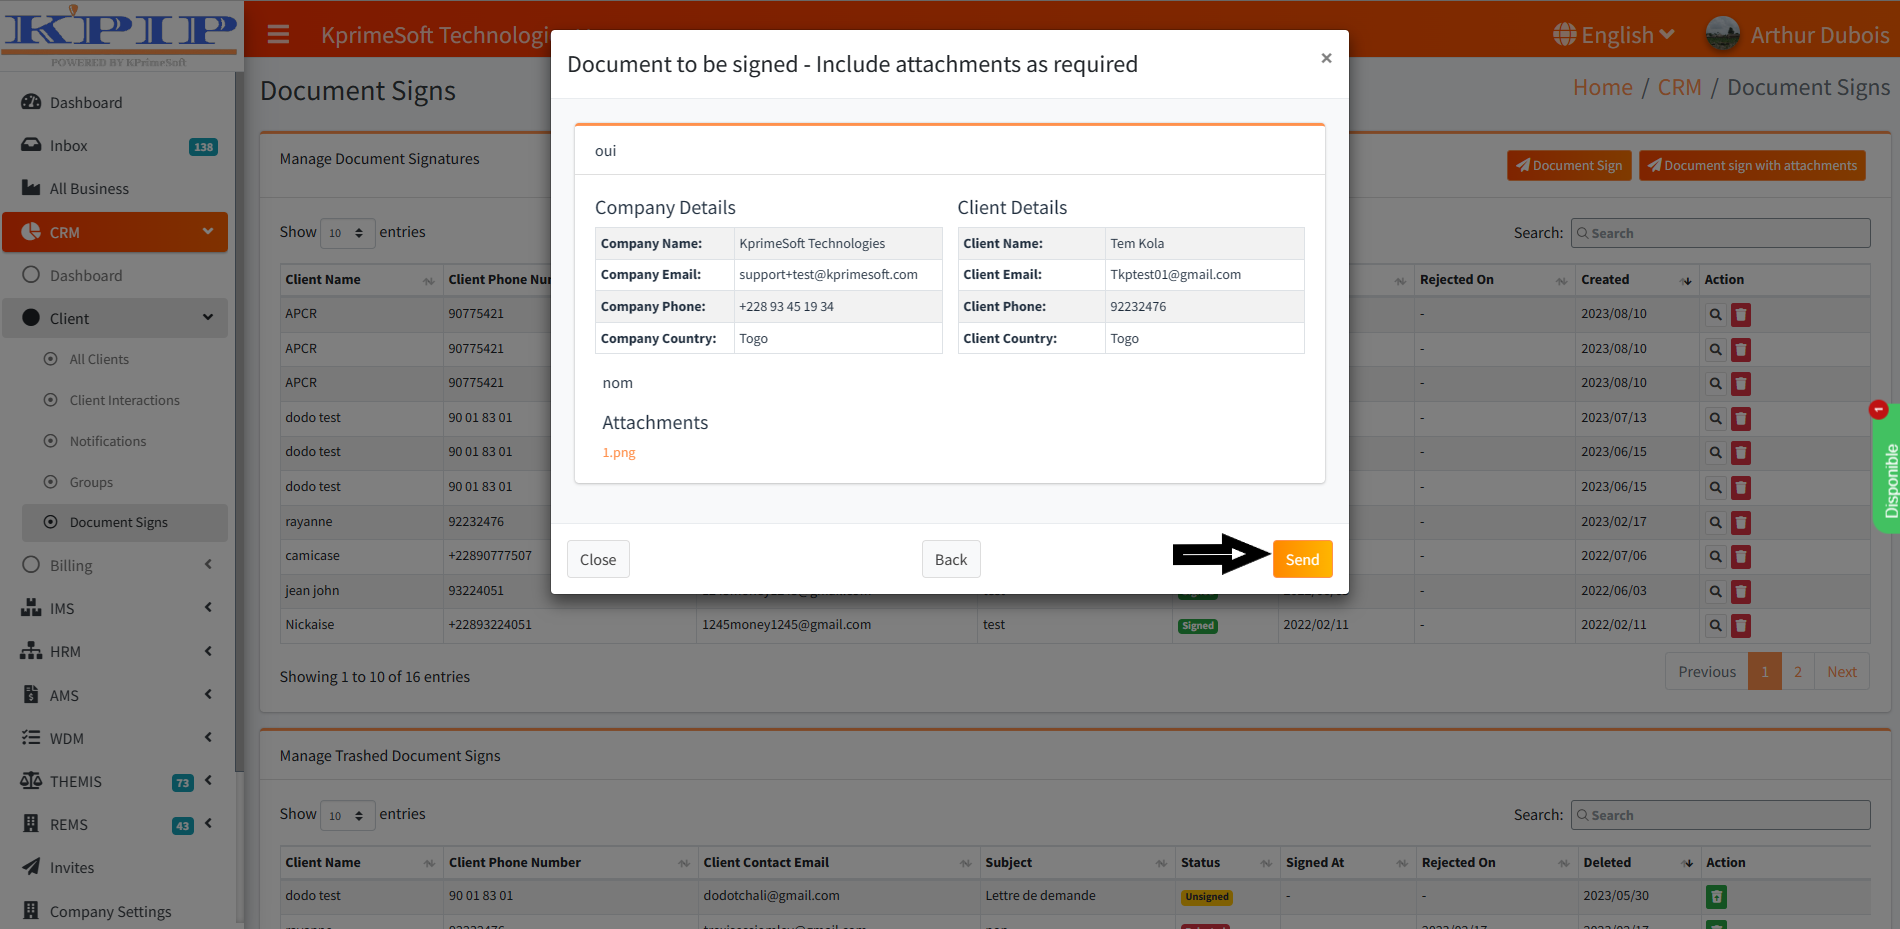
5. BUTTON DOCUMENT TO SIGN WITH ATTACHMENT
This feature also enables you to generate a document for sending to a client, with the added capability to attach a file to it. Please refer to the screenshot for more details.