DETAILED OPERATION MANUAL FOR ALL CLIENT

KPrimeSoft Support
Last Update há 2 anos
The initial functionality within the CLIENT option of the CRM module is "ALL CLIENTS" This functionality empowers us to effectively manage our client base by providing the following capabilities
Utilizing statistics and an automated filtering system that operates atop a summary table.
- Gaining insight into existing customers stored in our database through a concise summary table.
- Incorporating new customers into our database.
- Performing customer searches using the designated search bar.
- Conducting customer searches based on their registration dates.
- Facilitating the export of our customer list, if such a need arises.
- Enabling the import of an existing customer list.
- Engaging with customer information through viewing, editing, and deletion options available in the "Action" section.
- The statistics and automatic filtering system are located above the data table. They provide you with a precise idea of the statistics and enable you to quickly filter the data table.

1. SUMMARY TABLE
The table enables us to have a visual representation summarizing the customers already registered in our database along with their corresponding information:
1. Client's name.
2. Client's structure.
3. Customer type.
4. Customer's contact details (email, mobile number).
5. Customer's creation date.
2. ADD A CUSTOMER
The "Add" button creates or adds a customer to the database of a company, along with the information related to each visible customer in the summary table. Please follow these steps to create or add a customer.

After clicking the "Add" button, you will be directed to a form that allows you to enter the client's information. Once you have filled out the form, you will need to save the information to the database by clicking the "Save" button, as shown in the illustration below.
Note: It is important that the fields marked with an asterisk (*) are filled out in order to validate the form.

After completing the form by providing all the required information and filling in the mandatory fields, once the entire form is validated, the client is then added to the summary table. The information provided during their creation is also included in this table.
3. SEARCH FOR A CLIENT WITH THE SEARCH BAR
The summary table presents customers based on their creation or addition dates in the company's database, rather than in alphabetical order. As a result, it can be easy to overlook a client. To address this, a search bar was implemented to facilitate the swift retrieval of a previously registered customer by using their full name or even a partial name match.
4. SEARCH FOR A CUSTOMER BY ITS CREATION DATE
In addition to the search bar, there is also a search by date option. Similar to remembering either the full name or just a part of a client's name, there's also the possibility of completely forgetting the client's name. This is where the basic date search feature becomes useful. Please refer to the screenshot for clarification.
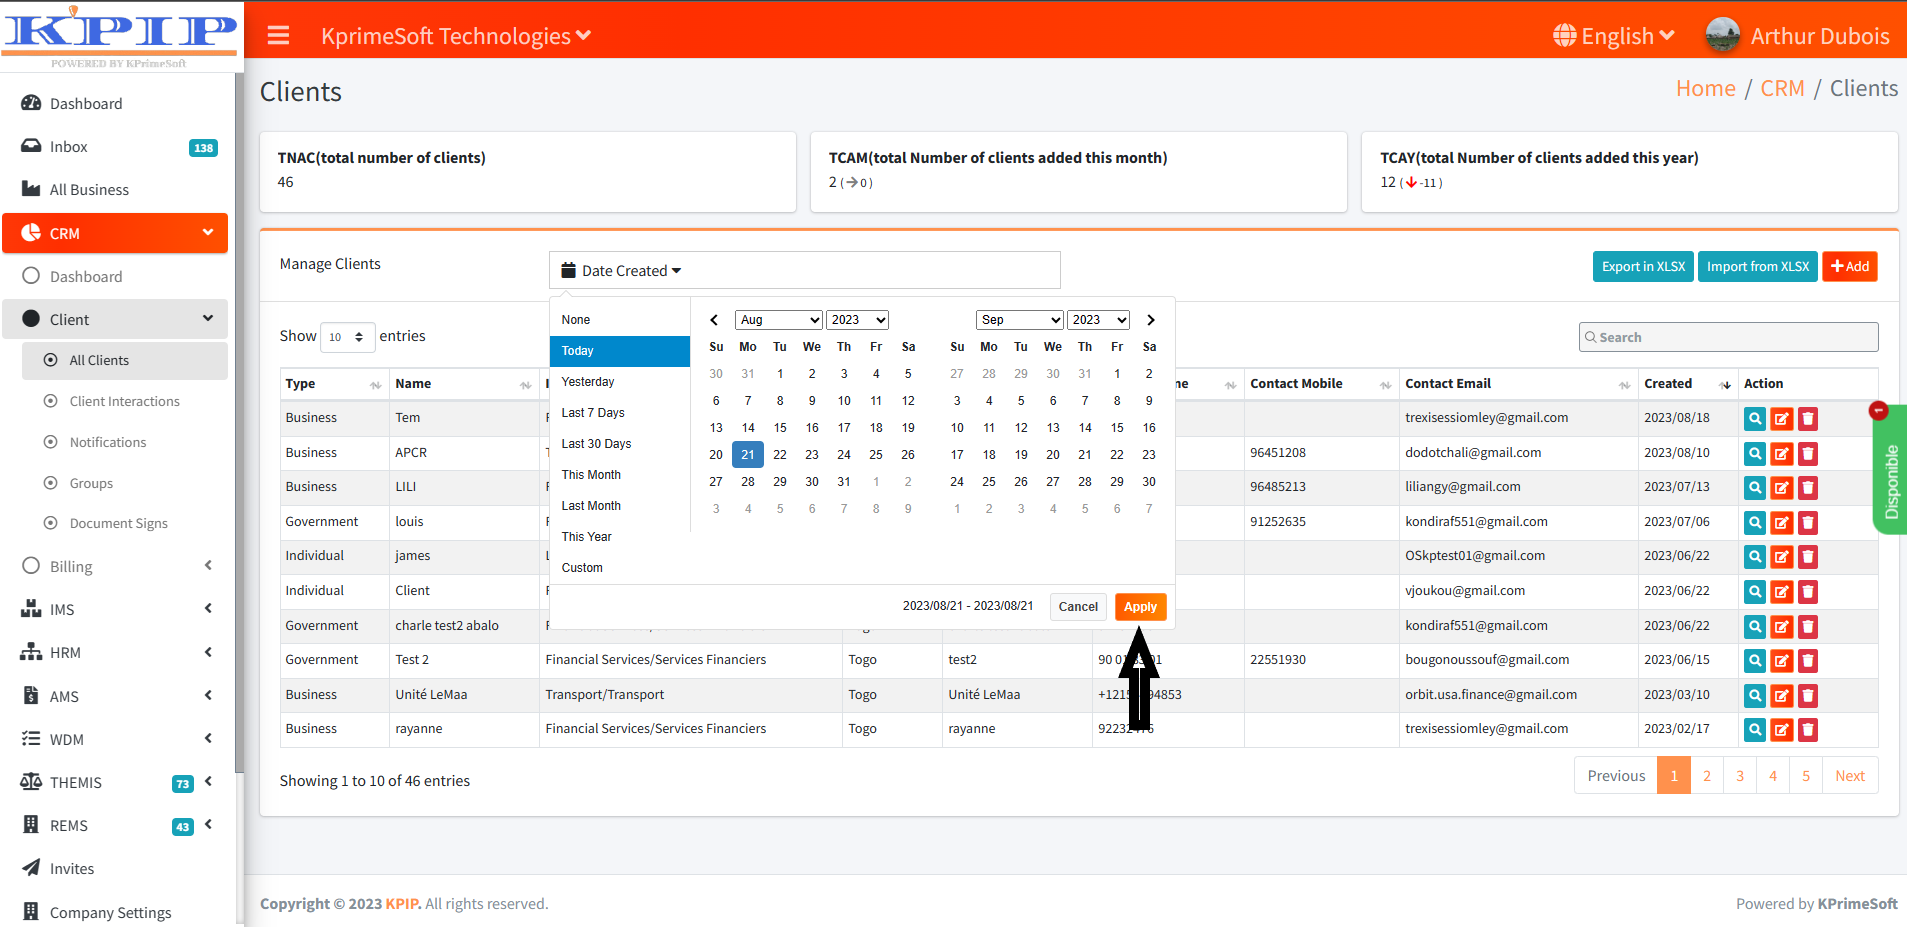
As depicted in the screenshot, you have the option to target a specific date if you recall the exact creation date of the client. Alternatively, you can narrow down the search by week, month, or even year. After selecting your preferred search criteria, simply click the "Apply" button to generate the results, which will be displayed in the table format.
5. EXPORT CUSTOMER LIST
This feature enables us to export the complete list of our customers whenever the need arises. The exported list is in xlsx format, which is compatible with Excel. By clicking the "Export xlsx" button, the export process initiates instantly, prompting the download of an Excel file. This file contains the comprehensive list of clients.
6. IMPORT THE LIST OF CUSTOMERS
Conversely, when exporting, we will add to our customer list, whether it already exists or not. To accomplish this, we need to load our customer list, and the file to be loaded must be in the first tab, specifically in xlsx (Excel) format. Refer to the screenshot for more details.
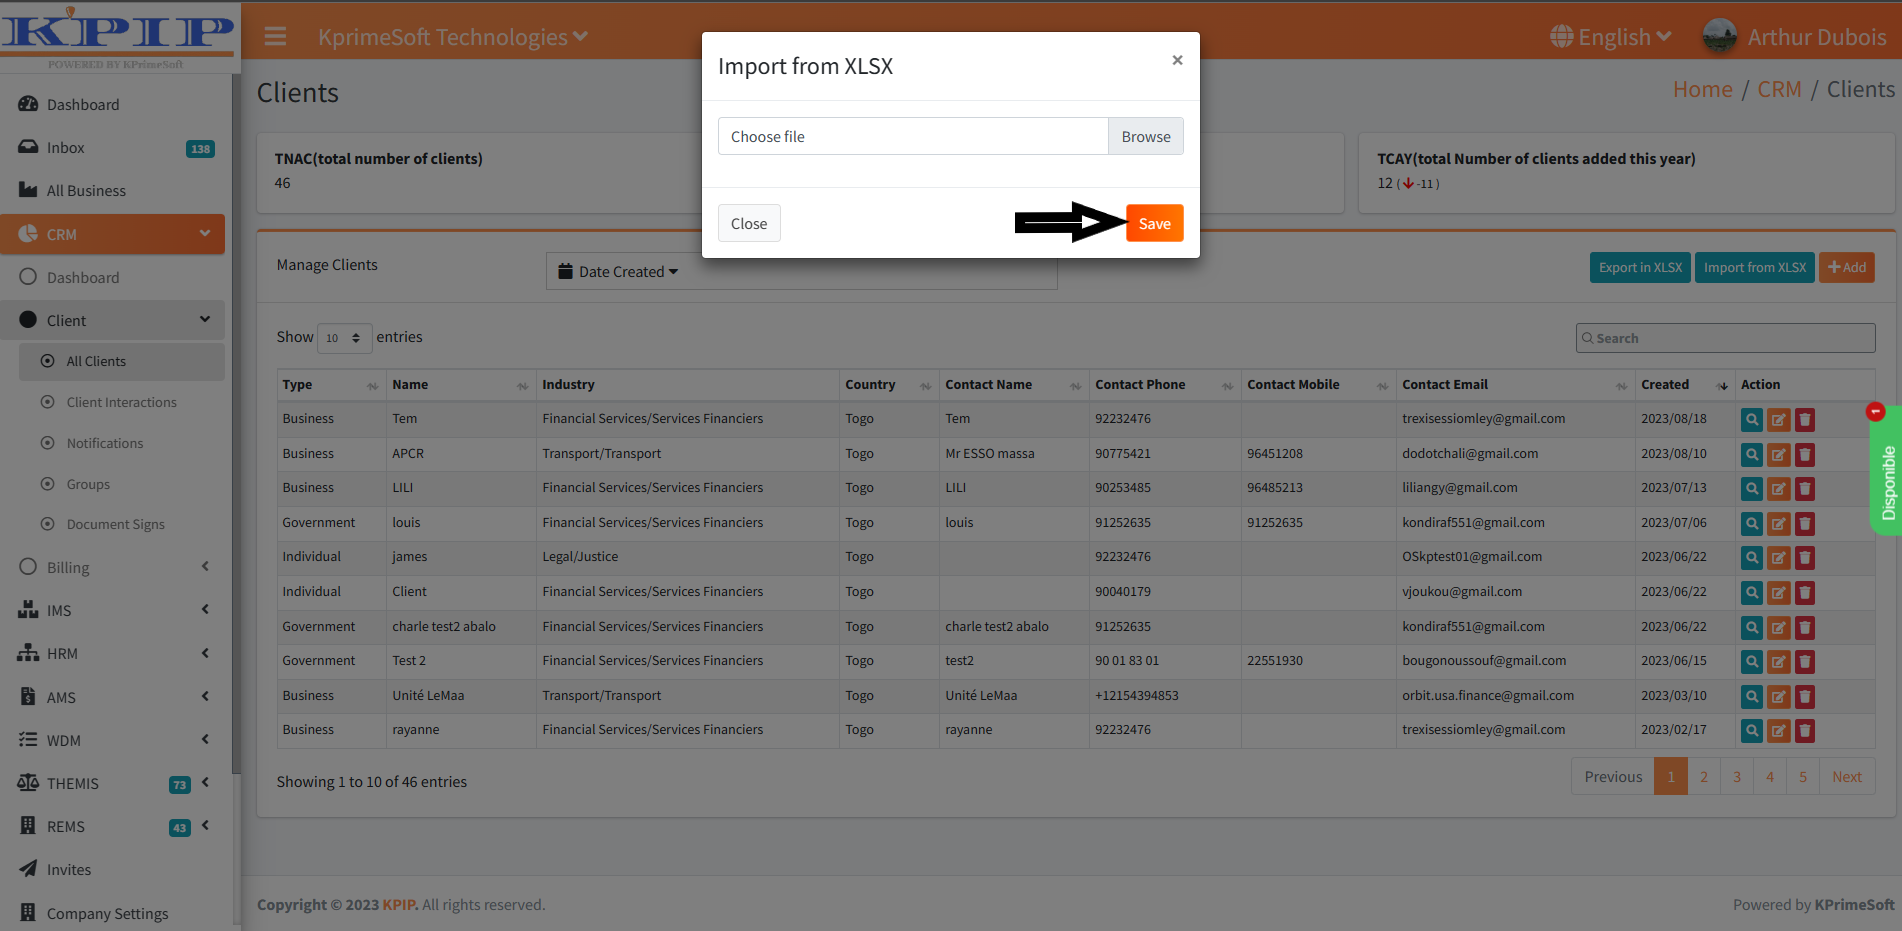
After clicking the "Import xlsx" button, this form is presented, enabling us to select our Excel file containing the customer list. Following this, you should click on "Browse" to locate the file on your machine. Once the file is located, proceed to select it, and then click "Save" to load the customer list file. After selecting and confirming the file using the "Save" button, the customers listed in the file will be added to the company's database.
7. ACTION
This field enables you to execute three distinct actions.
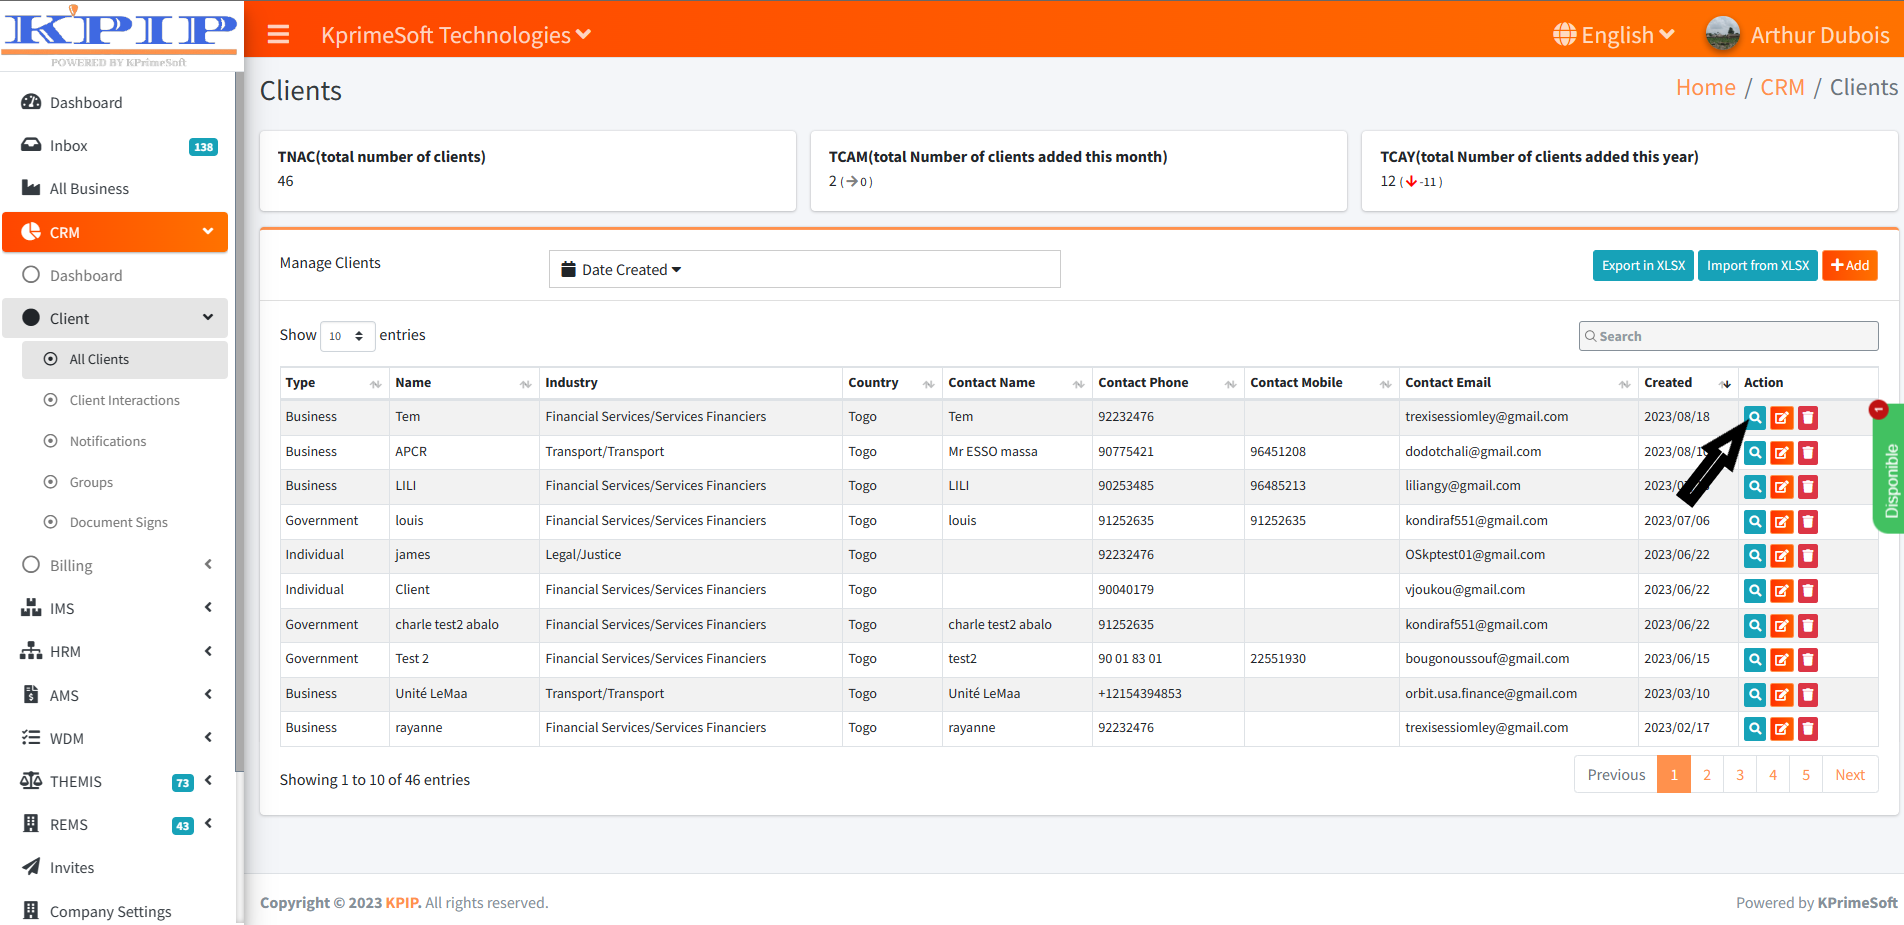
- View a client
In the "Action" section, clicking on the magnifying glass icon will allow you to view the information of a client. Please refer to the screenshot for clarification.
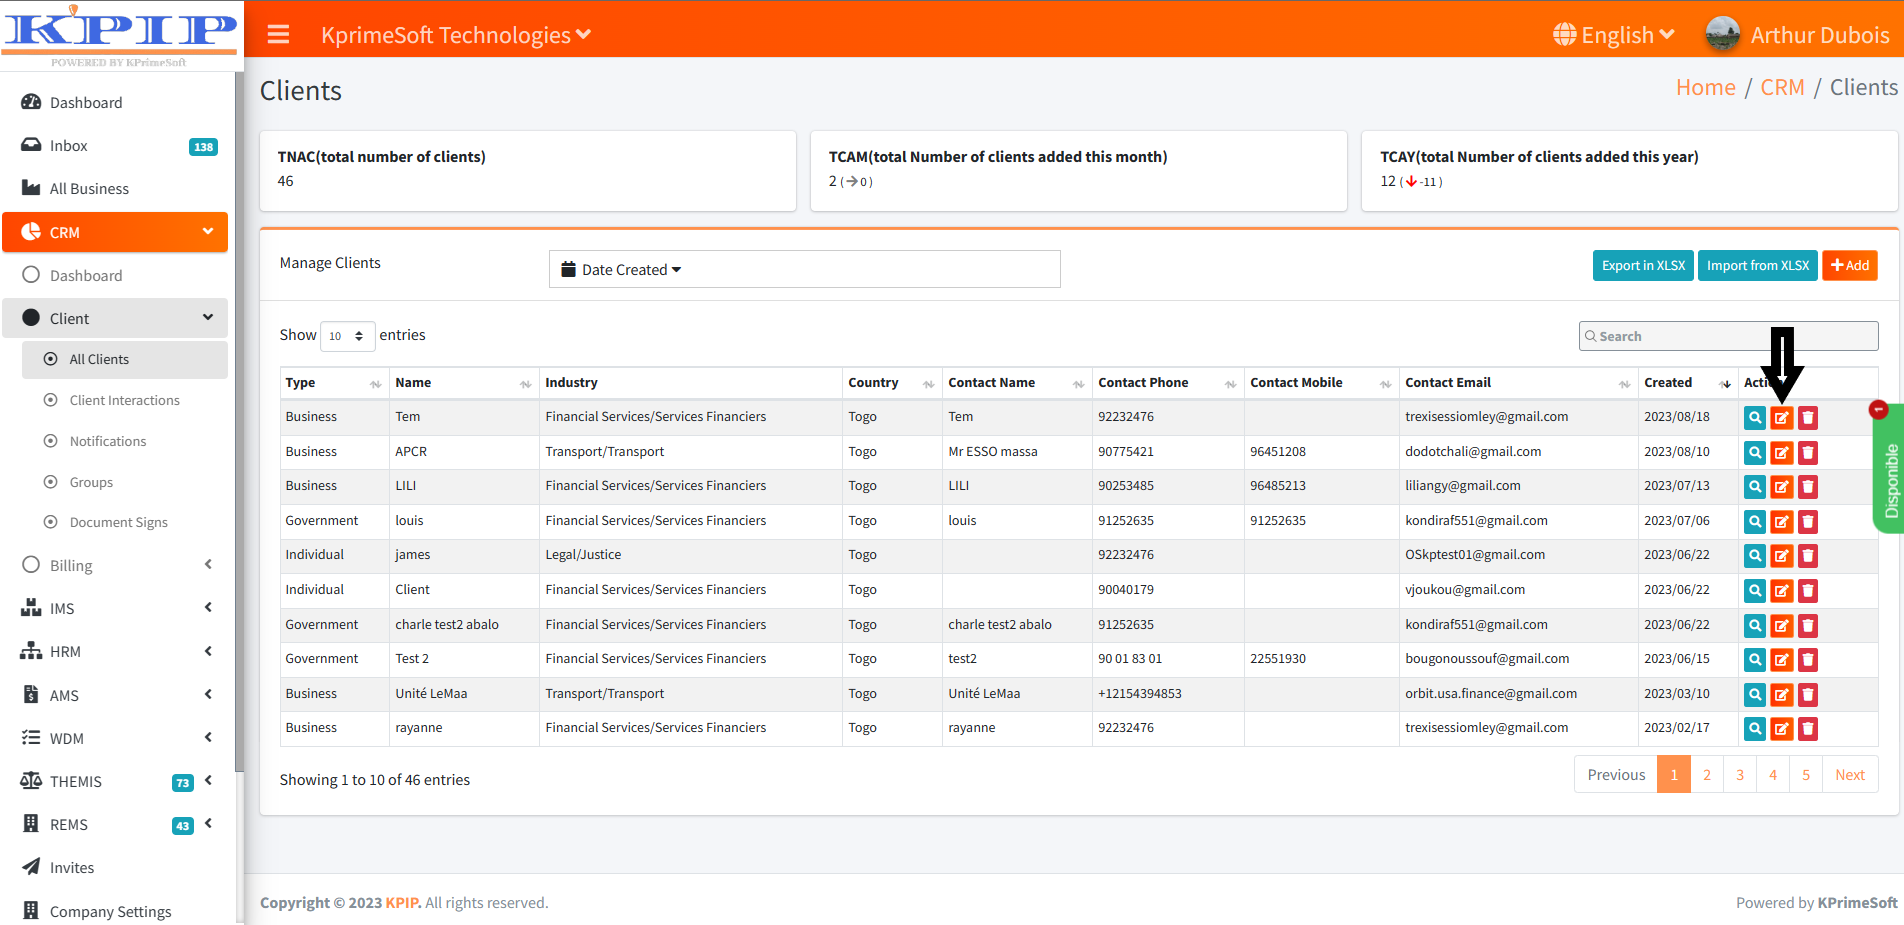
- EDIT
In the "Action" section, the pen icon enables us to edit or modify the client's information. Please refer to the screenshot for guidance.
- DELETE
In the "Action" section, the icon takes the shape of a trash can, and it enables us to delete a client from the database. Please refer to the screenshot for visual clarification.
