DETAILED MANUAL OF THE CRM GROUP FUNCTIONALITY

KPrimeSoft Support
Last Update vor 2 Jahren
This functionality provides us with the capability to create groups of customers. We initiate a group and then add the client members.
This section provides access to the following features:
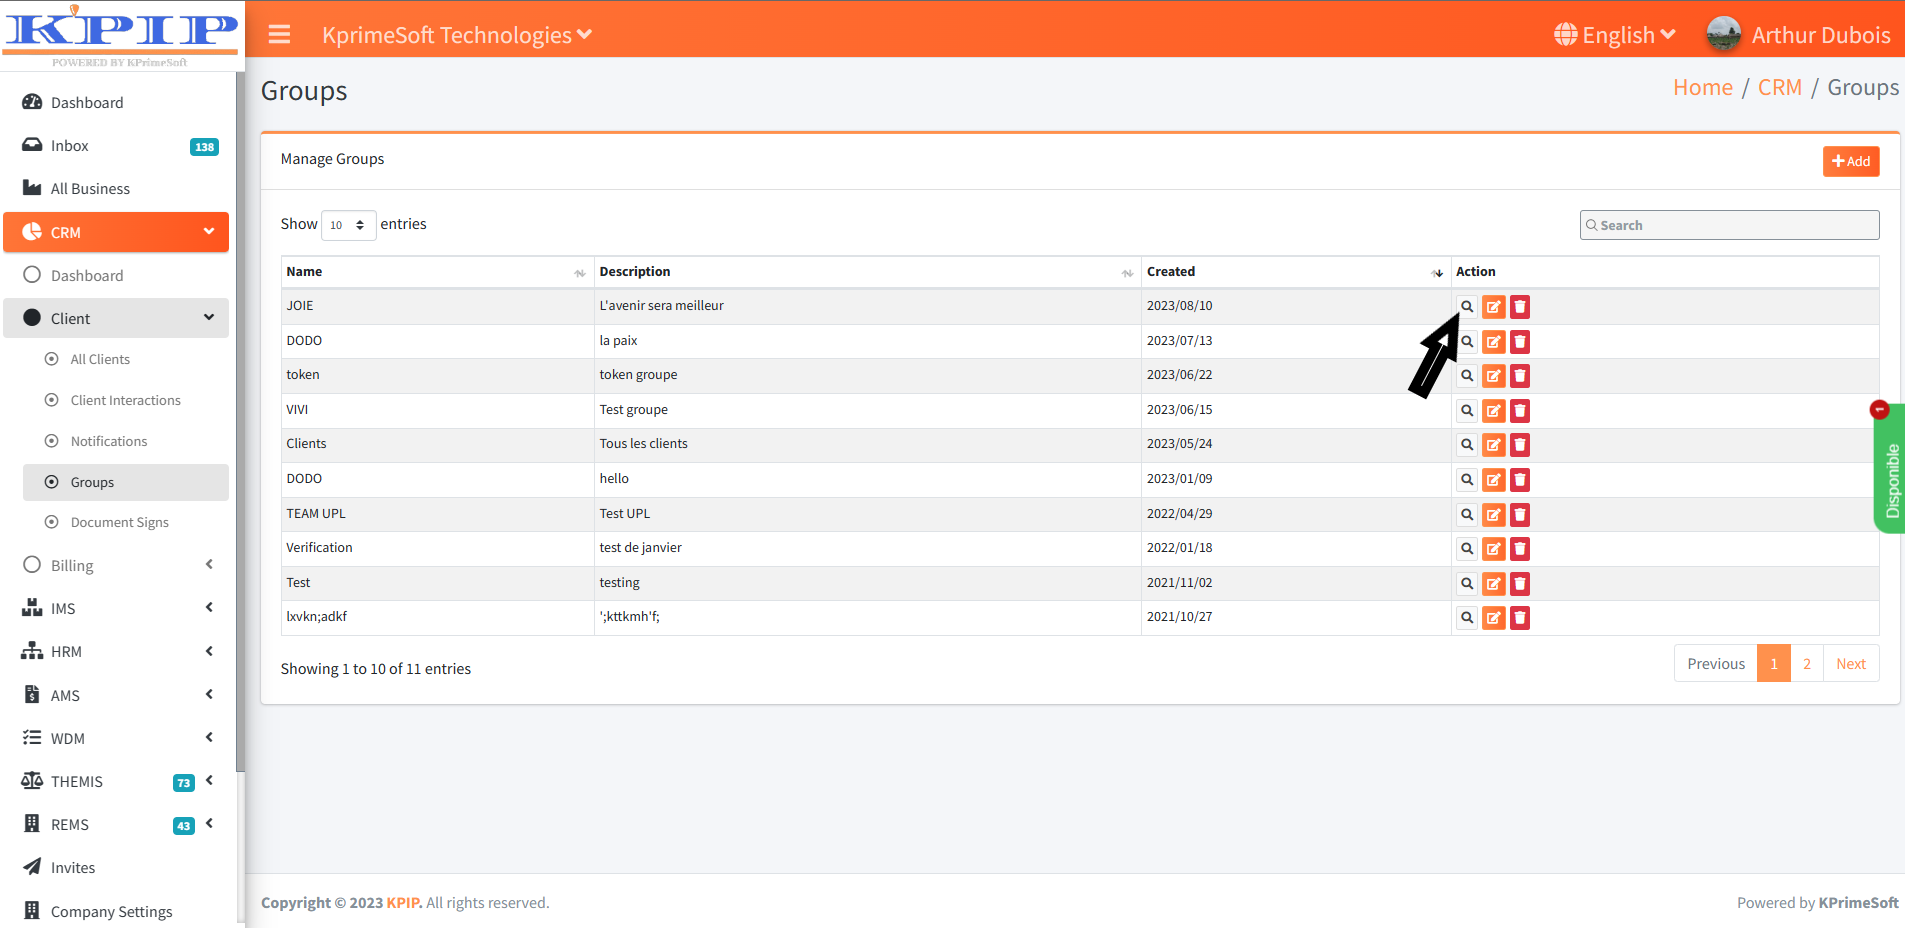
- A summary table of the various groups, already generated by our database.
- A search bar to facilitate quick searching.
- An 'Add' button for creating a new group.
- Actions (View, Edit, Delete) for managing groups.
Please refer to the screenshot for visual reference.

1. SUMMARY TABLE
This document offers an overview of the various groups within our database, along with their corresponding information, including:
- Group names
- Group descriptions
- Group creation dates
2. THE SEARCH BAR
The search bar will enable us to look up existing groups in the company database.
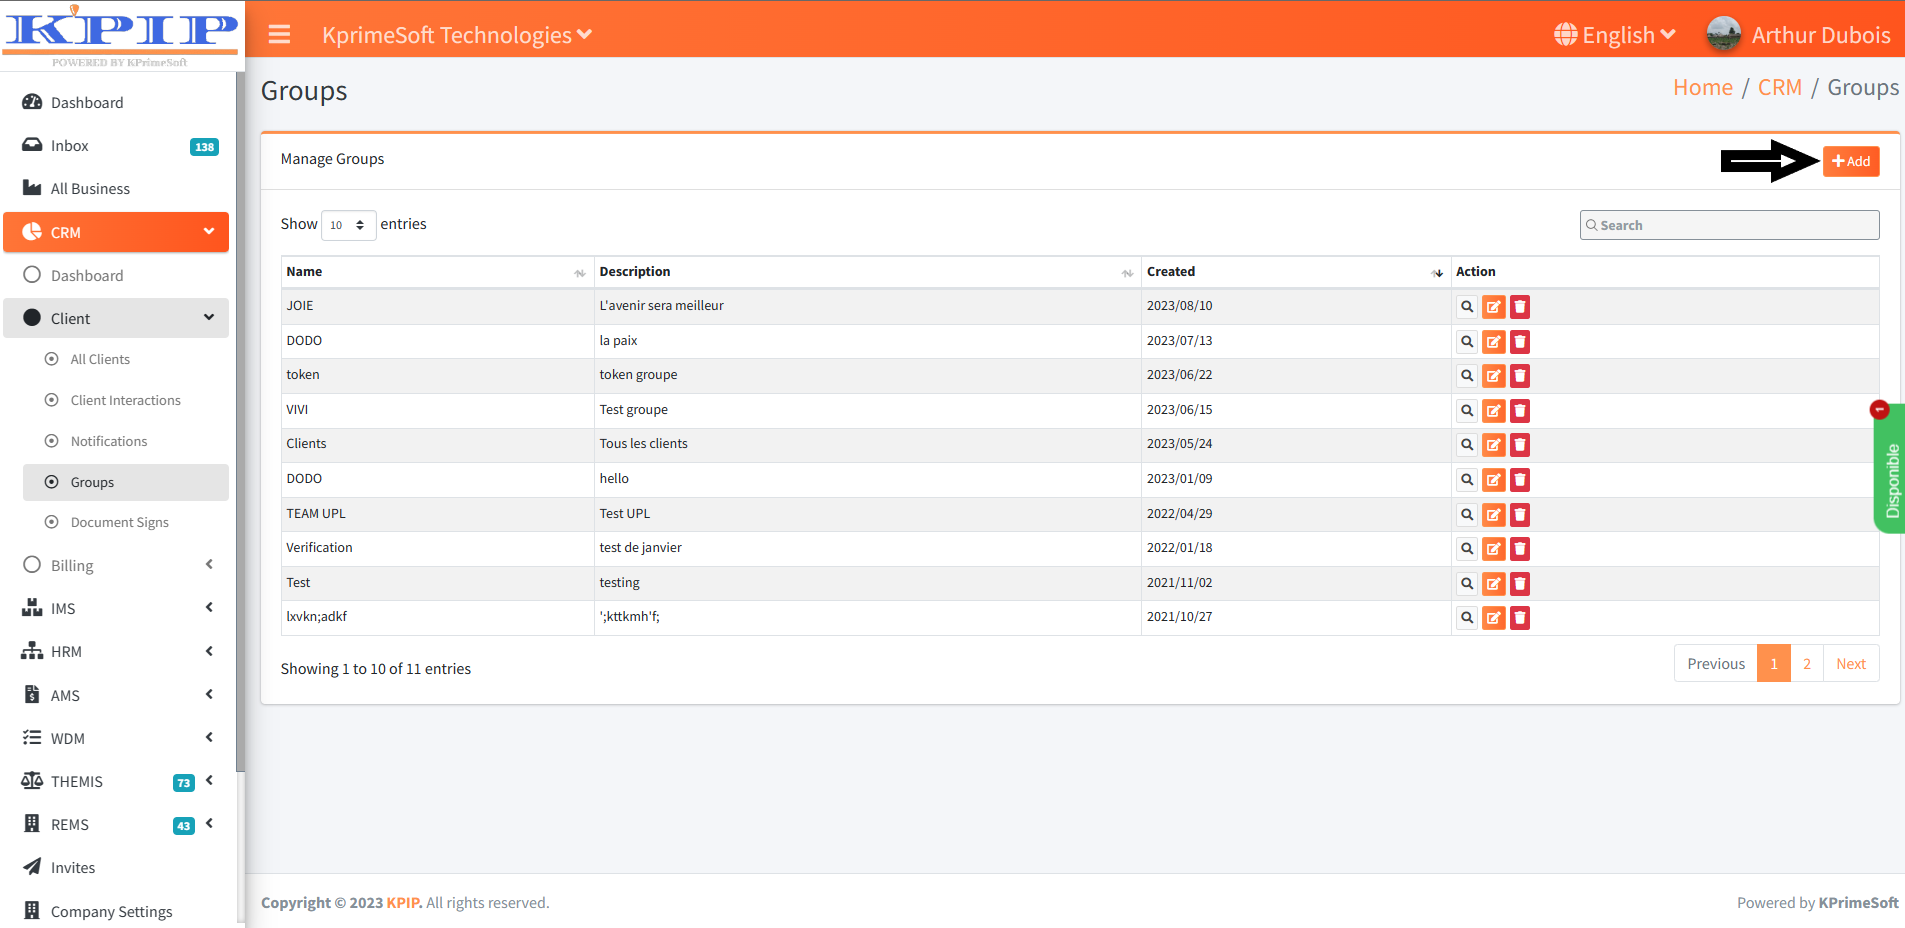
3. ADD BUTTON
This button enables us to create a group. Please refer to the screenshot for guidance on how to create a group.
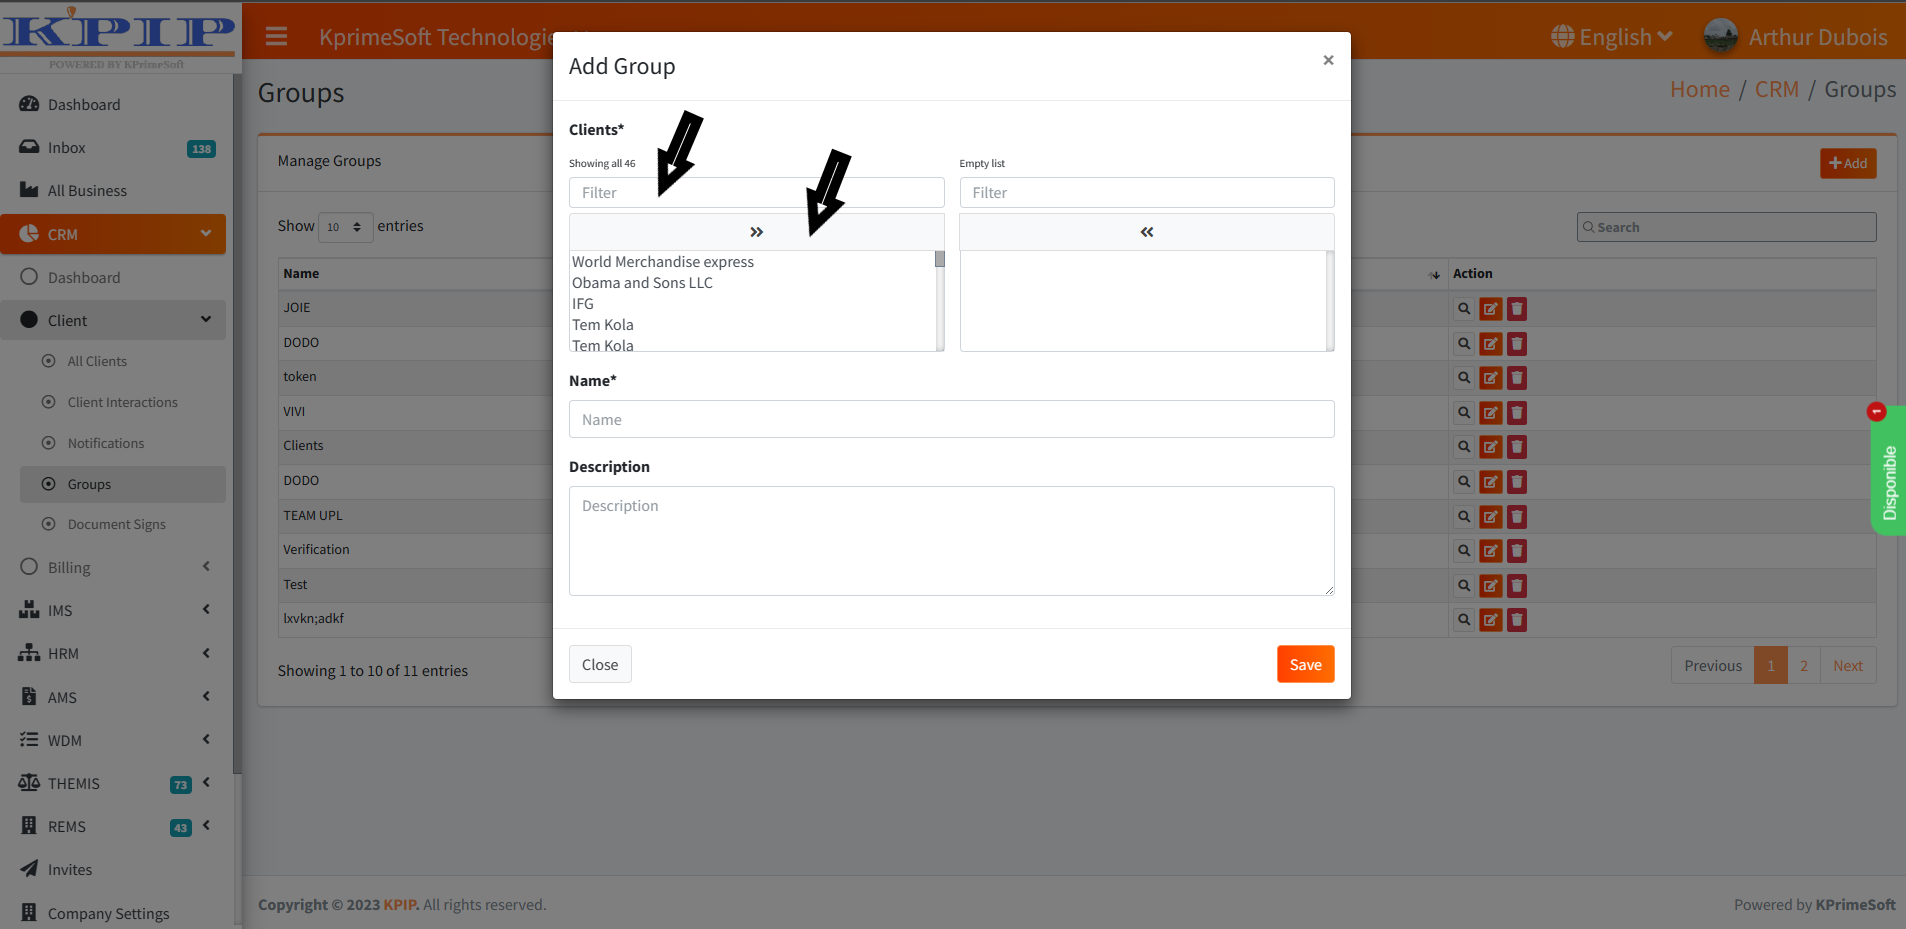
After clicking the "Add" button to create a group, a form pops up for you to complete. Please refer to the screenshot for more clarity.

Please complete the form and subsequently save it to establish our group. As previously discussed, the groups being established are client groups. The initial step involves selecting the customers who have been added to the group. Following that, utilize the search bar on the left to locate the clients you intend to add to the group. Subsequently, use the ">>" button to move them into the group. For visual guidance, refer to the provided screenshots.
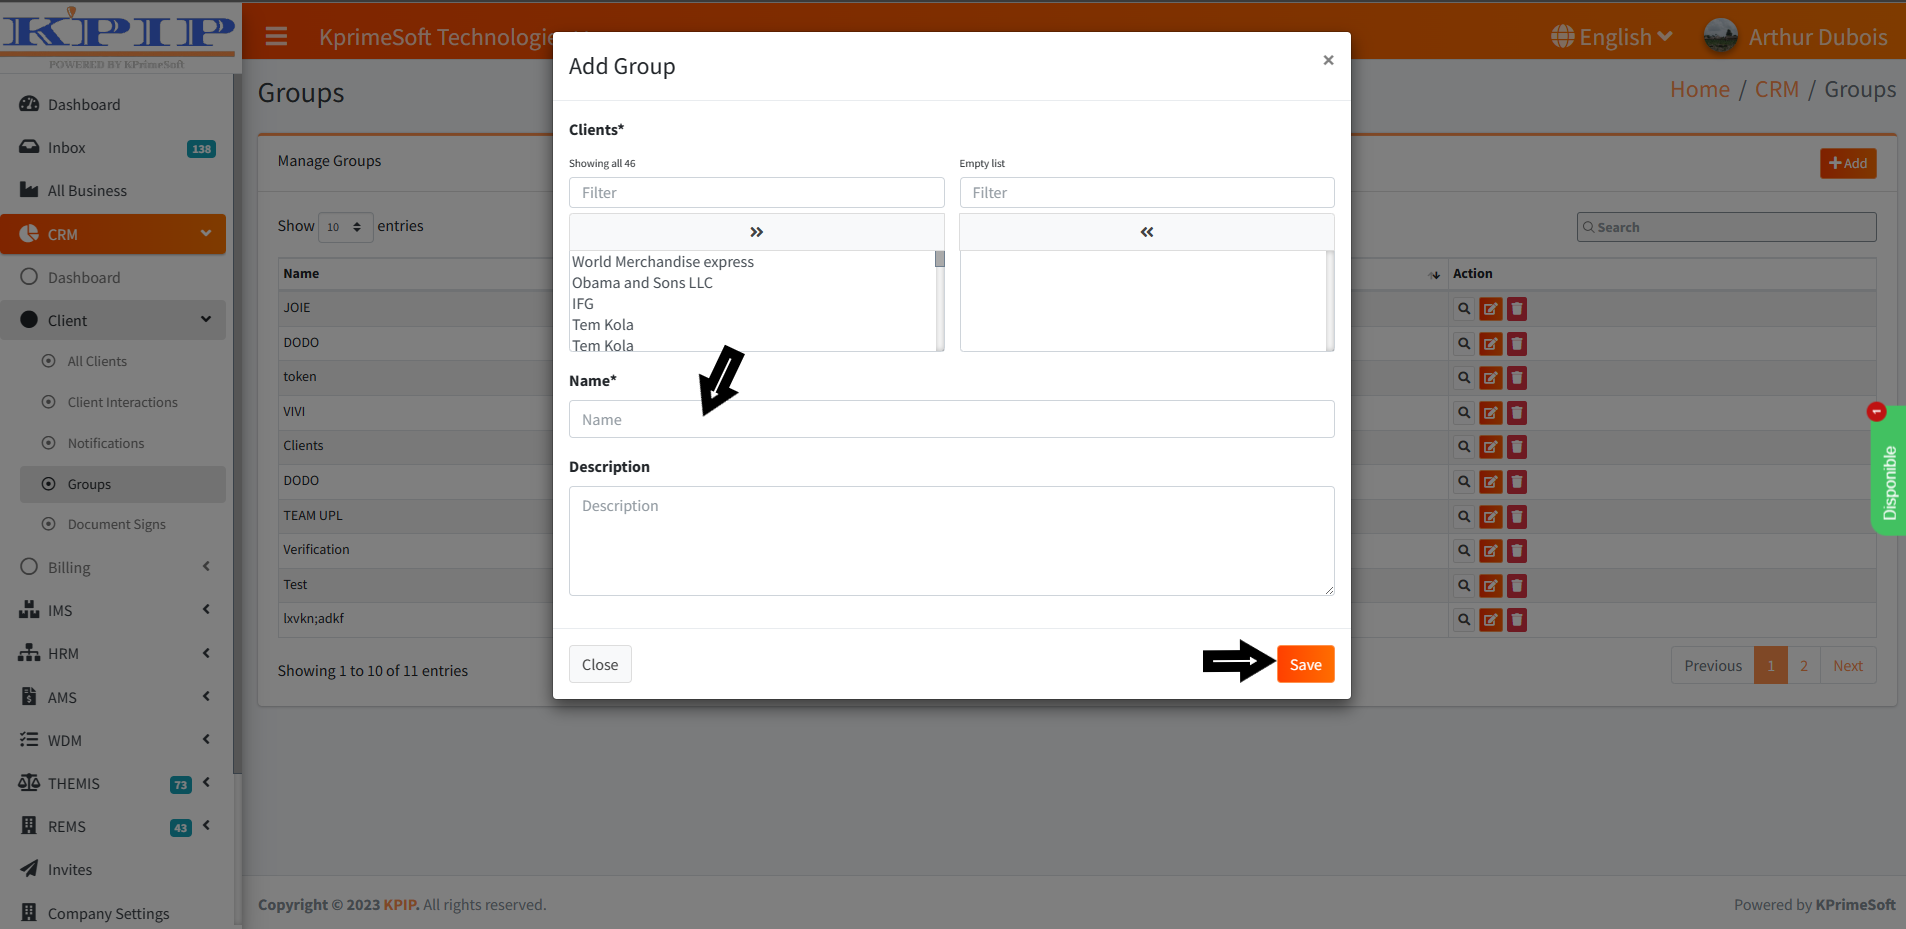
Once this is complete, we should assign a name to our group and, if possible, provide a description. Once the form is filled out, you should proceed to register by clicking the "Save" button. The provided group information will be saved, completing the group creation process. Please refer to the attached screenshot for visual guidance.
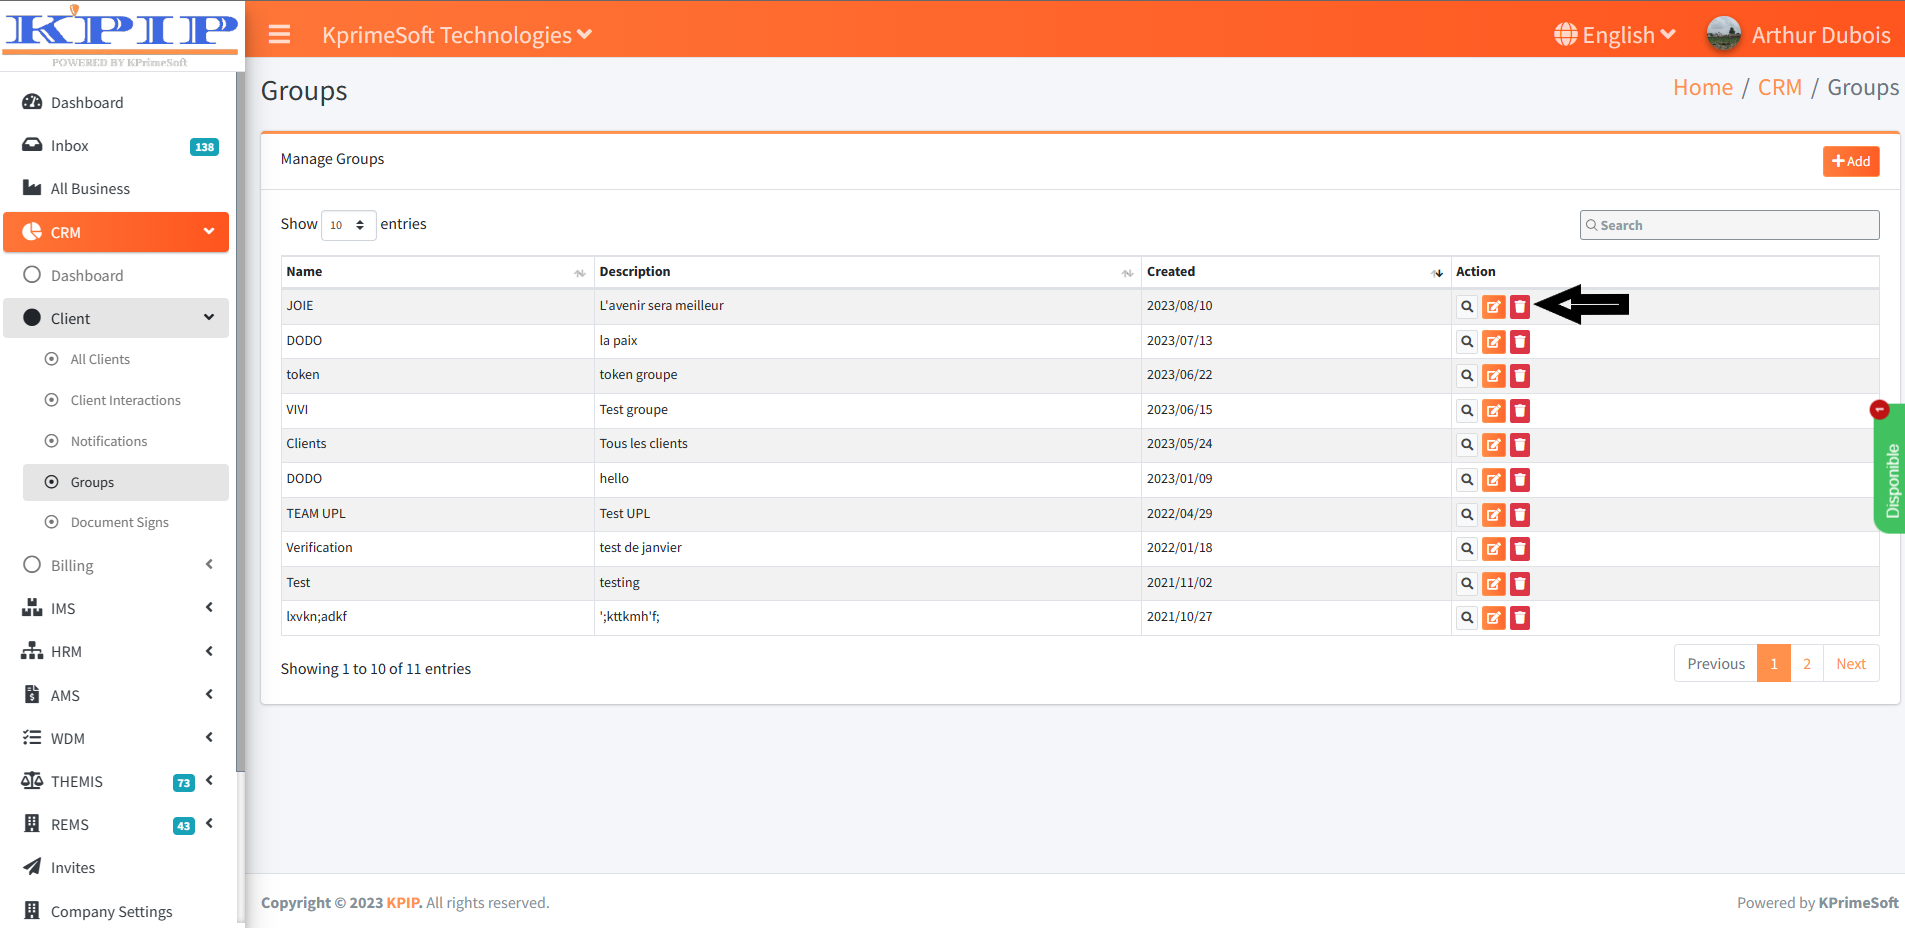
4. THE ACTION PART
This field enables you to execute three distinct actions.
- View
It enables us to visualize the information pertaining to a group. Please refer to the attached screenshot for reference.
- Edit
It allows us to modify the information of a group. See screenshot.

- Delete
The screenshot shows that it allows us to delete the information of a group.